Raspberry Pi Beginner’s Guide – Preparation – Part 2
In Part 2 of the Beginner’s Guide, we prepare everything you need before the Raspberry Pi boots for the first time: writing the operating system to the SD card and connecting the hardware. Thanks to the official Raspberry Pi Imager, this is child’s play today.
What you need
- MicroSD Card – at least 16 GB, Class 10 or better (recommended: 32–64 GB), such as the SanDisk Extreme PRO 64 GB*
- SD Card Reader – internal (laptop) or external via USB, e.g. a USB card reader*
- Raspberry Pi Imager – free tool for Windows, macOS, and Linux
- Power Supply – official power supply (USB-C, 5V/3A for Pi 4*, 5V/5A for Pi 5*)
- HDMI Cable – Micro-HDMI to HDMI* for Pi 4/5
Step 1: Install Raspberry Pi Imager
Download the Raspberry Pi Imager from the official website and install it:
The Imager completely replaces older tools like Win32DiskImager or Balena Etcher and is the recommended method by the Raspberry Pi Foundation.
Step 2: Write to the SD Card
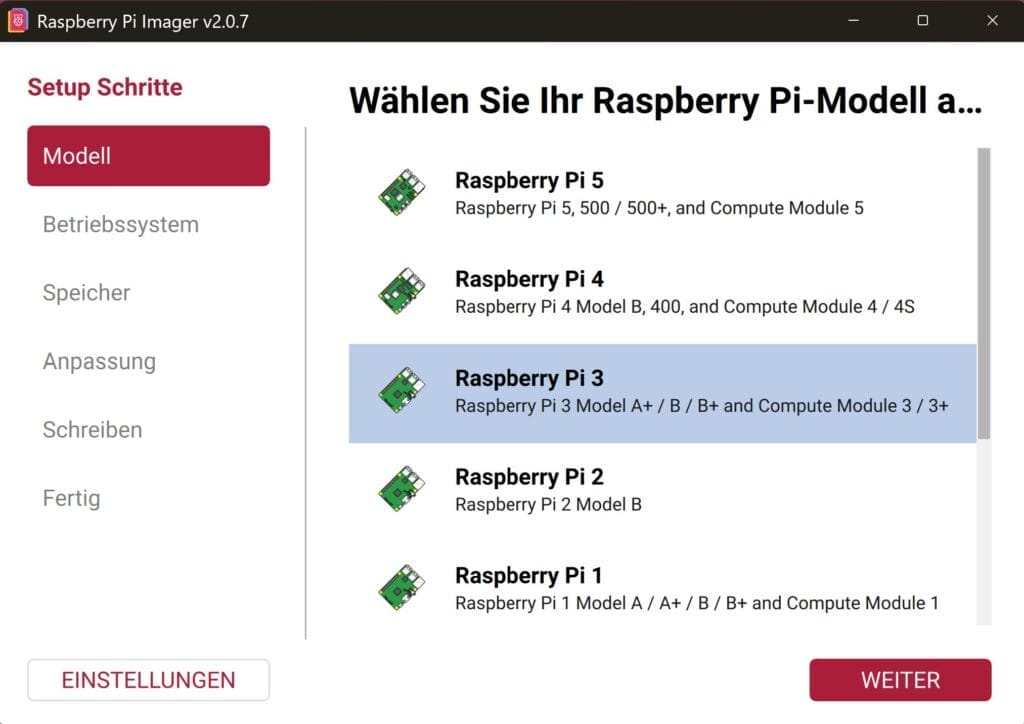
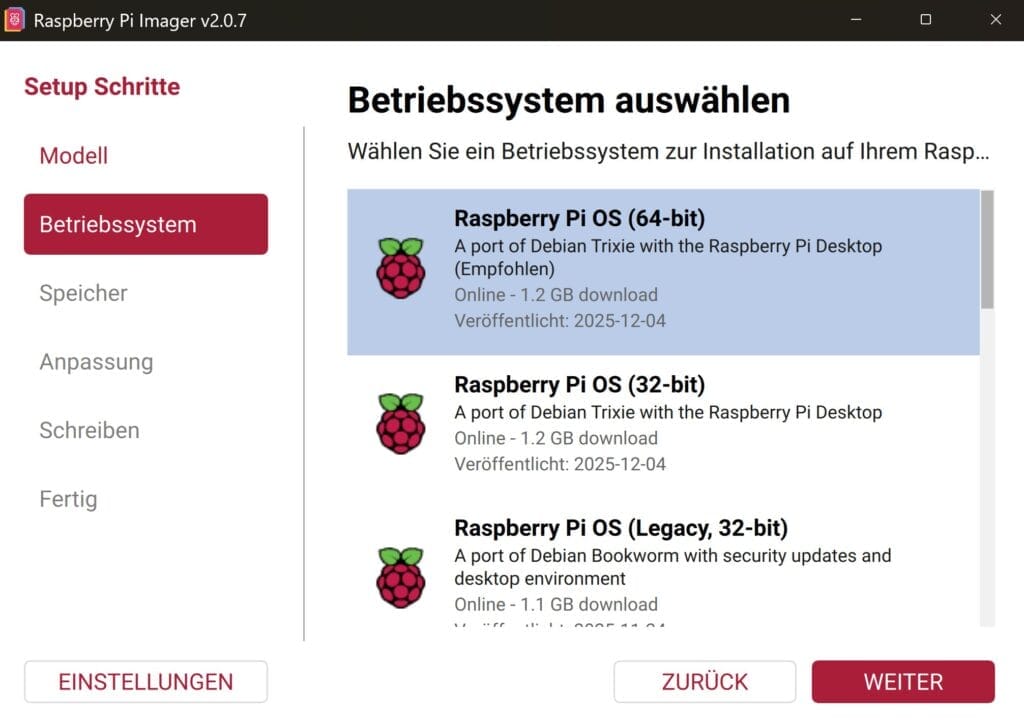
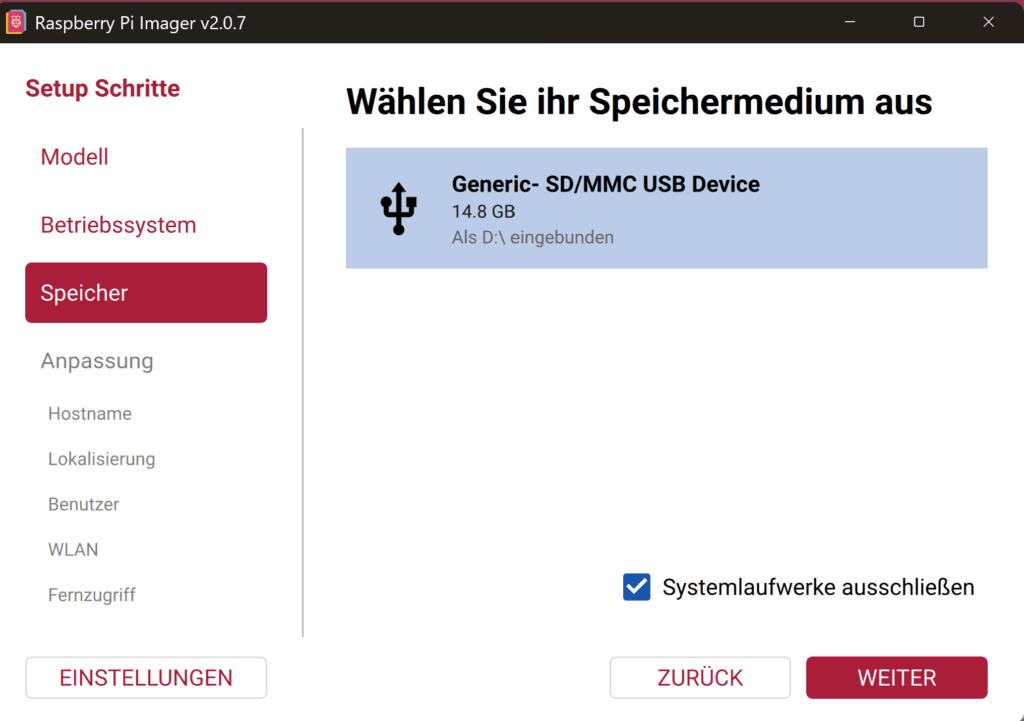
Insert the SD card into your card reader and start the Raspberry Pi Imager. Since version 2.0 it walks you through the Setup steps – the first three are:
- Device: your Raspberry Pi model (e.g. Raspberry Pi 5)
- OS: Raspberry Pi OS (64-bit) – recommended for Pi 4 and Pi 5
- Storage: your MicroSD card – keep Exclude system drives ticked
Step 3: Use customisation (highly recommended)
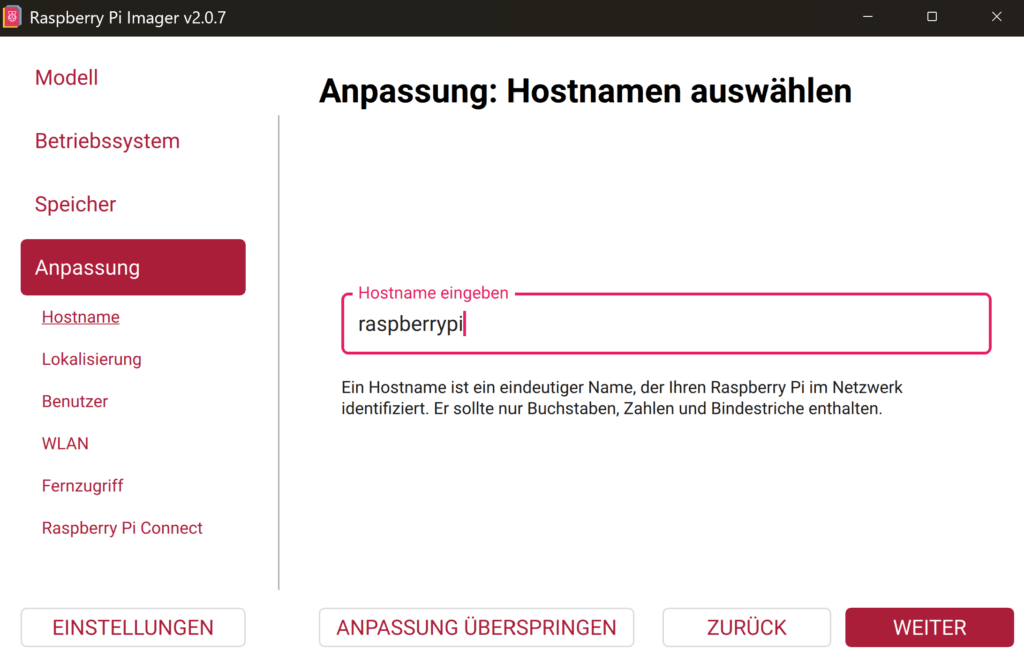
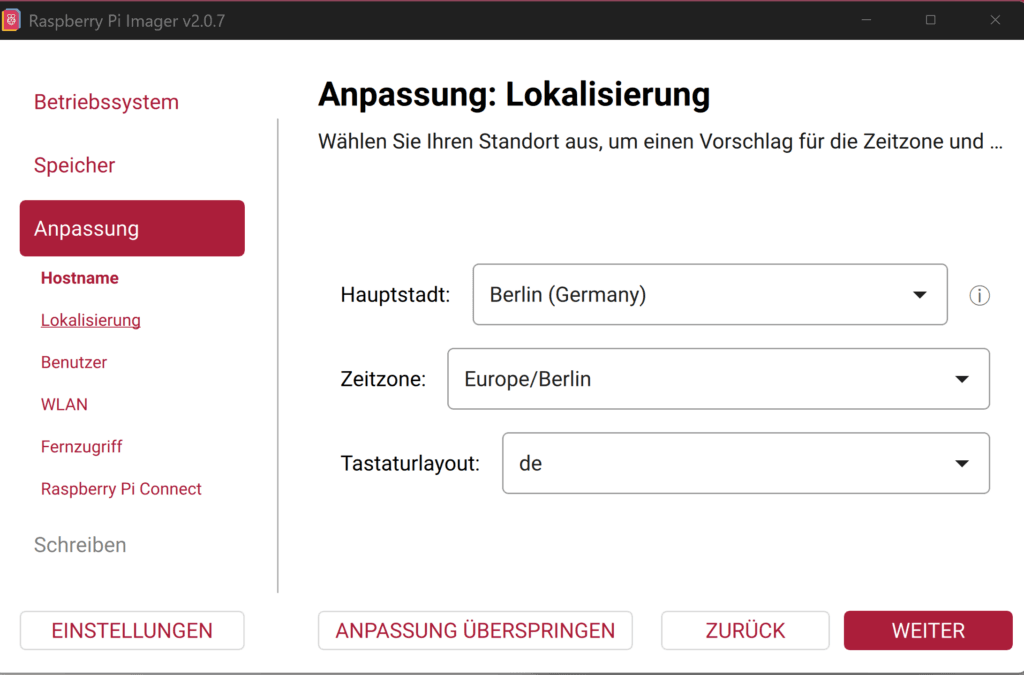
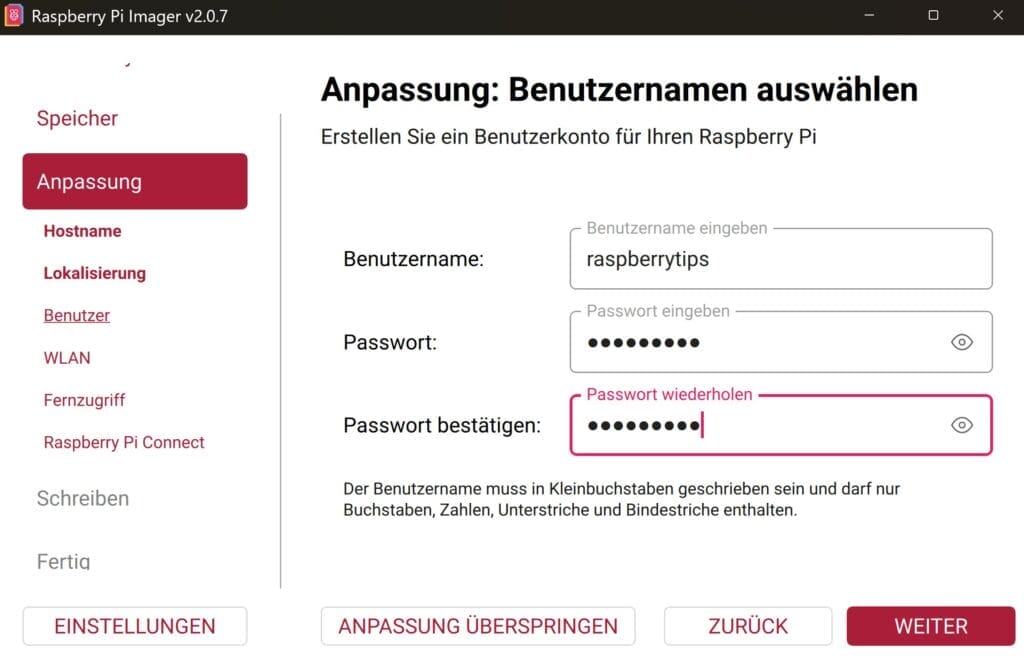
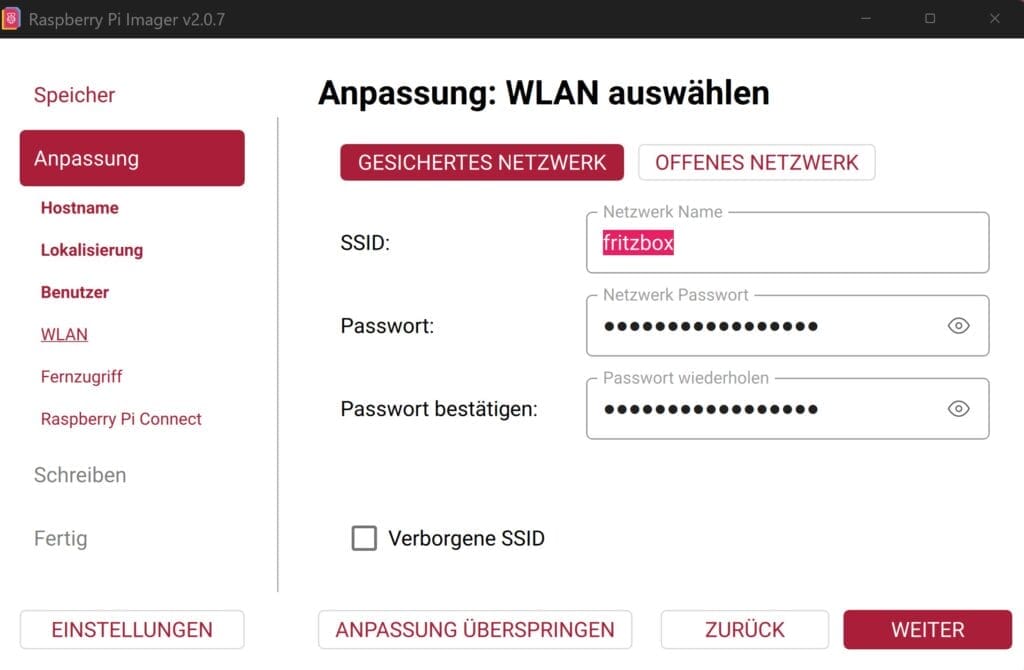
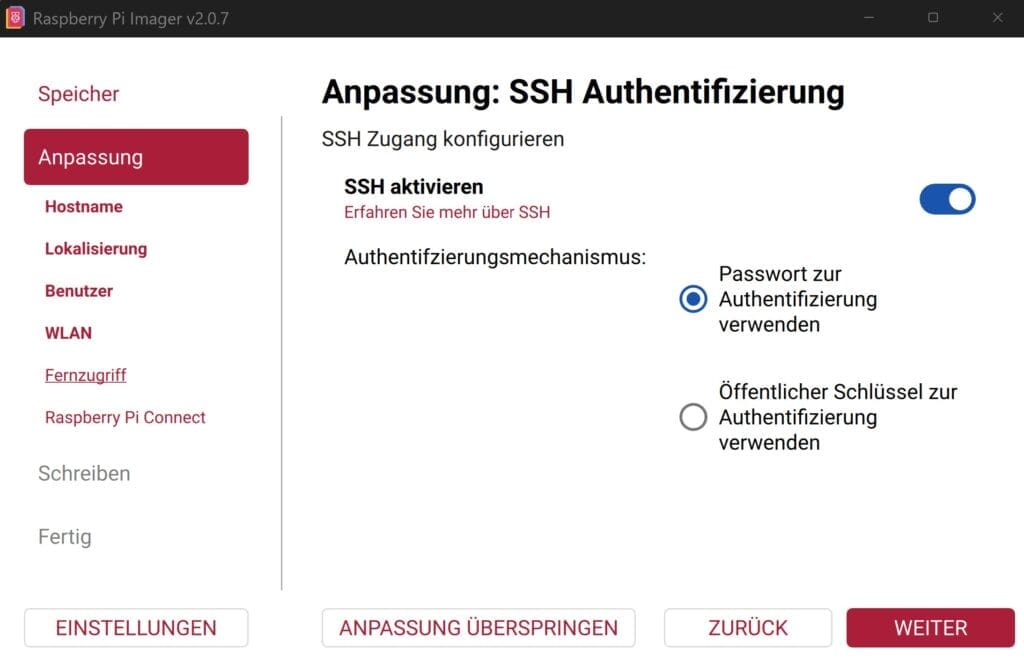
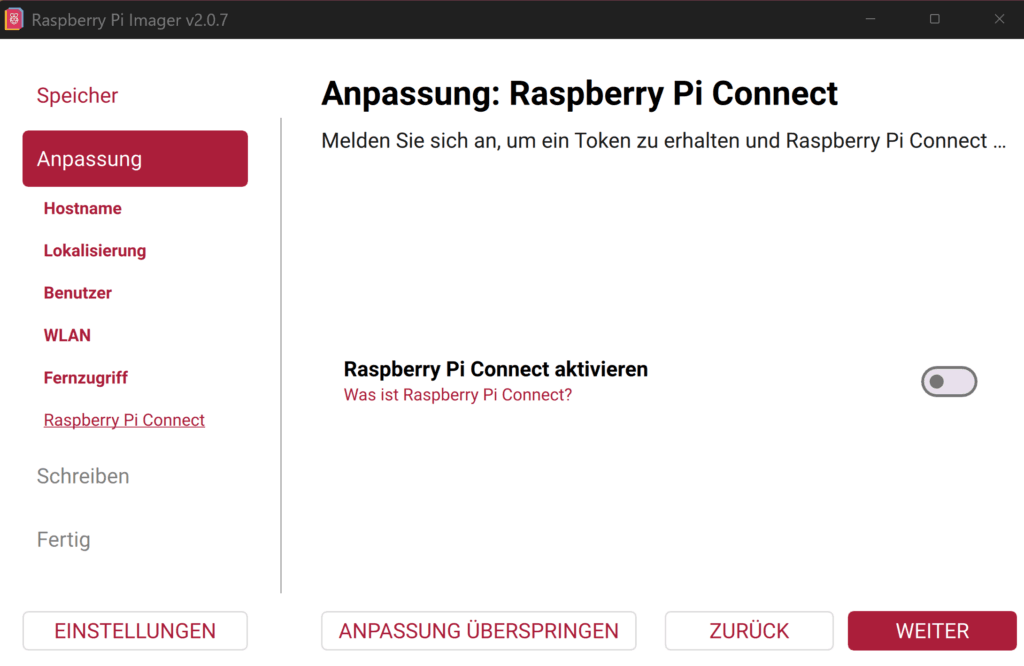
As soon as the storage device is selected, Imager opens the Customisation step automatically. Here you burn important configurations directly into the image – this saves time during the first boot:
- Hostname: e.g.
raspberrypi - Username and Password: set your own credentials (the old default user
piwith passwordraspberryis no longer preset for security reasons) - Configure Wireless LAN: enter the SSID and password of your network
- Enable SSH: in the Remote access sub-step, for use without a monitor
- Localisation: pick your capital city – it sets the time zone, the keyboard layout and the wireless country code
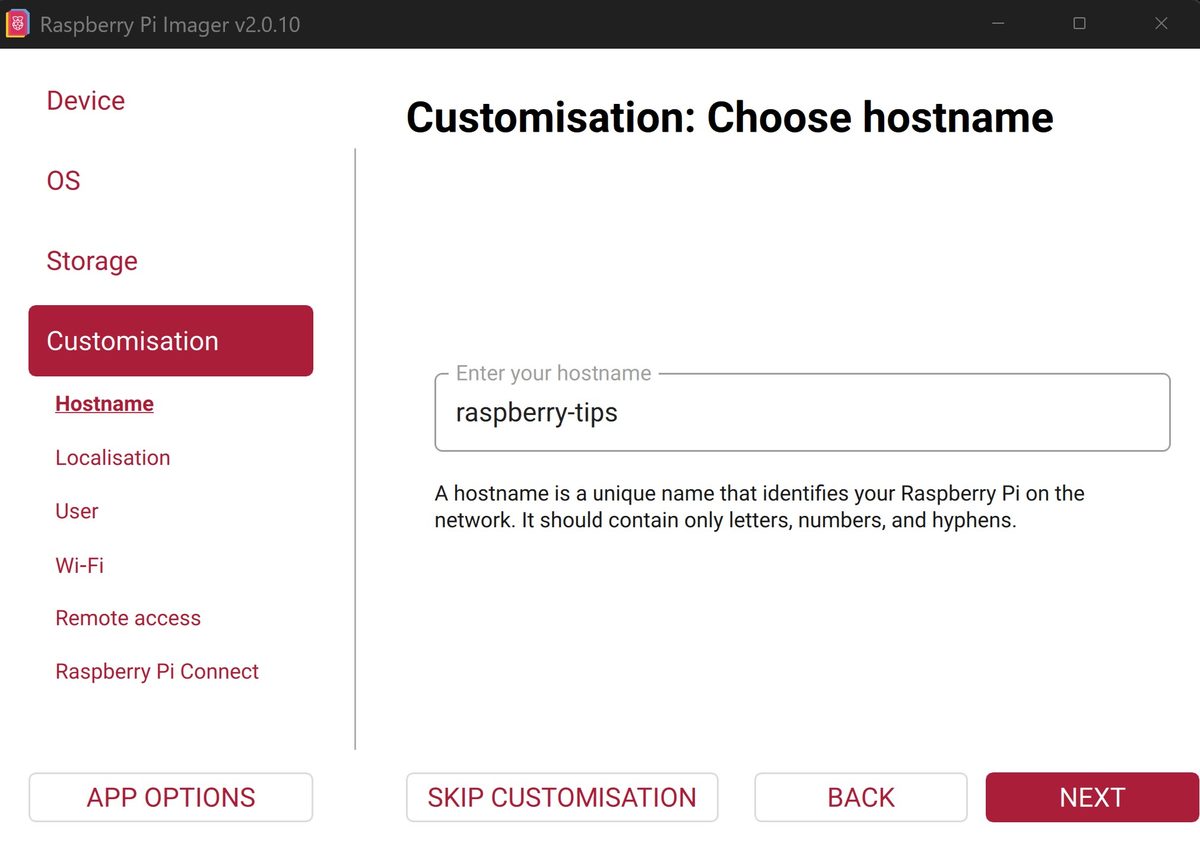
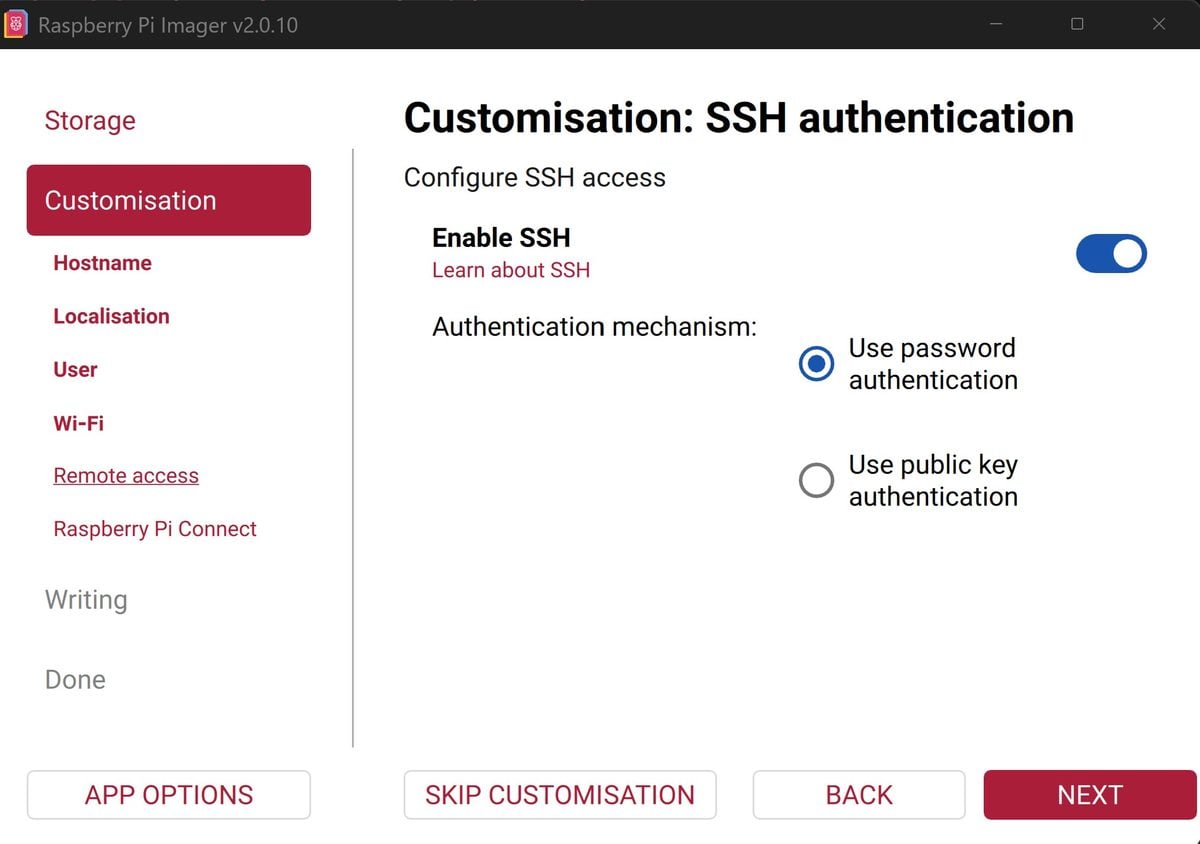
With these settings, the Pi will start up fully configured on the first boot – no monitor or keyboard needed.
Step 4: Write the SD Card
In the Writing step Imager shows a summary including every customisation. Click Write and confirm the safety prompt. The Imager will automatically download the image (a little over 1 GB, depending on the release) and write it to the SD card. This process takes about 5–15 minutes depending on the card and your internet connection.
When it’s done, Imager shows “Write complete!”. You can now remove the SD card.
Raspberry Pi Imager Gallery
Step 5: Connect the Hardware
Before you power on the Pi, connect the following components:
- Insert the SD Card into the SD card slot (underneath the Pi)
- Connect the HDMI Cable to a monitor (Pi 4/5: Micro-HDMI port on the far left)
- Connect Keyboard and Mouse via USB (optional, if you pre-configured settings)
- Plug in the Network Cable (optional, if no Wi-Fi was configured)
- Connect the Power Supply last – the Pi boots immediately when power is applied
The first boot takes a bit longer (about 60–90 seconds) as the system initializes. Afterwards, either the desktop or the login prompt will appear.
Continue to Part 3
In the next part of the Beginner’s Guide, you’ll install the latest updates, switch the language if you need to, and find out where to change your password, hostname, Wi-Fi and SSH later.
→ Part 3: Configure Raspberry Pi