Arduino UNO Q Review: Qualcomm’s Hybrid Board vs. the Raspberry Pi 5
Qualcomm bought Arduino – and the first result of that acquisition is now sitting on our desk: the Arduino UNO Q. A board in the classic UNO form factor that, for the first time, runs a full Debian Linux – alongside a real microcontroller for the real-time work. A Raspberry Pi killer? That’s what we wanted to find out: We set up the UNO Q, benchmarked it against our Raspberry Pi 5 and show you step by step what the “board with two brains” can really do – and where the Pi keeps the lead.
The Arduino UNO Q is a hybrid board in the classic Arduino UNO form factor: a Qualcomm processor (Dragonwing QRB2210, 4× Cortex-A53 @ 2.0 GHz) runs a full Debian Linux, while a separate STM32U585 microcontroller (Cortex-M33 @ 160 MHz) executes your Arduino sketches in real time. The two sides talk to each other via a “bridge”. That makes the UNO Q a single-board computer and a microcontroller board in one – starting at $59 for the 2 GB variant (US list price, as of November 2026).
In short
The Arduino UNO Q isn’t a Raspberry Pi 5 replacement – it’s a specialist for projects that combine real-time electronics with Linux and Python.
- As a Linux computer it plays in Raspberry Pi 3 territory – for a desktop, server or media center, the Pi 5 is still the better choice.
- Where it shines: a microcontroller that stays on time even with Linux under full load, real analog inputs and very low power draw.
- Out of the box, AI runs on the CPU – enough for small edge AI projects, not for large language models.
- Arduino App Lab bundles sketch, Python app and web UI into one project – for us, its biggest selling point.
Two brains on one board: how the UNO Q works
The UNO Q works very differently from the classic Arduino UNO you know. Two completely different processors work together on the board:
- The Linux part (MPU): A Qualcomm Dragonwing QRB2210 with four Cortex-A53 cores @ 2.0 GHz and Adreno 702 graphics runs a full Debian Linux – with desktop, Python, containers and everything that belongs to it. That is the same processor class as a Raspberry Pi 3 or Zero 2 W.
- The real-time part (MCU): An STM32U585 with Cortex-M33 @ 160 MHz, 2 MB flash and 786 kB SRAM runs your Arduino sketches – technically on top of Zephyr OS, but you write plain Arduino code. The Cortex-M33 is, by the way, the same core that powers the Raspberry Pi Pico 2.
The two worlds are connected through the so-called bridge – an RPC library (remote procedure call) that lets your Arduino sketch call functions on the Linux side and vice versa. A typical project looks like this: the microcontroller reads a sensor with exact timing, the Linux side crunches the data in Python and shows it on a web dashboard. Until now you had to build exactly this division of labor yourself with a Raspberry Pi plus a Pico and a serial link.
Arduino UNO Q vs. Raspberry Pi 5: the specs
| Arduino UNO Q | Raspberry Pi 5 | |
|---|---|---|
| CPU | Qualcomm QRB2210, 4× Cortex-A53 @ 2.0 GHz | Broadcom BCM2712, 4× Cortex-A76 @ 2.4 GHz |
| GPU | Adreno 702 | VideoCore VII |
| RAM | 2 or 4 GB LPDDR4X | 1, 2, 4, 8 or 16 GB LPDDR4X |
| Storage | 16 GB (2 GB model) or 32 GB eMMC soldered on | microSD, NVMe SSD via M.2 HAT |
| Real-time microcontroller | STM32U585 (Cortex-M33 @ 160 MHz) integrated | none (separate Pico/Arduino required) |
| Analog inputs | 6 (14-bit) | none (external ADC required) |
| GPIO | 22 digital pins in UNO format + Qwiic | 40-pin header |
| Display output | 1× via USB-C (DisplayPort Alt Mode) or carrier board, up to Full HD, 720p optimal | 2× micro HDMI, up to 4K @ 60 Hz |
| USB | 1× USB-C 3.1 (power + data + display) | 2× USB 3.0, 2× USB 2.0, 1× USB-C (power) |
| Network | Wi-Fi 5 + Bluetooth 5.1, Ethernet only via USB-C dock or carrier board | Gigabit Ethernet, Wi-Fi 5 + Bluetooth 5.0 |
| Camera | 2× MIPI-CSI via expansion connector (carrier required) | 2× MIPI connector for camera/display |
| Operating system | Debian Linux + Zephyr (Arduino core) | Raspberry Pi OS and many more |
| Power | USB-C 5 V/3 A or VIN 7–24 V | USB-C 5 V/5 A (27 W PSU recommended) |
| Extras | 8×13 LED matrix, UNO shield compatible | PCIe 2.0, RTC, power button |
| List price (as of November 2026) | $59 (2 GB) / $79 (4 GB) | $45 (1 GB), $77.50 (2 GB), $110 (4 GB), $175 (8 GB), $385 (16 GB, since November 2026) |
| Where to buy | 2 GB bundle on Amazon* 4 GB bundle on Amazon* | Pi 5 4 GB on Amazon* Pi 5 8 GB on Amazon* |
Two things immediately stand out: the UNO Q has real analog inputs and a real-time microcontroller – both of which the Raspberry Pi still lacks entirely. On the flip side, display output tops out at Full HD (720p optimal according to the datasheet) and runs through a USB-C dock or a carrier board, while the Pi 5 drives two 4K monitors. The two boards are built for very different jobs.
Unboxing and first impressions
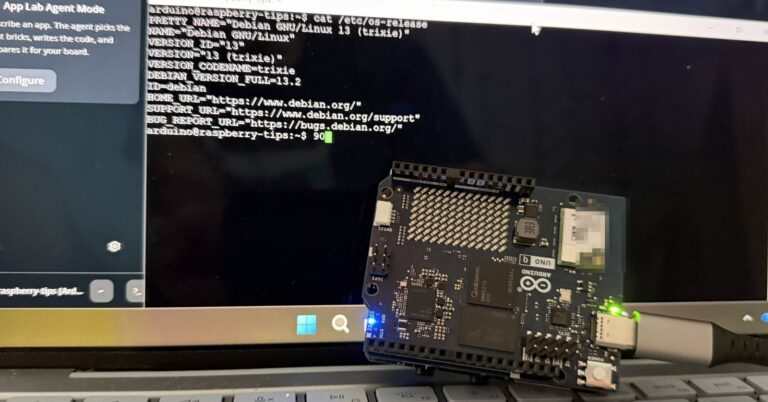
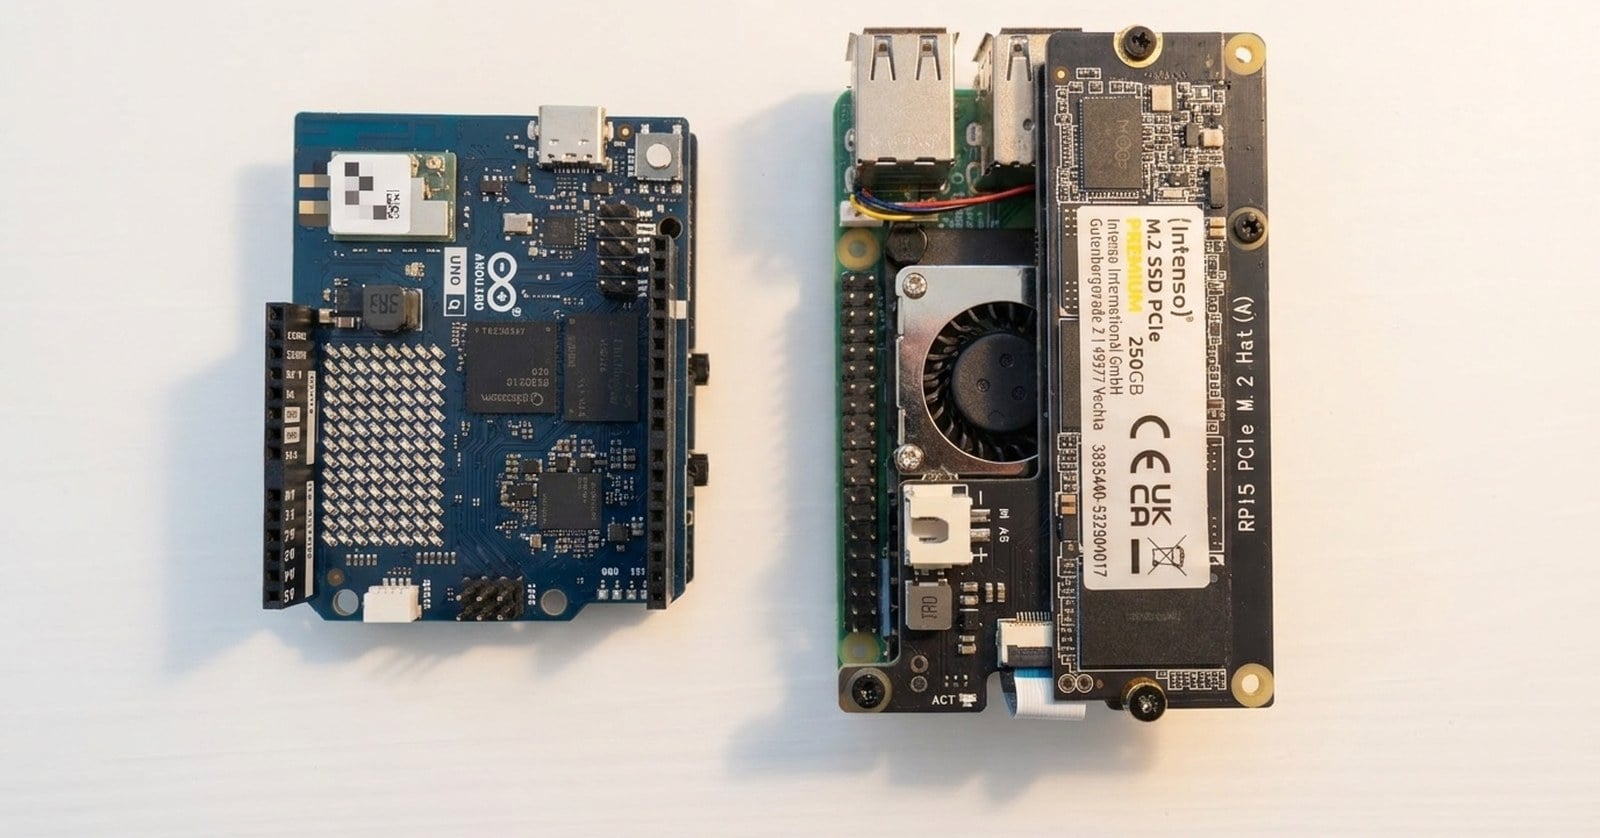
At first glance it’s a regular UNO: same size, familiar headers, instantly recognizable. Look closer and the power button, USB-C port and densely packed PCB give away that a complete Linux computer lives on this board – and once the animated Arduino logo scrolls across the LED matrix on first boot, there’s no doubt this is no ordinary microcontroller board.

We tested the 4 GB variant (ABX00173). After unboxing you immediately notice how densely the board is populated: the Qualcomm chip and the 8×13 LED matrix dominate the top, while the bottom – with eMMC storage and the two high-density connectors – shows that a complete Linux computer fits into the UNO format.

Notable compared to older UNO boards: the round DC barrel jack is gone, power now comes exclusively via USB-C (or the VIN pin at 7–24 V). And the top carries an 8×13 LED matrix that shows an animated Arduino logo at boot and is freely usable in your own projects later.


What you need to get started
- Arduino UNO Q (for standalone use Arduino explicitly recommends 4 GB) – on Amazon as an official bundle, such as the 2 GB with an 8-in-1 USB-C hub* or the 4 GB with a 45 W power supply*, or the board on its own in its 4 GB* or 2 GB* version
- a USB-C data cable for the PC connection
- only for standalone use as a mini PC: a USB-C dock with Power Delivery, e.g. the official Arduino USB-C docking station*, plus HDMI monitor, keyboard, mouse and a USB-C power supply (5 V/3 A)
- optional for the example projects: Qwiic sensors such as the Modulino Movement from our marble maze (e.g. from the Arduino Plug and Make Kit)
Setup step by step: Arduino App Lab
There is no way around the new Arduino App Lab development environment on the UNO Q – it is the control center for both processors. You have two ways of working with it:
- Option A – App Lab on your PC (recommended): You install App Lab on your Windows, Mac or Linux machine and connect the UNO Q via USB-C or Wi-Fi. The code runs on the UNO Q, but you develop comfortably on the big screen.
- Option B – standalone as a mini PC: The UNO Q is connected to a USB-C dock with a monitor, keyboard and mouse and you work directly on the board’s Debian desktop. It works, but with 2 GB RAM it feels sluggish – this option only becomes fun with the 4 GB model. The steps below cover option A.
Step 1: Install App Lab and connect the board
The complete initial setup – downloading App Lab, connecting the board, Wi-Fi, Linux password and the first updates – is covered step by step, with screenshots, in a separate article: Arduino UNO Q Setup.
The short version: App Lab automatically detects the board connected via USB-C, a wizard walks you through keyboard layout, Wi-Fi and Linux credentials, and afterwards the board pulls its first updates including container images. The most common pitfall: it has to be a USB-C data cable – with a charge-only cable the board never shows up.
Step 2: Your first app – an LED ticker
The workflow feels different from the classic UNO: instead of “compile and flash a sketch” you work in App Lab “apps” that bundle Arduino code and Python code into a single project. For serial output you use the familiar Serial, just like on any other Arduino.
For our first project we skipped the obligatory Blink and built a real app right away: a freely configurable ticker on the LED matrix. Via the plus next to “Apps” you create a new app and give it a name:

Every app consists of a sketch file for the microcontroller (sketch/sketch.ino), a Python file for the Linux side (python/main.py) and an app.yaml holding it all together. For the ticker the sketch is enough: paste in the code from our GitHub repository (linked below the video), click Run – App Lab compiles, spins up a container in the background and loads the sketch onto the STM32.

Here is the result – the matrix scrolls any text you like:
The complete sketch including our hand-built pixel font (a–z, 0–9, punctuation) is in our GitHub repository for the UNO Q series.
Step 3: Bricks – one-click AI building blocks
The most exciting new feature in App Lab is called Bricks: ready-made Python building blocks you pull into your project with a click – keyword spotting for voice commands, image recognition or a web front end for your project. Some Bricks run directly, others start a container in the background. That lets you build projects in minutes that would first require installing libraries and writing boilerplate on a Raspberry Pi. This App Lab approach – sketch, Python and web UI as one project, one-click building blocks – is one of the biggest plus points of the UNO Q for us.
To see what that looks like in full projects, check out the other articles in this series: a local AI chatbot that runs without the cloud, object detection using your smartphone as the camera and an AI watchdog that spots failed 3D prints.
Benchmark: UNO Q vs. Raspberry Pi 5
Four Cortex-A53 cores against four much more modern Cortex-A76 cores is never going to be a fair fight – the real question is how big the gap is. Here are the numbers from both boards:
| Arduino UNO Q | Raspberry Pi 5 | |
|---|---|---|
| Boot time to desktop/login* | approx. 35 s | approx. 20–25 s |
| sysbench CPU (events/s, 4 threads) | 4,043 | 10,589 |
| RAM throughput (sysbench memory) | 5,041 MiB/s | 11,837 MiB/s |
| Ollama tinyllama: time to first answer | 4.2 s | under 1 s |
| Power draw idle | 0.4 W | approx. 3.0 W |
| Power draw full load (stress-ng, 4 cores) | 1.4 W | approx. 8.8 W |
* We measured everything ourselves on both boards in August 2026 – only the boot times are reference values.
The numbers put a figure on that gap: the Pi 5 delivers more than two and a half times the CPU throughput at 10,589 vs. 4,043 events per second and pushes more than twice the data through memory at almost 11.8 GB/s. The UNO Q sits exactly where its A53 cores put it: solidly Pi 3 class, on a more modern platform – enough for Python apps, web dashboards and containers, but no workhorse.
With language models the gap grows, though not as much as you might think: on the Pi 5, tinyllama starts answering in under a second, the UNO Q needs just over 4 seconds – roughly Raspberry Pi 4 territory. Enough for occasional queries to a mini model, not built for fluent LLM applications. What Arduino envisions as the board’s AI territory instead – and how much of it holds up in practice – is covered in the next section.
Power consumption turns the tables completely: 0.4 W idle and 1.4 W under full load are exactly the numbers we normally measure on a Raspberry Pi Zero 2 W – on a far more capable board. Running around the clock, that’s roughly a dollar’s worth of electricity a year; the Pi 5 idles at seven to eight times that. For always-on projects like sensor stations, that is a serious argument.
One catch that no spec sheet mentions: the microcontroller cannot run without the Linux part. Even if your project is a simple Arduino sketch, the Qualcomm processor is always on. The microwatt frugality of a bare microcontroller is out of reach – for battery projects, a Pico 2 or classic Arduino remains the better choice.
AI on the board: what Arduino promises – and what we measured
Arduino and Qualcomm are pushing the UNO Q hard as an AI board. Its real strength is supposed to be edge AI – keyword spotting, camera object detection and sensor analysis with pre-trained models that reach the board through the Bricks or the Edge Impulse integration (Edge Impulse is also owned by Qualcomm). On paper the hardware fits: besides the CPU cores, the QRB2210 packs an Adreno GPU, two image signal processors for cameras of up to 13 megapixels and a Hexagon DSP, which Qualcomm lists for audio, sensor data and lightweight AI tasks. Qualcomm doesn’t list a dedicated NPU and names the CPU and GPU as the main route for AI models. We checked across several projects how much of that you actually get – and the answer is clear: out of the box, AI runs on the four CPU cores.
- Language models: tinyllama starts answering via Ollama after just over 4 seconds (see the benchmark). Gemma 3 1B manages around 5.5 tokens per second with llama.cpp, with all four cores maxed out – fine for short answers, but not a fluent chat. Larger models run out of RAM and compute. More in our article Can the Arduino UNO Q Run an LLM?
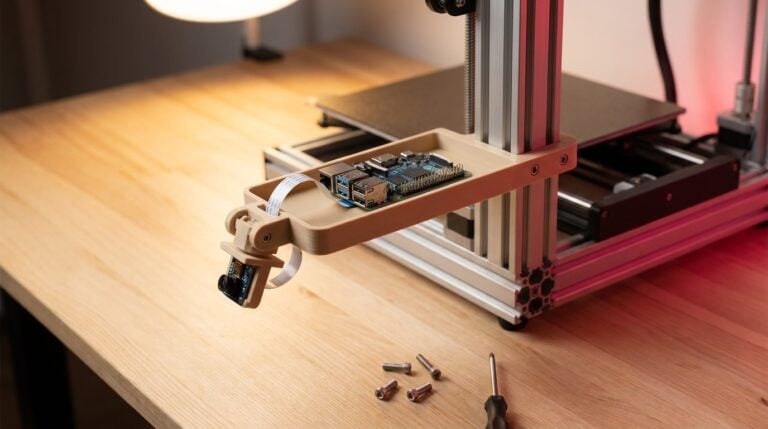
- Image recognition: Object detection on a live camera feed reaches around 10 frames per second – on the CPU as well. The GPU only joins in if you export a model in Edge Impulse specifically for “Arduino UNO Q (GPU)”. The details are in Turn Your Smartphone into a Camera for AI Object Detection.
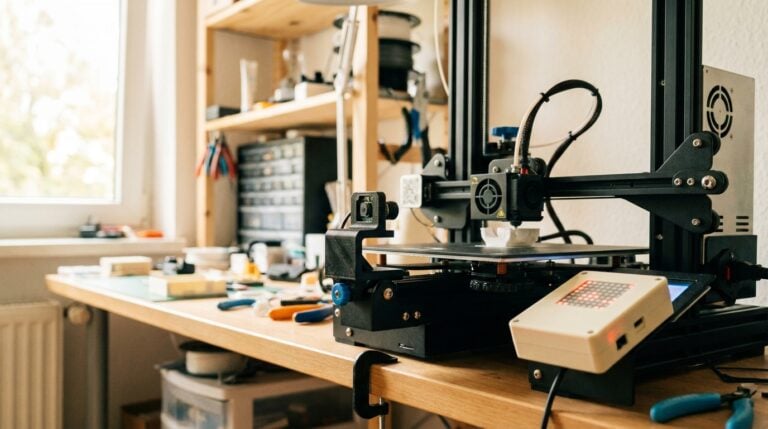
- Edge AI in a real project: That’s still plenty for real applications. Our AI print watchdog uses a self-trained anomaly model to catch failed 3D prints entirely on the board.
Bottom line: for keyword spotting, object detection with small models and sensor analysis, the UNO Q does the job, and the Bricks make getting started easy. The advertised AI acceleration has played hardly any role so far. If you need larger language models or high frame rates, a Raspberry Pi 5 is the better pick.
GPIO and maker practice: where the UNO Q scores
When it comes to tinkering, the UNO Q turns the tables. The Raspberry Pi has 40 GPIO pins but two old weaknesses: no analog inputs (a photoresistor or potentiometer always needs an external ADC) and no exact timing, because Linux keeps interfering. The UNO Q brings both: six analog inputs (14-bit) and the STM32, which handles PWM signals and sensor timing reliably in real time. Add the Qwiic connector, which lets you attach I²C sensors with a simple cable – no soldering, no breadboard.
There is one caveat: the UNO Q is mechanically compatible with classic Arduino shields, but many existing libraries do not (yet) support the STM32U585 – in the Tom’s Hardware review, for example, the popular Adafruit NeoPixel library failed at launch. According to Adafruit’s changelog it now supports the UNO Q (since version 1.15.5, released in May 2026), but the example shows the pattern: if your project depends on a specific shield or library, check compatibility before buying. Things are improving, but library support isn’t yet on par with the classic UNO.
How this combination feels in practice is best shown by our little game project: a marble maze on the LED matrix. A Modulino Movement (IMU sensor) is plugged into the Qwiic port and reports the board’s tilt; the STM32 computes the ball physics in real time – acceleration, friction, wall bounces – and renders it with the matrix’s eight brightness levels: dimmed walls, faintly pulsing holes, a glowing goal. Tilt the board and the ball rolls through three levels – fall into a hole and you restart.
Projects like this are hard to pull off cleanly on a Raspberry Pi alone – sensor polling and timing would stutter under Linux. On the UNO Q the microcontroller does it on the side while the Linux half stays free. How to build the game step by step is covered in its own article, Marble Maze on the UNO Q – the complete sketch with all three levels is in our GitHub repository.
The pulse test: how punctual are the Pi 5 and UNO Q really?
“Real time” is easy to talk about in the abstract, so we measured it. The setup is deliberately simple and doesn’t need a single wire: both systems run a loop on an exact 1 ms tick, and we log how far each iteration deviates from its target time – once idle, once under full CPU load (stress-ng). On the Pi 5 a Python script does the job, the way you typically build timing in user space. On the UNO Q the tick runs on the STM32 – and the load test has a special twist here: stress-ng hammers the Linux side of the very same board while the microcontroller keeps its timing.
| Deviation from the 1 ms interval | Pi 5 (Python, idle) | Pi 5 (full load) | UNO Q STM32 (idle) | UNO Q STM32 (Linux side under full load) |
|---|---|---|---|---|
| Average | 54.2 µs | 55.2 µs | 6.2 µs | 6.3 µs |
| Maximum | 80.3 µs | 2,574 µs | 61 µs | 63 µs |
Both test programs (Python script for the Pi, sketch for the UNO Q) are in the jitter folder of our GitHub repository – you can reproduce the measurement in minutes.
The result could hardly be clearer. The Pi keeps the beat decently on average – but under full load individual outliers shoot past 2.5 milliseconds, two and a half times the entire target interval. The UNO Q’s STM32 averages 6 microseconds, its worst outlier stays below 70 µs – and here is the actual point: these numbers barely change while the Linux side of the same board runs at full load. That is what “real time” means: not faster, but guaranteed on time.
A side finding from the test that may save you debugging hours of your own: the Arduino layer on Zephyr takes around a millisecond between loop() calls. If you need microsecond timing on the UNO Q, do it inside your own loop – and do not rely on loop() being called at microsecond pace.
Which board is right for whom?
The Arduino UNO Q is the right choice if …
- you build projects that combine real-time electronics and Linux/Python/AI – robotics, sensor dashboards, voice control
- you come from the Arduino world and want to step into Linux and Python in a familiar environment
- you want a learning board with real depth – App Lab, Bricks and the example projects make it great for teaching
The Raspberry Pi 5 remains the right choice if …
- you want to run a desktop replacement, server, NAS or media center – the Pi 5 plays in a different league here
- you want local AI models, high-resolution cameras or multiple monitors
- you depend on the huge ecosystem of HATs, guides and community support
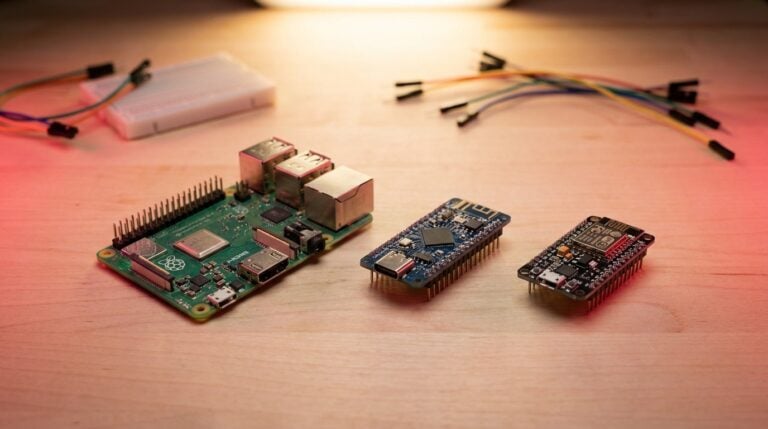
And then there is the tinkerer’s alternative: a used Raspberry Pi 4 plus a $5 Pico 2 give you a DIY take on the UNO Q concept – with more Linux power, but also with two devices, your own wiring and hand-written communication between them. That’s exactly the legwork the UNO Q saves you, and that’s its real selling point.
Price and availability
The UNO Q lists at $59 for the 2 GB variant and $79 for the 4 GB model (as of November 2026); at launch, the 2 GB board was still $44. The Raspberry Pi 5 has gone up even more because of the RAM shortage: after several rounds of price increases, its list prices are now $45 (1 GB), $77.50 (2 GB), $110 (4 GB), $175 (8 GB) and $385 (16 GB). For how prices have moved across every model, see our overview of Raspberry Pi prices and lifecycles.
With the same amount of RAM, the UNO Q is still the cheaper board – by about $30 at 4 GB – and its eMMC storage is built in, while the Pi 5 still needs a microSD card or SSD. The cheapest way in, though, is the 1 GB Pi 5. As a Linux computer the Pi 5 is much faster in every configuration: with the UNO Q you’re paying for the microcontroller and App Lab, not for raw performance.
Where the UNO Q fits into the broader question of computer versus microcontroller is covered in our comparison Raspberry Pi vs. Arduino vs. ESP32.
The boards from this comparison at a glance
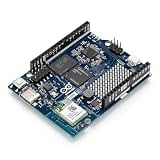
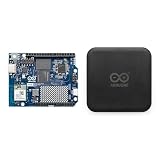
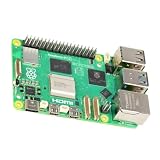
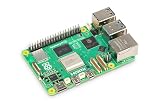
For the UNO Q, the tiles show the 2 GB board on its own and the official 4 GB bundle with a 45 W power supply. Prices and availability update automatically and are shown in your local Amazon store’s currency.
Verdict: competition or companion?
The picture is clear: as a replacement for a Raspberry Pi 5 the board does not qualify – and it does not even try. The benchmarks speak plainly: the Pi delivers two and a half times the compute, drives two 4K monitors and has the huge ecosystem behind it. If you want a desktop, server or media center, that is still the place to go.
The UNO Q shines exactly where the Pi is weak by design: the pulse test puts it in a nutshell – 6 microseconds of jitter versus 2.5-millisecond outliers, with the Linux side of the same board fully loaded. Add real analog inputs, power consumption at Zero 2 W level and a price below a Pi 5 with the same RAM. Projects that connect real-time electronics with Python, web interfaces or edge AI now take one board where they used to take two devices and a tangle of wires.
The biggest plus for us, though, is Arduino App Lab: sketch, Python app and web UI in one project, a ticker or a complete game in minutes instead of evenings. The environment is still noticeably young – we tested version 0.10, and 0.11 is out now. App Lab manages config files like sketch.yaml itself, libraries are added through their own dialog, and the occasional restart is still needed. But the direction is right, and Arduino is clearly pushing it forward.
Our recommendation: if you already run a Pi, the UNO Q is not competition but the perfect companion for everything time-critical. And if you come from the Arduino world, this is the most comfortable entry into Linux a UNO has ever offered. We’ll keep covering the board – all further articles of the series are collected in the Arduino category.
Disclosure: Arduino sent us the UNO Q as a free review unit, with no strings attached and no say in our verdict. Thanks!
No. As a Linux machine the UNO Q sits at Raspberry Pi 3 level – display output is limited to Full HD and the Pi 5 is about two and a half times faster. The UNO Q is made for hybrid maker projects that combine real-time electronics with Linux and AI features, not as a desktop or server.
The Qualcomm processor runs a full Debian Linux with a desktop. In parallel, the STM32U585 microcontroller executes your Arduino sketches on top of Zephyr OS – both sides communicate through the built-in bridge (RPC).
Recommended, yes: development is most comfortable with Arduino App Lab on your PC, connected via USB-C or Wi-Fi. Alternatively the UNO Q runs fully standalone with a USB-C dock, monitor, keyboard and mouse – Arduino recommends the 4 GB variant for that.
Partially. Mechanically the UNO Q is compatible with the classic UNO form factor, but not every library supports the STM32U585 yet. Check whether your key libraries and shields are supported before buying.
To a limited extent. Small language models do run: tinyllama starts answering after just over 4 seconds (Pi 5: under a second), and Gemma 3 1B generates around 5.5 tokens per second with llama.cpp. All of that runs on the CPU – the GPU only helps with models exported specifically for it. That’s enough for edge AI with small models, such as object detection at around 10 frames per second. All the numbers are in our article Can the Arduino UNO Q Run an LLM?.
The 2 GB variant with 16 GB storage lists at $59, the 4 GB model with 32 GB at $79 (as of November 2026). A Raspberry Pi 5 with the same amount of RAM lists higher ($77.50 and $110) and still needs a microSD card or SSD. Only the 1 GB Pi 5 is cheaper, at $45.
You will find more details on the board in the official Arduino documentation. And if you are generally interested in Raspberry Pi alternatives, have a look at our comparison of Raspberry Pi alternatives. Happy tinkering!