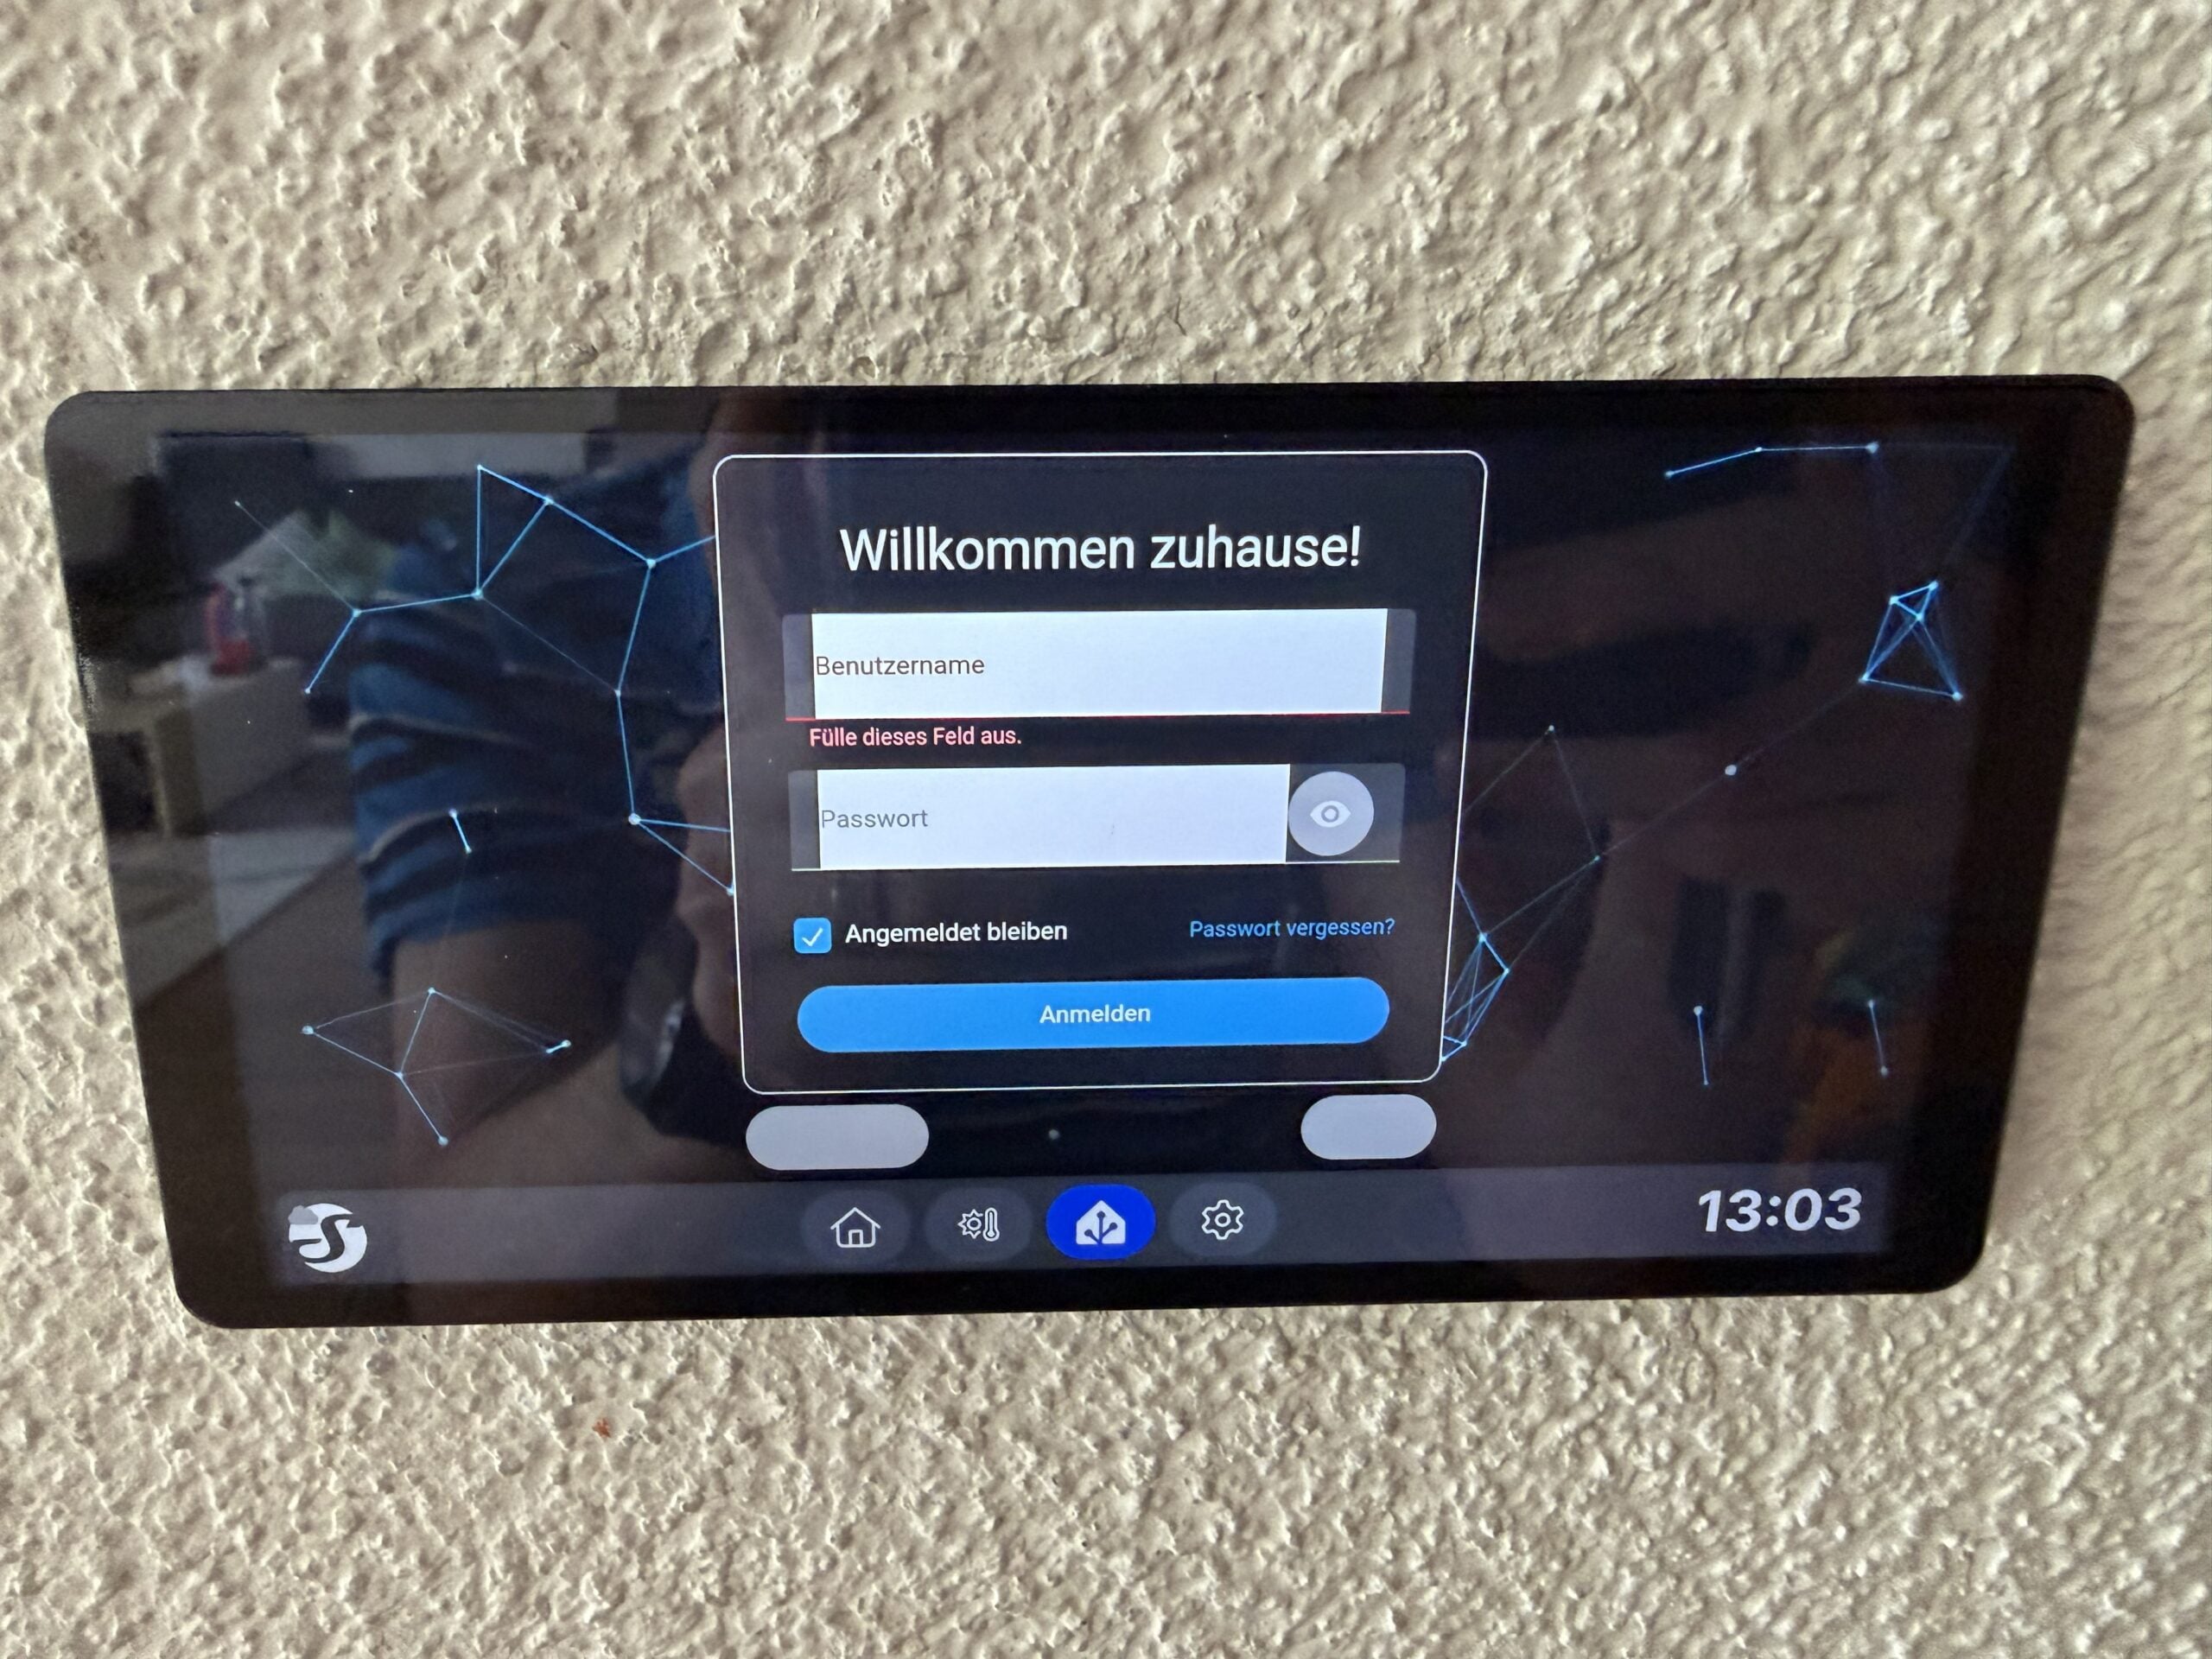
Shelly Wall Display X2i: Replace Your Light Switch with a Smart Panel
I had a perfectly normal double socket box in my dining room: a rocker switch for the ceiling light on the left, a Schuko power outlet on the right. Functional, but just a switch – no timer, no connection to the rest of my smart home, no status display. I wanted to change that without screwing an extra box onto the wall. The solution: the Shelly Wall Display X2i takes over the entire spot of the old double box, switches the light via its built-in relay, and at the same time shows weather, temperature, and eventually a full Home Assistant dashboard.
In this article I’ll walk you through the whole conversion: from unboxing to wiring the double box to the initial setup – including a relay-activation pitfall I fell into myself. At the end I give an outlook on how the Home Assistant dashboard and controlling other devices in the room will develop.
The Shelly Wall Display X2i is a 6.95-inch touchscreen control panel from the Bulgarian manufacturer Shelly, designed for flush-mount installation to replace a classic light switch. A 5 A relay in the separate “Power Base” (terminals L, N, SW, O) handles the switching, while the display shows weather, room temperature, and tiles for other smart home devices, and can be integrated into the Shelly app and Home Assistant via Wi-Fi 6 and Bluetooth 5.0. Price: around 155 euros (as of 2026-11).
Unboxing: What’s in the Box?
The box is unspectacular white, and its front already shows a screenshot of the interface, giving you a preview of what the dashboard can look like later. Alongside the display itself, the box contains a quick-start guide and the so-called Power Base, plus two mounting screws to fix the base in the wall box. The blue Power Base is the mounting plate and the switching electronics in one.


The real trick is on the back: unlike many other Shelly devices, the X2i doesn’t have a relay permanently built in – instead it relies on a plug-in Power Base that connects to the display via a spring-contact connector.


Technical Specifications at a Glance
| Feature | Value |
|---|---|
| Display | 6.95″ capacitive touchscreen, 1440 × 720 pixels |
| Processor | Rockchip RK3326-S, quad-core Cortex-A35, 1.5 GHz |
| Memory / Flash | 2 GB RAM / 8 GB flash |
| Operating system | Android 11 (Shelly’s own interface) |
| Radio | Wi-Fi 6 (dual-band 2.4/5 GHz), Bluetooth 5.0; Matter (controller and device) from firmware 2.8.0; no Zigbee, Thread only via an external border router |
| Sensors | Brightness sensor, proximity sensor, microphone, G-sensor, gesture recognition |
| Relay (Power Base) | 1 channel, 5 A max., 100–240 V AC, 50/60 Hz |
| Display power supply | 5 V / 1 A via Power Base or USB-C |
| Price (street price) | approx. €155 (as of 2026-11) |
Source: official Shelly product page; Matter: Shelly’s firmware 2.8.0 announcement.
X2i vs. X2: Why a Separate Power Base?
If you search for the Shelly Wall Display, you’ll quickly stumble across several variants – X2, X2i, X2+BLU H&T, and so on.
Shelly doesn’t explicitly spell out what the “i” stands for in its official docs – but the phrase “Interchangeable power base that can be replaced with Shelly 2-Output Power Base for Wall Display (i-series)” in Shelly’s own knowledge base suggests it most likely stands for “interchangeable”: on i-series models the relay isn’t permanently built into the display, but instead sits in a separate Power Base that stays in the flush-mount box permanently and can even be swapped for a different Power Base variant – for example the 2-Output version if you want to switch two separate load circuits (the 1-Output version is plenty for my case).
The display itself just clips on and can be removed at any time without touching the 230 V wiring – handy if you ever want to clean, swap, or relocate the display.
Requirements: What You Need for the Conversion
- Shelly Wall Display X2i – I’m using the black color: Shelly Wall Display X2i*
- A flush-mount box with a neutral wire (N) at the switch location – without N the display won’t work, more on that in a moment
- A standard switch box: according to Shelly, the X2i fits standard flush-mount boxes for light switches (the device is 36 mm deep with the Power Base, 11 mm without)
- Connector terminals to safely cap off wiring you no longer need, e.g. WAGO 221 connector assortment*
- Screwdriver set, voltage tester
- Smartphone with the free Shelly app (iOS/Android) for the initial setup
Wiring: From Light Switch to Smart Panel
Before anything goes on the wall: turn off the breaker and use a voltage tester to confirm the line is de-energized. Important note: in Germany, changes to fixed 230 V mains wiring may only be made by an electrical contractor listed in a grid operator’s installer register (Section 13 of the NAV, Germany’s low-voltage grid connection ordinance). If you’re not based in Germany, check the regulations that apply in your own country before doing any electrical work.
Starting Point: The Old Double Box
In my double box there was a normal rocker switch on the left and a Schuko outlet on the right. I wanted to replace exactly that combo with the Wall Display and switch the light via the relay going forward.

Power Base Terminal Layout: SW, O, L, N
After removing the old switch/outlet combo, it’s time to wire up the Power Base. It has four screw terminals:
| Terminal | Function |
|---|---|
| L | Live/phase (230 V) – permanent power supply for the Power Base |
| N | Neutral – powers the Power Base and is shared with the lamp’s neutral wire |
| O | Relay output – switched live, goes to the lamp (replaces the old switch output) |
| SW | Optional input for an additional physical switch/button – unused in my case |
The manufacturer supplies a simple wiring diagram for this: L and N come from the mains, O leads to the lamp, and SW is optional for a parallel mechanical switch or button.

My double box had several wires I no longer needed for the old switch and outlet. Instead of just cutting them off, I safely capped them with WAGO connectors and tucked them into the box – the protective earth (green-yellow) and the unneeded wires are preserved for later renovations, without bare ends lying around in the box.

Important: L and O are not connected to each other. These are two separate wires – the incoming live on L and the neutral N permanently power the Power Base, while the separate wire on O runs to the lamp and is only switched by the relay (your lamp’s switched wire). SW was left unconnected in my case since I don’t need an additional mechanical switch in parallel.
A side effect of the conversion: since the display occupies both positions of the old double box, the Schuko outlet disappears. If you want to keep it, you’ll either need an additional flush-mount box next to it or do without the outlet at that spot. Installation into a switch or box frame – mine were Jung – isn’t provided for.
Mounting: Attaching the Power Base and Display
The blue Power Base is fixed into the flush-mount box with two screws – the same step as with any normal switch frame. Only after that is the display clipped onto the Power Base, which automatically powers it via the connector.
Important! I installed a cavity wall box here (drywall construction), and the included screws didn’t fit (too short and the wrong thread) – I needed additional device screws for cavity boxes (a flat head is required).


Initial Setup via the Shelly App: Wi-Fi, Name, and Firmware Update
Once the display is on the wall and powered, the free Shelly app (iOS/Android) takes over the entire initial setup, including Wi-Fi configuration. Here’s the process exactly as I went through it.
Finding the Device and Connecting It to Wi-Fi
The app automatically scans the surroundings via Bluetooth in the background and reports new Shelly devices on its own – I didn’t need to search manually. After tapping “Add device”, the app directly takes over the smartphone’s Wi-Fi credentials and connects the display to that exact network. For security reasons the display then automatically disables Bluetooth and its own access point – both can be re-enabled later in the device settings if needed.


Assigning a Name, Picture, and Room
Next comes organizing things within the app: a device name (mine is “Dining Room Display”), a preview picture, and assignment to a room from the existing room list. This is purely cosmetic, but it helps keep track once you have several Shelly devices in the house.


Confirming the Pairing Code on the Display
As a security measure against unwanted pairing, the display itself shows a random code after the initial setup, which you type into the app or alternatively scan as a QR code. Only after this confirmation is it guaranteed that the app is setting up your own device physically in front of you, and not some other Wall Display within range. You also can’t change the display’s settings in the app until you’ve confirmed.

Installing the Firmware Update
The edit icon on the device takes you to the device settings in the app. Alongside entries like Thermostat, Input Type, and Output Type (more on that shortly), you’ll also find the Firmware Version section: it shows the currently installed version as well as an available stable version – tapping “Update” installs it over Wi-Fi. On my device it went straight from firmware 2.5.4 to 2.7.1.

Alternatively, via the local web interface: once the display is on your home network, you can also reach it directly through its IP address in a browser (check the IP in your router’s interface) – there you’ll find a full Gen2/Gen3-style Shelly interface with Home, Actions, Schedules, Settings, Components, and more, completely without the app or the cloud.
The Thermostat Trap: Why the Output Doesn’t Show Up at First
I briefly tripped over this myself: after the initial setup, both the local web interface and the app only showed me an Input, but no freely switchable Output/Switch. I could switch the relay audibly via an RPC command, but a normal switch tile was missing.
This time the reason wasn’t the device, it was me: the Wall Display comes with a built-in thermostat function that I ended up enabling myself during the initial setup, out of not knowing better – one of the setup steps made it sound to me like I had to select that option, without realizing it ties the relay exclusively to the heating logic. When the function is active, the interface shows a heating/cooling tile with a target temperature instead of a simple on/off switch.

The fix:
- Open the Shelly app → select the device
- In the device menu, open the Thermostat entry
- Disable the thermostat function if you only want to use the display as a light switch
After that, the output shows up as a normal switch tile next to the input – both in the app and in the local web interface.
Using It as a Light Switch: Touch, App, Automation
Once the output is unlocked, there are several equally good ways to switch the lamp:
- Touch on the display: add a tile for the output to the home screen (long-press the display → “+” in the top right → pick the device; details further down)
- Shelly app: the output appears as its own switch channel (id 0) and can be included in scenes and schedules
- Local web interface: power button directly on the home page under “Output”
- HTTP/RPC for your own automations:
http://<display-IP>/rpc/Switch.Set?id=0&on=true
http://<display-IP>/rpc/Switch.Set?id=0&on=false
The built-in proximity sensor also wakes the screen automatically as soon as someone approaches – handy so the switch tile doesn’t first need a tap on the black screen to become visible.
Naming the Relay and Decoupling It from the Input
Before setting up automations, I tidied things up a bit in the local web interface: the device is now called “Dining-Room-WallDisplay”, and the output itself “Dining Room Light” – helpful once you have several Shelly devices in the household and would otherwise only see numbered channels in Actions or scenes.

Under Input/Output settings you can also define how the input and output relate to each other. Since I don’t have a physical extra switch wired to SW, I set the output type to Detached – “Input is separated/not changing state of the output/relay”. That way the relay only reacts to touch, app, web interface, or Actions, and never to an input. I also set “Action on power on” to “Turn ON”, so the light automatically comes back on after a power outage – if you don’t want that, choose “Restore last known state of output/relay” instead.

Switching the Light via the Wall Display
Once you’ve set up the output, there are two simple ways to switch the light connected to the display’s relay directly via the display. Going through the Shelly app or the web interface works too.
- The “swipe gesture” – swipe from the top to the bottom edge of the screen, and the light (or whatever device hangs off the relay) switches on or off
- Edit the dashboard by long-pressing the touch display until the setup dialog appears, then you can add devices (including the output) to the dashboard via the “+” (plus) icon in the top right.

Since firmware 2.8.0, devices from other manufacturers can be added directly on the display via Matter, as long as they support it. Without Matter, the only route is webhooks, which can get fairly tricky. For anything beyond that, it’s worth embedding Home Assistant dashboards on the Wall Display and handling your smart home control from there instead. I cover the details in the follow-up article Shelly Wall Display X2i: Building a Home Assistant Dashboard.
Switching Two Shelly Plugs Automatically – Locally, Without Home Assistant
Besides the ceiling light, I want two Shelly AZ Plugs* (Gen3) in the same room to always switch along whenever I turn the light on via the Wall Display. Without Home Assistant, that’s done via the built-in Actions mechanism: the Wall Display’s output calls one or more URLs on the local network itself when it switches – completely without the cloud, without an extra server, without a script. I use the exact same principle with the Shelly 1 Mini & AZ Plug, explained in a bit more detail in this article.
Creating an Action
In the local web interface under Actions → Create action, I set up one action per switching direction. Important: a single action can contain multiple URLs – so for both plugs, one action for “on” and one for “off” is enough, not four separate ones.
| Action name | Event trigger | Then do (URLs) |
|---|---|---|
| DiningRoom-Plugs-TurnOn | Switch toggled on | http://admin:<password>@192.168.178.198/relay/0?turn=onhttp://admin:<password>@192.168.178.200/relay/0?turn=on |
| DiningRoom-Plugs-TurnOff | Switch toggled off | http://admin:<password>@192.168.178.198/relay/0?turn=offhttp://admin:<password>@192.168.178.200/relay/0?turn=off |


Got a device password set? As soon as a Shelly plug has a device password (web interface → Settings → Authentication), the URL in the action needs to include the credentials – otherwise the plug rejects the request and won’t switch along. That’s why my URLs above include admin:<password>@ before the IP address. They use the /relay/0 path from the first Shelly generation, which my AZ Plugs (Gen3) still accept.

From now on, both plugs reliably switch along as soon as I turn the light on or off – via touch on the display, the app, or the local web interface. That works even when the internet happens to be down.
Shelly Wall Display X2i vs. Alternatives
| Criterion | Shelly Wall Display X2i | Classic rocker switch | Shelly 1 Mini Gen4 behind a button |
|---|---|---|---|
| Price | approx. €155 | a few euros | approx. €15–20 |
| Display/dashboard | Yes, 6.95″ touch | No | No |
| Smart switchable | Yes (app, web, touch) | No | Yes (app, web), physical switch stays unchanged |
| Control other devices in the room | Yes, directly via tiles | No | Only indirectly via the app |
| Home Assistant dashboard right on the wall | Yes | No | No |
| Look with an existing switch series | Its own design, fully replaces the frame | Matches your existing switch series | Existing switch stays as is |
Table takeaway: if you just want to smarten up a single switch without changing its look, a Shelly 1 Mini Gen4 behind the existing button is the cheaper way to go. The Wall Display X2i pays off where a central control point in the room makes sense anyway – for example at the entrance to a living room or home office.
Basic Home Assistant Integration: Controlling the Light Switch via HA Too
The light switch can also be integrated into Home Assistant – then you can switch it via your own HA dashboards, automations, or voice assistants too, independent of the Shelly app. Displaying Home Assistant itself as a dashboard directly on the Wall Display (Settings → Network → Home Assistant) is something I cover in Shelly Wall Display X2i: Building a Home Assistant Dashboard – here it’s just about the basic integration of the switch.
Adding the Wall Display to Home Assistant
Home Assistant automatically detects Shelly devices on the local network via its built-in Shelly integration – under Settings → Devices & Services → Discovered, the Wall Display shows up on its own, with no manual IP entry needed. Which other Shellys suit plugs, roller shutters or lights is covered in my overview Shelly in Home Assistant: Which Shelly for Which Job?.

After clicking “Add”, you can give the device a name and assign it to a room – mine is “Dining-Room-WallDisplay” in the “Living Room” area, since my dining and living areas are one open-plan room (the assigned room can be changed later at any time).
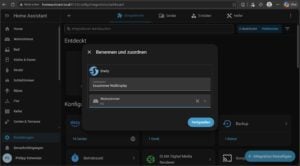
Result: The Light Switch as an Entity in Home Assistant
In the device overview, the output shows up under the name previously assigned in the Shelly web interface, “Dining Room Light”, as a switchable entity – plus additional sensors like occupancy and illuminance automatically.

Via “Add to dashboard”, the switch lands on any Home Assistant dashboard you like and can be switched from there just as reliably as via touch, the app, or the local web interface.

Outlook: Home Assistant Dashboard on the Display
Converting the double box was just the first step for me. Pairing it with the two plugs in the room already runs locally via Actions (see above) – next up is putting a Home Assistant dashboard directly on the display: the Wall Display ships with native Home Assistant integration – under Settings → Network → Home Assistant you can display an existing HA dashboard directly on the panel, without a detour through a separate tablet mount. I’ve described how to set up Home Assistant in the first place in my complete Home Assistant guide for the Raspberry Pi. You’ll find the follow-up article here: Shelly Wall Display X2i: Building a Home Assistant Dashboard.
For additional devices in the room that go beyond plain Actions, I’ll bring in a Shelly 2PM Gen4* if needed.
Troubleshooting: Common Issues
| Problem | Solution |
|---|---|
| Display stays black when powered on | Check the fit of the display on the Power Base – the connector must click in fully |
| No neutral wire in the old box | The Power Base won’t work without N – N needs to be run in before installation, in Germany by a registered electrical contractor (see above) |
| Only “Input”, no “Output” visible in the app/web interface | Disable the thermostat function in the Shelly app (see above) |
| Relay switches audibly, but status doesn’t update in app/broker | Update the firmware to the current version, then reconnect the device once in the app |
| Wi-Fi drops after the initial setup | Try disabling the 5 GHz band and set it up on 2.4 GHz instead, then switch back later if needed |
Frequently Asked Questions
Yes. The Power Base can’t run without both L and N. Classic switch boxes without a neutral wire need to be retrofitted first.
Yes, the relay can be controlled entirely locally via the web interface, HTTP/RPC commands, or Home Assistant. An internet connection is still useful temporarily for the initial setup and firmware updates.
In this case the built-in thermostat function was usually enabled by accident during setup, tying the relay to the heating logic. Disabling it in the Shelly app makes the output appear as a normal switch tile.
A standard switch box, yes: Shelly specifies it for standard flush-mount light switch boxes. It’s 36 mm deep with the Power Base and 11 mm without.
On the i-series (X2i), the relay sits in a separate Power Base that stays in the box permanently, while the display itself is removable. On other variants, the electronics are built directly into the display.
Yes, via the built-in Actions: when the output switches on or off, the display calls one or more URLs on the local network that switch other Shelly devices directly – completely locally, without the cloud and without Home Assistant.
Conclusion
A perfectly ordinary double box has turned into a genuine smart home control panel in my dining room – and the build quality of the Wall Display X2i won me over: the device feels extremely premium, the glass and frame feel high-quality, and nothing wobbles or rattles. Mounting was uncomplicated too – Power Base in, display clipped on, done – and the initial setup via the Shelly app went surprisingly smoothly, including a firmware update right at first boot. The one real pitfall was the active thermostat function that initially hid the output. For a plain switch replacement, the Wall Display X2i is certainly no bargain, but if you’re already looking for a central control point in a room, you get a light switch, a status display, local automation via Actions, and now Home Assistant integration too, all in one well-built device. Have fun building it yourself!