How to Install OctoPrint on Raspberry Pi – Complete Setup Guide
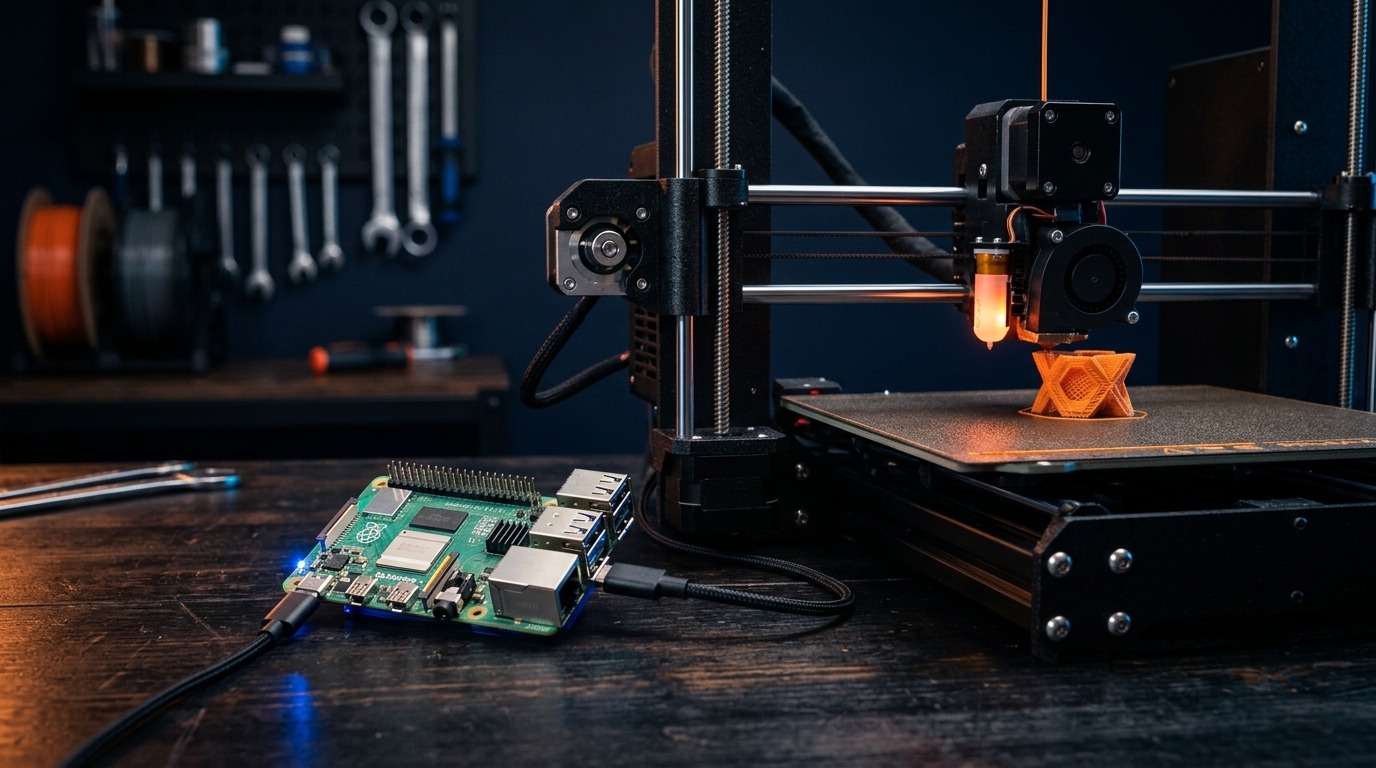
Want to control your 3D printer with a Raspberry Pi – comfortably from your browser, monitoring print progress via webcam, and never have to stand at the printer again just to load a G-code file? Then OctoPrint is exactly what you need – and a Raspberry Pi is the perfect hardware for it.
In this tutorial I’ll show you how to set up OctoPrint on the Raspberry Pi using the official OctoPi image, connect a webcam, and install the most important plugins.
What is OctoPrint?
OctoPrint is a free, open-source web interface for 3D printers. You control your printer entirely from the browser – whether from a PC, smartphone, or tablet. No more USB sticks, no more fiddling with the printer’s SD card.
Key features at a glance:
- Upload G-code files and start/pause/cancel prints
- Real-time temperature graphs for hotend and heated bed
- Live webcam stream directly in the browser
- Automatically create timelapse videos of your prints
- Over 400 plugins for notifications, visualizations, and more
- API for integration with Home Assistant, Node-RED, and other systems
Hardware Requirements
You don’t need much for OctoPrint:
| Component | Recommendation | Notes |
|---|---|---|
| Raspberry Pi | Pi 4 (2 GB) or Pi 5 | Pi Zero 2 W works but is slow. Pi Zero 1 not recommended. |
| MicroSD card | At least 16 GB, Class 10 | 32 GB recommended if you store many G-code files |
| USB cable | USB-A to USB-B or USB-C | Depends on your printer port – must be a data cable, not just a charging cable |
| Webcam (optional) | USB webcam or Pi Camera Module 3 | For live stream and timelapse |
| Power supply | Official Pi power supply | Important: enough current, since the USB cable to the printer draws additional power |
Most USB webcams work without issues. The Logitech C270* is a proven choice – affordable, reliable, and instantly recognized. If you prefer the Pi camera, the Raspberry Pi Camera Module 3* is the best option. Which camera module suits which job is covered in the Raspberry Pi camera comparison.
Installing OctoPi: the OctoPrint image for the Raspberry Pi
The easiest method is the OctoPi image – a Raspberry Pi OS-based system image that comes with OctoPrint, a webcam streamer, and all necessary services pre-installed.
Step 1: Launch Raspberry Pi Imager
Open Raspberry Pi Imager on your PC (free download at raspberrypi.com). It walks you through the steps as a wizard: first pick your Raspberry Pi under Device, then move on to OS.
Step 2: Select the OctoPi image
Navigate to: Other specific-purpose OS → 3D printing → OctoPi
You’ll find two entries there: OctoPi (stable) with the classic webcam streamer and OctoPi (new experimental camera stack) with the new one. With a USB webcam either one is fine; with a Raspberry Pi camera module (v2, v3, HQ) you must take the second entry, even though Imager still lists it as experimental – details in the webcam section below. The image ships the current stable OctoPrint release; since OctoPi 1.1.0 (May 2025) it also runs on the Raspberry Pi 5.
Step 3: Configure settings
Select your microSD card under Storage. Imager then opens the Customisation step. Enter:
- Hostname: e.g.
octopi(then accessible asoctopi.local) - Wi-Fi credentials: SSID and password of your home network
- Username & password: Choose your own username and a strong password
- Enable SSH: Recommended for later maintenance
Step 4: Write the image to the SD card
Finally, click “Write”. The process takes about 5–10 minutes.
Step 5: Boot the Pi and open OctoPrint
Insert the SD card into the Pi, connect the power supply, and wait about 2–3 minutes for the first boot to complete. Then open in your browser:
http://octopi.localIf octopi.local doesn’t work, use the Pi’s IP address – find it in your router or with nmap -sn 192.168.x.0/24.
Setting Up OctoPrint (Setup Wizard)
On the first visit, OctoPrint automatically launches the setup wizard:
- Create admin account: Set username and password for the OctoPrint web interface (separate from the Linux system password)
- Online check: Allow OctoPrint to check for available updates
- Printer profile: Enter your print bed size and number of extruders
- Done: The dashboard appears
Connecting Your Printer
Connect your 3D printer to the Raspberry Pi via USB cable. In OctoPrint, top left:
- For Serial Port, either select AUTO or set it manually (usually
/dev/ttyUSB0or/dev/ttyACM0) - Set your printer’s baud rate – for most Prusa, Ender & Co. it’s
115200 - Click “Connect”
In the Terminal tab, you can verify the connection – you’ll see temperature readings from the printer.
Typical baud rate by printer model:
| Printer | Baud Rate |
|---|---|
| Prusa MK3S+, MK4, XL | 115200 |
| Creality Ender 3, CR-10 | 115200 |
| Anycubic Kobra, Mega | 115200 |
| Bambu Lab (via plugin only) | — |
| Older printers (Marlin <2.0) | 250000 |
Note for Bambu Lab users: Bambu printers communicate via MQTT instead of USB. There’s a Bambu Printer plugin that uses the Wi-Fi connection instead.
Note for Klipper printers: If your printer already runs Klipper (the Elegoo Neptune 4, for example), you don’t need OctoPrint – the web interface there is Mainsail or Fluidd on top of Moonraker. Adding a camera to such a printer is covered in Neptune 4 camera setup, the Home Assistant connection in connect your 3D printer to Home Assistant.
Setting Up a Webcam
OctoPi comes with the webcam streamer built in. Which one depends on the image you picked in the Imager:
- OctoPi (stable) – the classic mjpg-streamer. A USB webcam is detected automatically and the feed appears directly in the dashboard. The Raspberry Pi camera modules (v2, v3, HQ) do not work with this image – the old
camera="raspi"route inoctopi.txtis no longer supported. - OctoPi (new experimental camera stack) – the new camera-streamer, which handles USB webcams and the Pi camera modules. If you want to use a Camera Module 3, flash this image; converting afterwards is more work than reflashing.
Using the Pi Camera Module 3 (New Camera Stack)
Connect the camera module to the Pi’s CSI port via the flex cable and flash the New Camera Stack image – normally that is all: the camera is detected at boot and the Camera Module 3’s autofocus is enabled by default. Resolution and frame rate are set via SSH in the config file (camera basics: set up the Raspberry Pi camera):
sudo nano /etc/camera-streamer.conf.d/libcamera.confThe shipped values are a good compromise for the Pi – stream in 720p, snapshots and therefore timelapses in 1080p:
WIDTH=1920
HEIGHT=1080
VIDEO_HEIGHT=720
SNAPSHOT_HEIGHT=1080
FRAMERATE=15
Restart the service after changes:
sudo systemctl restart camera-streamer-libcameraAdjusting stream quality
In Settings → Webcam & Timelapse you can adjust the stream URL and set the snapshot URL for timelapses. Default URLs on OctoPi (identical for both stacks, alternatively through the built-in proxy as http://octopi.local/webcam/?action=stream):
Stream URL:    http://octopi.local:8080/?action=stream
Snapshot URL:  http://octopi.local:8080/?action=snapshot
The Most Important OctoPrint Plugins
Install plugins via Settings → Plugin Manager → Get More. These five are a great starting point:
| Plugin | Function |
|---|---|
| Octolapse | Professional timelapse videos: print head moves aside for each frame → clean growth effect visible |
| OctoEverywhere | Secure remote access over the internet without port forwarding – free basic version available |
| PrintTimeGenius | Much more accurate remaining time estimates than the built-in algorithm |
| Bed Visualizer | Visualize bed leveling as a 3D map – ideal for checking if ABL is working correctly |
| Cancel Objects | Cancel individual objects from a multi-object print without stopping the entire job |
For AI failure detection there’s the Obico plugin (formerly The Spaghetti Detective), which spots failed prints and pauses them. If you’d rather build that fully local without a cloud, the series AI print watchdog with the Arduino UNO Q takes its own approach.
Remote Access: Setting Up OctoEverywhere
With OctoEverywhere you can access your printer from anywhere – without opening your router. After installing the plugin:
- Restart OctoPrint
- In OctoPrint, go to Settings → OctoEverywhere and click Finish Your 20 Second Setup Now!, which opens the OctoEverywhere website
- Create a free account there or sign in, and your printer is added automatically
- Done – you can now reach your printer through
octoeverywhere.com
The webcam stream also works through the encrypted connection. If you don’t want a cloud service in between, you can reach OctoPrint through your own VPN instead – for example with a WireGuard server on the Raspberry Pi.
Common Problems and Solutions
Printer not recognized (/dev/ttyUSB0 missing):
Check whether the USB cable is actually a data cable. Many printer accessory packs include charge-only cables. Alternatively, check via SSH with lsusb whether the printer shows up at all.
octopi.local not reachable:
On Windows, Bonjour/mDNS is sometimes not installed. Either install iTunes (which includes Bonjour) or use the Pi’s IP address directly from the router interface.
Webcam shows no image:
Check via SSH whether the streamer is running – on the stable image sudo systemctl status webcamd, on the New Camera Stack sudo systemctl status 'camera-streamer-*'. On the stable image, /boot/firmware/octopi.txt only covers the USB webcam; if you are trying to run a Pi camera module there, the wrong image is flashed.
Print disconnections via USB:
Back-powering is the usual cause: the Pi feeds 5 V through the USB cable into the printer mainboard (you can tell by the printer display staying lit while the printer is switched off), or the printer feeds the Pi. Fix: cover the 5 V contact in the USB plug with a strip of tape or insert a USB power blocker, which only passes the data lines. A USB hub with its own power supply helps as well.
Frequently Asked Questions about OctoPrint on the Raspberry Pi
A Raspberry Pi 3B+ (1 GB RAM) is already enough for OctoPrint, but the Raspberry Pi 4 (2–4 GB RAM) is recommended for smooth webcam streams and several plugins at once. The Pi 5 is clearly oversized – its extra performance barely shows with OctoPrint. The official OctoPi image runs on every model from the Pi 2 up, and since OctoPi 1.1.0 (May 2025) on the Pi 5 as well.
OctoPrint is the web software that controls the 3D printer. OctoPi is a preconfigured Raspberry Pi OS image with OctoPrint already installed and set up. OctoPi saves you the manual installation – flash the image, enter your Wi-Fi details and go. The OctoPrint software itself also runs on other Linux systems.
Yes, but not simply via port forwarding – that would be a security risk. Recommended: install Tailscale on the Pi (curl -fsSL https://tailscale.com/install.sh | sh, then sudo tailscale up), after which the Pi is securely reachable from anywhere. Alternatively use the OctoEverywhere plugin, which establishes an encrypted cloud connection without opening any ports.
Most USB webcams with a UVC driver (USB Video Class) are detected automatically – for example the Logitech C270, Logitech C920 or Microsoft LifeCam. The Raspberry Pi Camera Module 3 works well too, but needs the OctoPi image with the New Camera Stack – the Pi camera modules do not run on the classic stable image. Note: Full HD (1080p) for snapshots and 720p for the stream are plenty; higher resolutions only put unnecessary load on the Pi.
OctoPrint 2.0 has been in the release-candidate stage since spring 2026 and isn’t final yet. The OctoPi image from the Imager ships the current stable release; once 2.0 is final, the software updater inside OctoPrint offers the upgrade. Before a major version jump, take a backup via Settings → Backup & Restore so you can roll back if a plugin misbehaves.
Modern printers with cloud connectivity (such as Bambu Lab) bring a lot of this themselves. OctoPrint is most worthwhile for the huge base of USB printers without smart features — and for anyone who wants full control without a vendor cloud.
Nothing — OctoPrint is open source and free. The project lives on voluntary community support, for example via GitHub Sponsors or Patreon.
Conclusion
OctoPrint turns your 3D printer into a fully networked machine. Installation via the OctoPi image takes about 15 minutes, and the convenience gain is enormous: upload G-code files from the browser, monitor temperatures, automatically create timelapse videos, and check remotely whether the print is still running.
Especially paired with a Raspberry Pi 4 or 5, OctoPrint runs stably and quickly – a worthy companion for any maker with a 3D printer.