Reolink TrackFlex Floodlight WiFi: Setup and Home Assistant Integration
The Reolink TrackFlex Floodlight WiFi is a 4K floodlight camera with 360° pan, auto-tracking, and a dual-lens system – and it integrates seamlessly with Home Assistant. I had the chance to test the camera extensively and will show you in this article how to mount it, set it up, and integrate it fully locally with Home Assistant.
Review unit kindly provided by Reolink.
Reolink TrackFlex Floodlight WiFi – What Can It Do?
The TrackFlex Floodlight is no ordinary security camera. It combines a 4K wide-angle lens with a Full HD telephoto lens, can rotate 355° and tilt 50° via motor drive, and automatically turns toward detected motion thanks to three built-in PIR sensors – even when the movement is still outside the field of view. The PIR sensors also trigger the built-in floodlight. Power comes via a 230V mains connection, data is transmitted via Wi-Fi.
| Feature | Specification |
|---|---|
| Main lens | 4K / 8MP, 104° field of view |
| Telephoto lens | Full HD / 2MP, 6x hybrid zoom |
| PTZ | 355° pan, 50° tilt |
| Floodlight | 3000 lumens, 3000–6000K, freely adjustable |
| PIR sensors | 3x (detects motion outside field of view and triggers light) |
| Wi-Fi | Wi-Fi 6, dual-band 2.4/5 GHz, WPA3 |
| Protocols | RTSP, ONVIF, HTTP-FLV |
| Storage | microSD up to 512 GB, FTP/NAS |
| Protection class | IP66 |
| Power supply | 230V hardwired (no PoE) |
| Price | ~€230 on Amazon* |
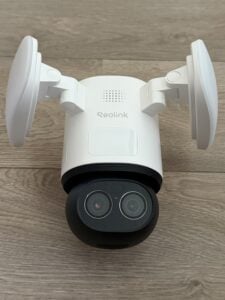
Important for Home Assistant: The camera supports RTSP and ONVIF – both protocols are natively supported by the official Reolink integration.
Materials and Tools
The camera comes with all the necessary small parts. I opted for wall mounting – since there was already an existing light fixture and electrical connection at my chosen location, I didn’t need a separate mounting plate. Here’s what I needed for the installation:
- Phillips screwdriver
- Drill with 6mm bit (4 holes for mounting)
- Standard electrical tools if needed (wire cutters, voltage tester, etc.) and NYY-J cable depending on your installation
- Sturdy ladder or scaffold depending on installation height
- USB smartphone charger for initial setup on the ground (5V, 2A)
Safety notice: Switch off the power at the circuit breaker before installation and verify with a voltage tester that the line is de-energized. The camera requires 100–240 V AC – never connect it to a dimmer or mechanical timer. Only restore power once everything is fully wired and the housing cover is closed. Electrical installation work must be carried out by a qualified electrician.

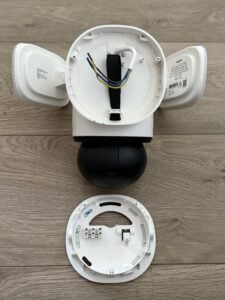
The installation itself was straightforward: the mounting plate attaches to the wall with three screws, the electrical cable is fed in from the side, and the wires are connected via the included wire connectors – I only had to drill three holes. The built-in mounting loop was very helpful during this process.
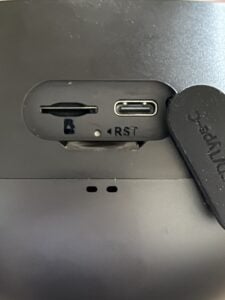
On the underside of the rotating camera head you’ll find the SD card slot, the factory reset button, and a USB-C port. I inserted an SD card before mounting the camera.
Important Notes from the Manual
- Mounting height: 2–3 meters above the ground – this is the optimal height for the three PIR sensors. Mounting too high noticeably reduces motion detection accuracy.
- Wire colors: brown = live (L), blue = neutral (N), yellow-green = earth (PE). For older installations with non-standard colors, always verify with a voltage tester.
- Anchors and screws: For concrete or brick, use the anchors from Package B (included). For wood, the long screws can be driven directly – a 6mm drill bit fits.
- Arrow on the mounting plate: For ceiling mounting, the printed arrow must point toward the house (away from the monitored area) – otherwise the camera will default to the wrong base orientation.
- Remove PIR protective film: Before first use, peel off the transparent protective films from all three PIR sensors – otherwise the camera will barely respond to motion.
- Close the USB-C cover: After completing the initial setup on the ground, close the rubber cover over the USB-C port – this is required to maintain the IP66 rating.
- No dimmers or timers: The camera must not be operated behind a dimmer or mechanical timer – this will damage the electronics.
Camera Setup: First Steps on the Ground
As usual, you need to be within Bluetooth range for the initial setup and use the manufacturer’s (smartphone) app for first-time configuration. Conveniently, you can do the basic setup on the ground by powering the camera via its USB-C port (you’ll need a 5V / 2A USB-A charger, not included – most people have a suitable smartphone charger at home; make sure it provides 2A).
I completed the setup using the Apple iOS app, skipping the SD card and firmware update for now – both can be done later. The app walks you through the complete setup guide for mounting the camera and takes about 5–10 minutes to click through. Have your Wi-Fi password ready to connect the camera to your network. Here’s a photo walkthrough of the iOS setup – no account, subscription, or cloud service required.


Assign a Static IP Address
Before mounting the camera, assign it a static IP via your router (DHCP reservation by MAC address). This ensures the camera is always reachable at the same IP after a reboot – Home Assistant needs a stable address. Doing this after mounting always carries the risk of having to climb back up the ladder and wrestle with the tiny reset button.
You can find the camera’s network settings directly in the app under “Settings” > tap the device name > “Network Info” – there you can switch to a static address. I set the static IP via my Fritz!Box (find the device and check “Always assign this network device the same IPv4 address”) and left the camera’s network setting on DHCP.


Enable HTTP and RTSP
Open the Reolink app and enable HTTP and RTSP under Settings → Advanced Network Settings → Server Settings. Without this setting, go2rtc and other tools cannot access the stream.

Once HTTP is enabled, the camera is accessible not just through Home Assistant but also directly via your browser at http://<ip-address> from within your network – you’ll need the password you set during setup with the username “admin”.


Update the Firmware
Before the final mounting, it’s worth running a firmware update. Open the Reolink app, go to Settings → Device → Firmware Update and check for new versions. The update downloads and installs automatically – the camera will restart on its own afterwards. This process takes about 5 minutes, during which the camera is unreachable.
Mounting on the Wall
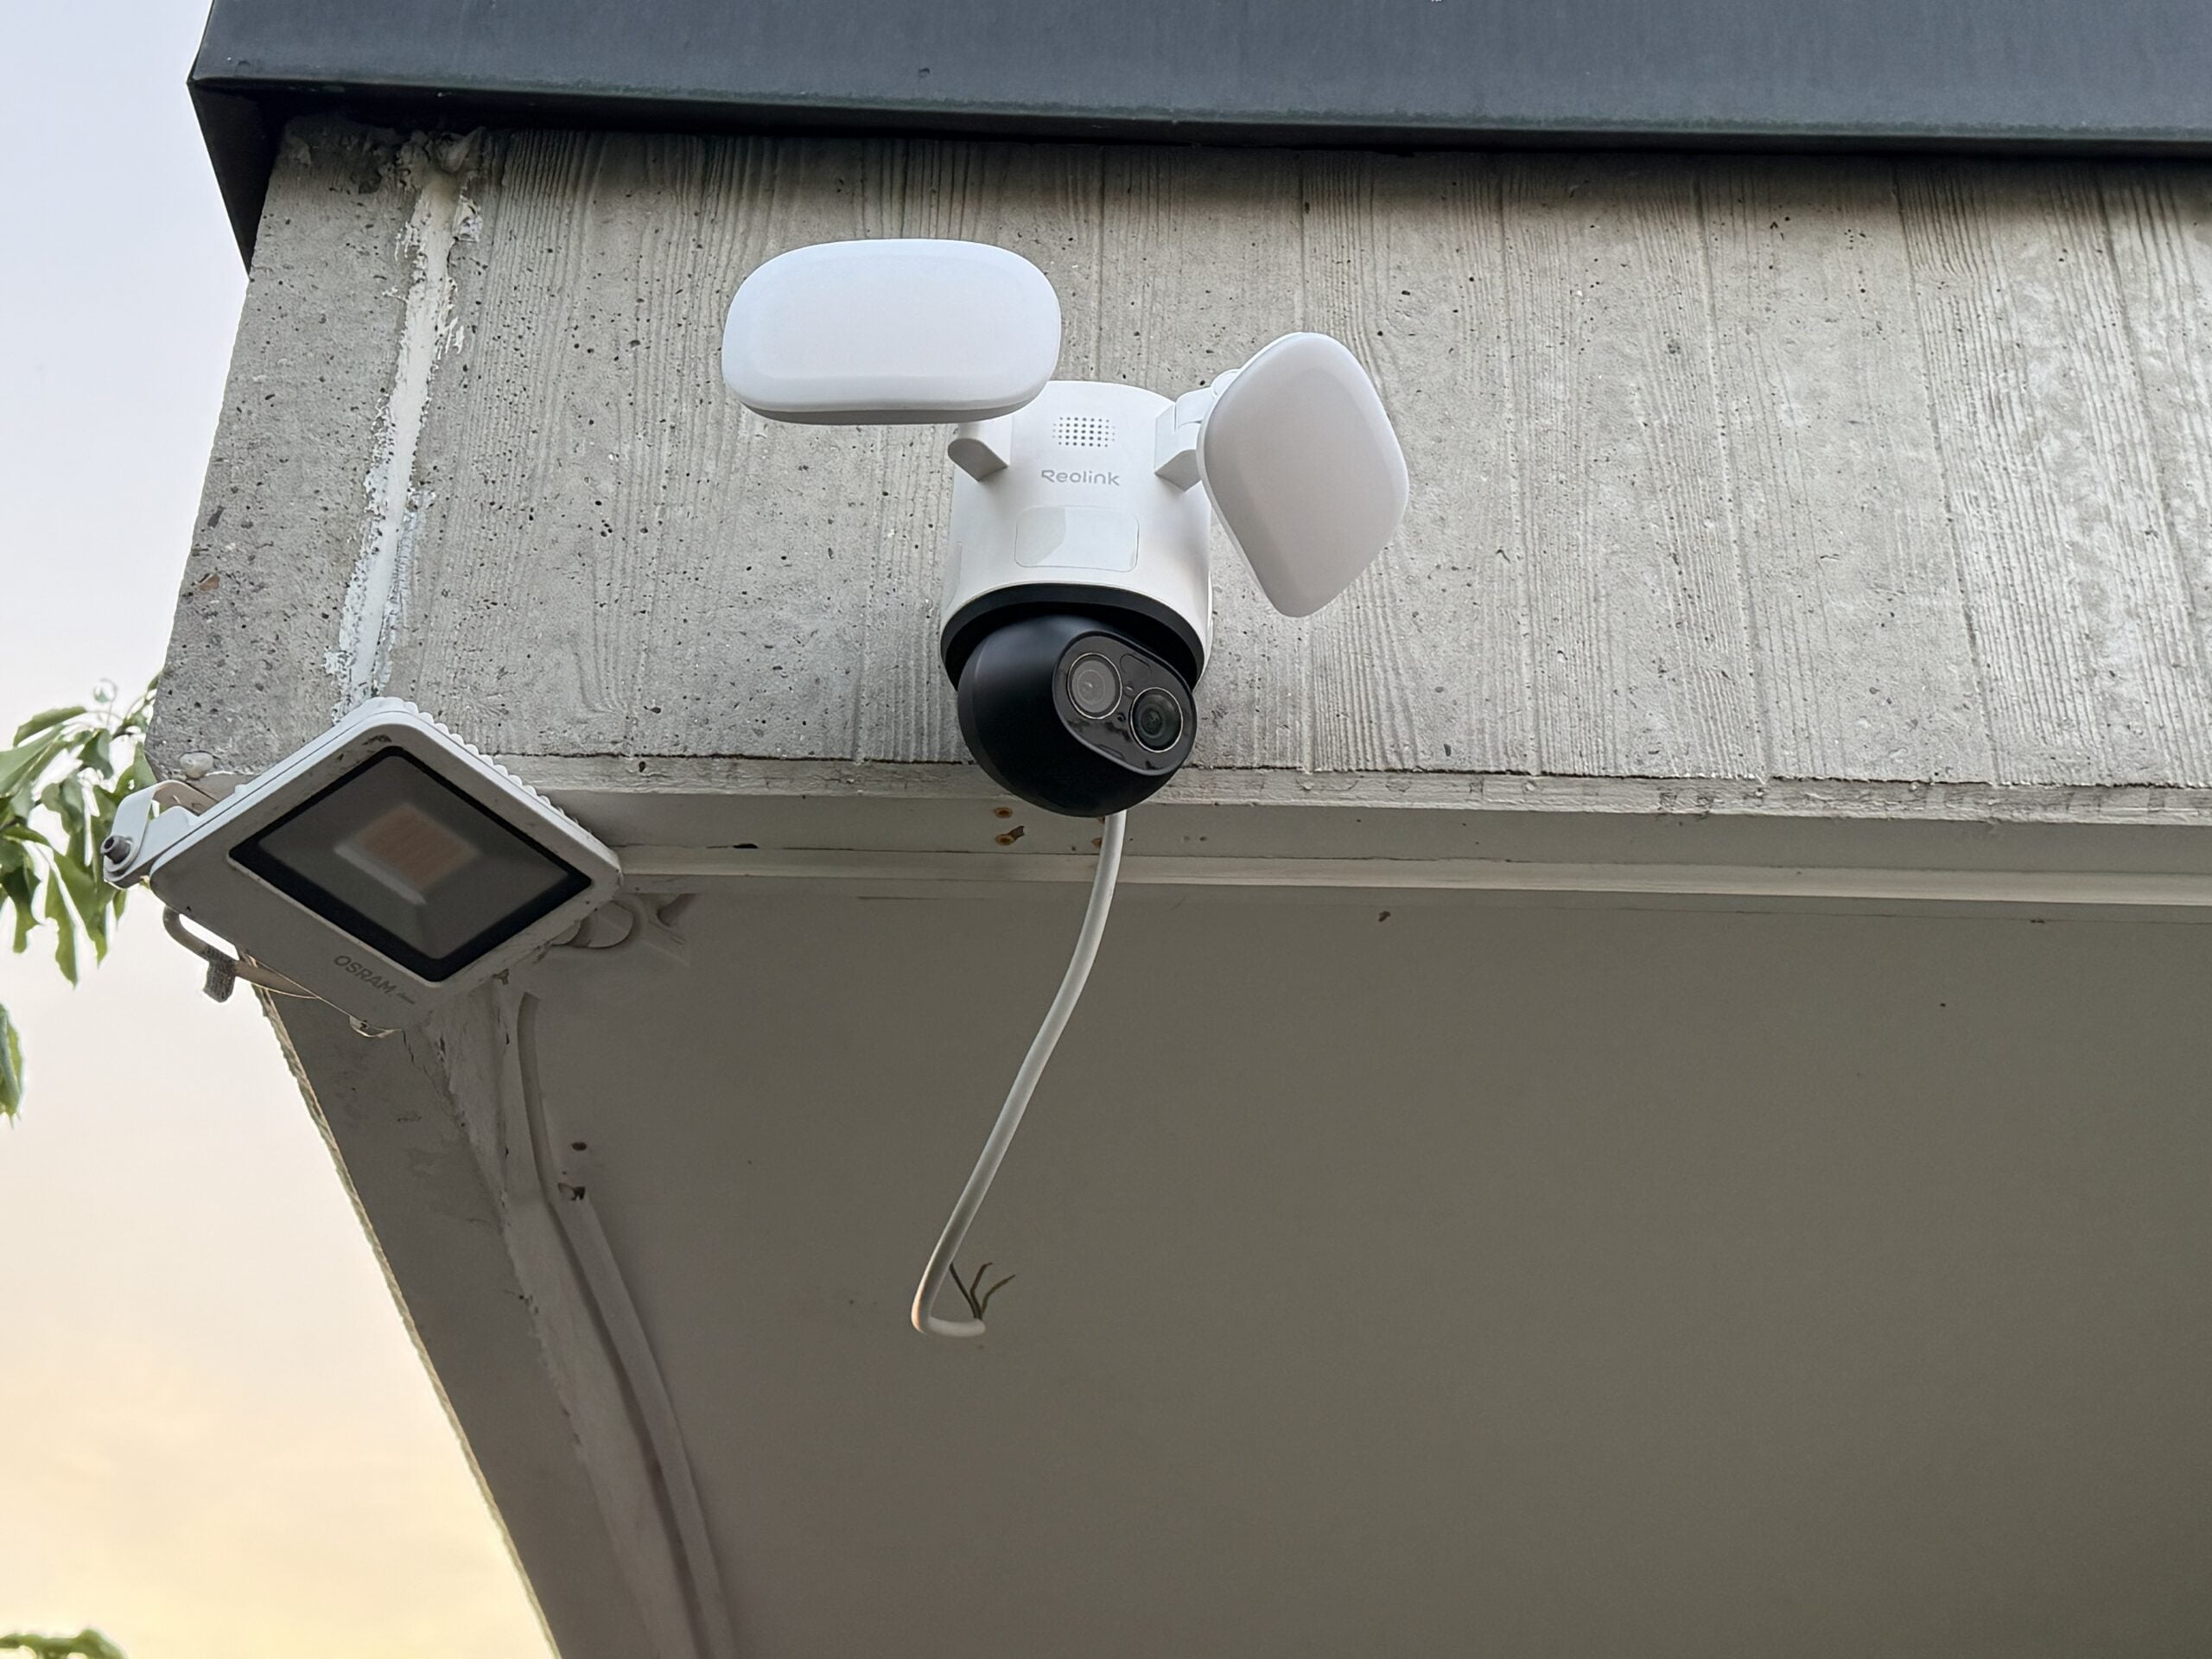
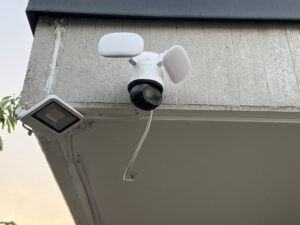
I mounted the camera on a concrete balustrade at just under 3 meters, next to the old floodlight it replaced. Wall mounting was straightforward, but you always need both hands free for connecting the wire connectors, routing the cable, and securing the camera – a stable stance and a helper are essential. Due to the summer heat I skipped detailed step-by-step mounting photos, but the included manual is thorough and leaves nothing to be desired.


Anyone who just wants to run the camera with an SD card and the Reolink app is essentially done at this point – apart from fine-tuning settings in the app. Here’s my camera fully mounted; I still had to sort out the wiring and remove the old floodlight I was replacing.
Configuring the Camera via App
I handled the most important settings through the Reolink app. While almost everything needed for daily use can be done via Home Assistant, there are a few things you should (or must) configure once through the Reolink app. This includes:
- The privacy mask to ensure only legally permissible areas are recorded – I strongly recommend masking public spaces and neighboring properties (Settings > Display > Privacy Mask)
- Motion detection exclusion zones to avoid triggering recordings for every passing car (Settings > Motion Alert > Non-Detection Zone)
- Storage encryption to protect the recorded footage in case of theft or loss (Settings > File Encryption)
The app can feel a bit overwhelming at first due to the sheer number of settings, but you get used to it quickly. Zooming and controlling the camera remotely works without an account and works great.


Integrating Reolink into Home Assistant
The official Reolink integration in Home Assistant is rated as a Platinum integration, the highest tier on Home Assistant’s integration quality scale. Its main developer is starkillerOG, and Reolink officially authorizes and supports it. Reolink cameras are officially first-class supported (official documentation). If you haven’t installed Home Assistant yet, our complete guide will get you started – and if you’re not sure which hardware to use, the HA Hardware Comparison 2026 has all the answers.
Adding the Integration
In Home Assistant, go to Settings → Devices & Services → Add Integration and search for “Reolink”. Enter the camera’s IP address, username (admin), and the password you set during setup.
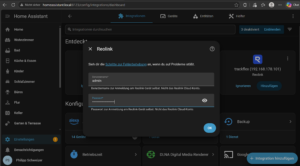
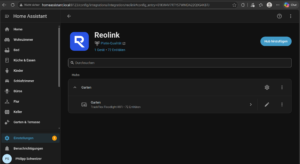
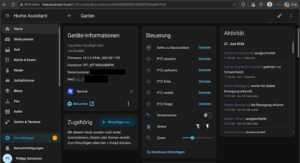
After setup, Home Assistant currently provides 77 entities:
- Camera stream (main lens + telephoto lens)
- Motion detection (person, vehicle, animal)
- Floodlight control (on/off, brightness, color temperature)
- PTZ control (pan, tilt, presets)
- Siren (if available)
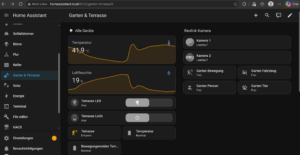
I added the most useful camera entities to my dashboard first.
Control the Floodlight via Automation
A typical use case: the floodlight turns on automatically whenever motion is detected by another motion sensor (motion detection for the camera or via the PIR sensors can be conveniently configured in the app). In Home Assistant this is done with a simple automation – the possibilities are nearly endless. If you want to expand your smart home further, our article on the MQTT broker on the Raspberry Pi is a great complement for more complex automations:
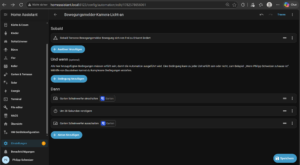
alias: Motion-Sensor-Camera-Light-On
description: "Turns on the camera light for 30 sec. when motion is detected on the terrace"
triggers:
  - trigger: state
    entity_id:
      - binary_sensor.terrasse_bewegungsmelder_bewegung
    from:
      - "off"
    to:
      - "on"
conditions: []
actions:
  - type: turn_on
    device_id: 9e4660f30ffd92300859036aa861f5e0
    entity_id: 388782fc390d238ab601a601791ed200
    domain: light
  - delay:
      hours: 0
      minutes: 0
      seconds: 30
      milliseconds: 0
  - type: turn_off
    device_id: 9e4660f30ffd92300859036aa861f5e0
    entity_id: 388782fc390d238ab601a601791ed200
    domain: light
mode: single
Known Issue: Connection Drops with Multiple Clients
When multiple clients access the camera simultaneously – such as the Reolink app and the Home Assistant integration running in parallel – brief connection drops of the Reolink entities can occur. For continuous operation, it’s best to open the app only when needed and use Home Assistant as the primary client. If you also want to run an NVR like Frigate, run it on a separate IP address (e.g. its own Docker bridge network or a separate Raspberry Pi).
Conclusion – Is the Reolink TrackFlex Floodlight Worth It?
The Reolink TrackFlex Floodlight WiFi is an impressive outdoor camera. The auto-tracking works reliably, the 4K main lens image quality is excellent, and the zoom of the second camera is a real asset on larger properties. The Home Assistant integration runs stably – 77 entities including PTZ control and floodlight directly from HA. Anyone who doesn’t want to run their own NVR can conveniently store recordings on a microSD card. What I particularly love is how the floodlight integrates into my existing Home Assistant automations, combined with a very capable, self-sufficient PIR motion detector.
The only drawback: the 230V hardwired installation makes mounting slightly more involved compared to battery or solar models. That said, anyone who already has an outdoor light fixture or power outlet at the desired location is in good shape. At around €230*, you get a camera that leaves very little to be desired. If you’re on a tighter budget or don’t want to set up Home Assistant, storing recordings locally on an SD card and using the cloud-free Reolink app is a perfectly viable option.
FAQ: Reolink TrackFlex Floodlight and Home Assistant
Yes – RTSP and ONVIF support enables fully local operation. Neither Home Assistant nor Frigate require a Reolink cloud connection. The Reolink app does communicate with the cloud, but you don’t need it for local Home Assistant operation. The app is required for initial setup, but no user account needs to be created.
The RTSP URLs for direct stream integration (e.g. in VLC or go2rtc) are:
Main lens main stream (4K): rtsp://admin:PASSWORD@IP-ADDRESS:554/h264Preview_01_main
Main lens sub stream (1080p): rtsp://admin:PASSWORD@IP-ADDRESS:554/h264Preview_01_sub
Telephoto lens main stream (1080p): rtsp://admin:PASSWORD@IP-ADDRESS:554/h264Preview_02_main
RTSP must be enabled in the camera settings first (see section above). The Home Assistant Reolink integration configures the stream automatically – the manual URL is only needed for external tools.
Yes, the Reolink integration provides PTZ control services. You can send pan and tilt commands directly from automations or your dashboard.
No – the TrackFlex Floodlight WiFi is hardwired to 230V mains power (no PoE). Reolink does offer a separate PoE variant in their lineup.