Shelly in Home Assistant: Which Shelly for Which Job? (2026)
In many Home Assistant setups, Shelly devices are the easiest way to make existing sockets, light switches and roller shutters smart: they use Wi-Fi, need no hub and no cloud, and usually show up in Home Assistant on their own. The hard part is choosing. Shelly sells dozens of models across four generations, with and without power metering, for the socket, the wall box or the DIN rail. This overview explains which Shelly fits which job, how to set up Shelly in Home Assistant and which entities the devices provide there. It is based on the Shellys that have been running in our home for months: a Plus 2PM as a roller shutter controller, two AZ Plugs, a 1 Mini Gen3 and a Wall Display.
Shelly is a range of smart relays, plugs, dimmers and sensors made by the Bulgarian Shelly Group (formerly Allterco). The devices connect via Wi-Fi, from Gen4 also via Zigbee, and can be controlled locally without the cloud. Home Assistant supports all four generations through the official Shelly integration; from Gen3 they also work via Matter. Most relays and plugs are inexpensive, the Wall Display costs considerably more.
Which Shelly for which job? The overview
The task answers most questions: what do you want to switch, and where does the device fit? The table maps the current models to typical uses. “PM” in the name stands for power metering.
| Task | Model | Installation | Power metering |
|---|---|---|---|
| Switch and measure a device at the socket | AZ Plug | plug-in adapter | yes |
| Make a light behind a wall switch smart | 1 Mini Gen3/Gen4, 1PM Mini Gen3 | wall box behind the switch | PM version only |
| Switch larger loads, dry contact | 1 Gen4 | wall box | no |
| Switch and measure larger loads | 1PM Gen4 | wall box | yes |
| Roller shutter or two circuits | 2PM Gen3/Gen4, Plus 2PM | wall box | yes |
| Dim lights | Dimmer Gen4 | wall box, also without neutral | yes |
| Garage door, doorbell, low voltage | Plus Uni | inside the device or enclosure | no |
| Temperature and humidity | H&T Gen3 | battery-powered, free-standing | – |
| Motion and brightness | BLU Motion | battery-powered, Bluetooth | – |
| Light switch with display and dashboard | Wall Display X2i | wall box instead of a light switch | no |
Our recommendation for getting started: a plug with power metering shows you how Shelly works in Home Assistant without any electrical work. If you then want to control lights or roller shutters, move on to the in-wall models. For those:
All in-wall Shellys are installed into the building’s mains wiring. In many countries this work is legally reserved for qualified electricians, and mistakes can be fatal. The wiring diagrams in the manufacturer’s manual always take precedence. This guide covers the Home Assistant side, not the wiring.
Shelly generations: what matters for Home Assistant
Shelly sells devices from several generations side by side, some with almost identical names. For Home Assistant they mainly differ in how they communicate:
| Generation | How to recognise it | Protocol in Home Assistant | Notes |
|---|---|---|---|
| Gen1 | Shelly 1, 2.5, Dimmer 2, Plug S (old) | CoIoT | CoIoT must be enabled on the device, no longer worth buying |
| Gen2 | “Plus” and “Pro” in the name | RPC | Bluetooth, scripts |
| Gen3 | “Gen3” in the name | RPC | faster chip, Matter via firmware update |
| Gen4 | “Gen4” in the name | RPC | Wi-Fi, Bluetooth, Zigbee and Matter in one device |
From Gen2 onwards you usually don’t need to configure anything; details are in the Shelly integration documentation. On Gen1 devices CoIoT has to be enabled in the device’s web interface under Internet & Security → Advanced – Developer Settings, otherwise Home Assistant does not receive state changes in real time and raises a repair. Gen1 devices are still around second-hand, but we would not buy them new.
Gen4 is the first generation that also speaks Zigbee. A Dimmer or 2PM Gen4 can therefore run either on Wi-Fi or in a Zigbee network, for example with Zigbee2MQTT. Out of the box the Dimmer Gen4 starts in Matter mode; according to the manufacturer five button presses switch it to the Zigbee profile. For most setups, Wi-Fi with the Shelly integration remains the simplest route.
Add Shelly to Home Assistant
Before Home Assistant comes into play, the Shelly has to join your Wi-Fi. Use the Shelly app or the access point a new device opens: connect your phone, open 192.168.33.1 and enter your Wi-Fi credentials. A firmware update in the device’s web interface is worthwhile afterwards.
- Home Assistant discovers Shellys on the same network automatically. The device appears under Settings → Devices & services as discovered. All five Shellys in our installation were added this way.
- Click Add on the card and confirm. If the Shelly is password-protected, Home Assistant asks for it.
- If nothing shows up, add the Shelly integration manually and enter the device’s IP address, which you find in your router.
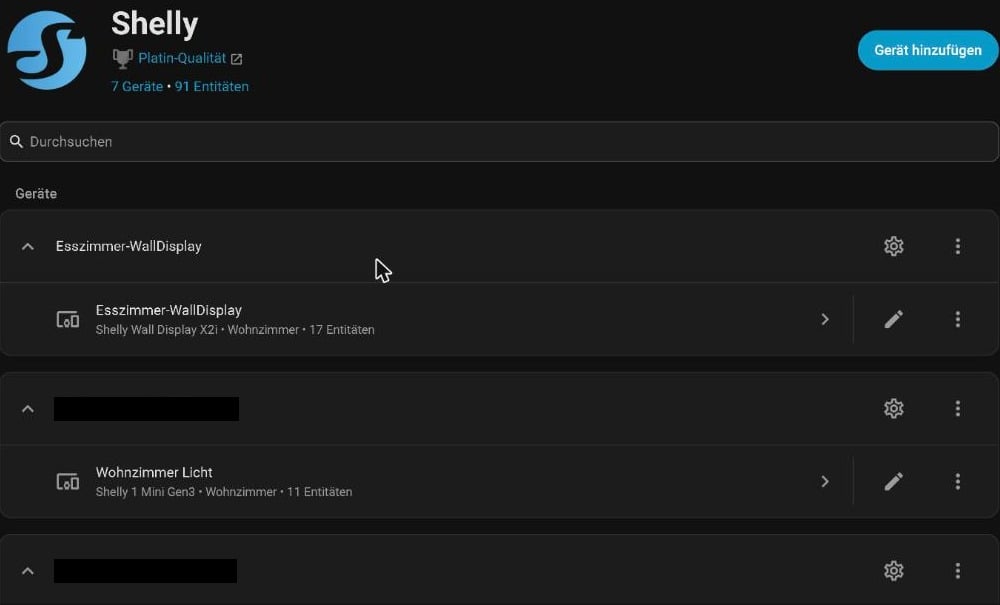
The integration works completely locally. You don’t need the Shelly cloud for it, and the Shelly pushes state changes to Home Assistant immediately. Give every Shelly a fixed IP address in your router (DHCP reservation): if the address changes, Home Assistant loses the connection.
Shelly integration, Matter or MQTT?
Gen3 and Gen4 devices can also be added via Matter, and all Shellys from Gen2 speak MQTT. For Home Assistant we still recommend the Shelly integration: it provides all measurements, protection alerts and firmware updates as entities. With Matter, you only get what the model and its firmware expose there. MQTT makes sense if the same devices should also talk to ioBroker or Node-RED.
Special cases: battery devices, HTTPS and Bluetooth
- Battery-powered devices such as the H&T Gen3 sleep most of the time and connect to Home Assistant themselves. If that fails, enter
ws://<Home Assistant IP>:8123/api/shelly/wsin the device’s web interface under Settings → Connectivity → Outbound WebSocket. - Enhanced Security (firmware 2.0, Gen2 and newer) includes additional security features, HTTPS among them. Devices shipped with firmware 2.0 already have HTTPS enabled with a factory certificate from Shelly. An older device updated to 2.0 stays on HTTP. It only switches to HTTPS once you enable Enhanced Security and upload your own certificate; Enhanced Security alone is not enough. The Shelly integration detects HTTPS itself and then connects via port 443.
- Bluetooth proxy: mains-powered Shellys from Gen2 forward Bluetooth signals to Home Assistant. In our home the Plus 2PM and the 1 Mini Gen3 act as Bluetooth receivers in rooms the Raspberry Pi can’t reach. Shelly’s BLU sensors are then added via the BTHome integration, not via the Shelly integration.
Smart plugs: Plug S Gen3 and AZ Plug
A smart plug goes between the socket and the device. The Shelly Plug S Gen3* switches up to 12 A or 2,500 W, measures power and speaks Matter as well as Wi-Fi. Shelly has since discontinued it, and on Amazon it is now only sold in multipacks. The Shelly AZ Plug* also switches up to 12 A or 2,500 W, measures power and is sold individually; ours runs firmware 2.0. Both are designed for European sockets; Shelly sells separate plug models for other regions. We use two AZ Plugs for the lighting in our living-room cabinets, the setup is shown in Furniture lighting with Shelly 1 Mini Gen3 and AZ Plug.
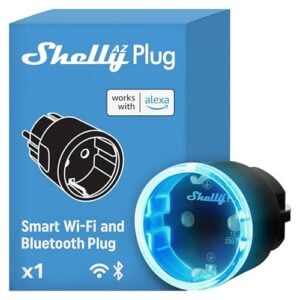
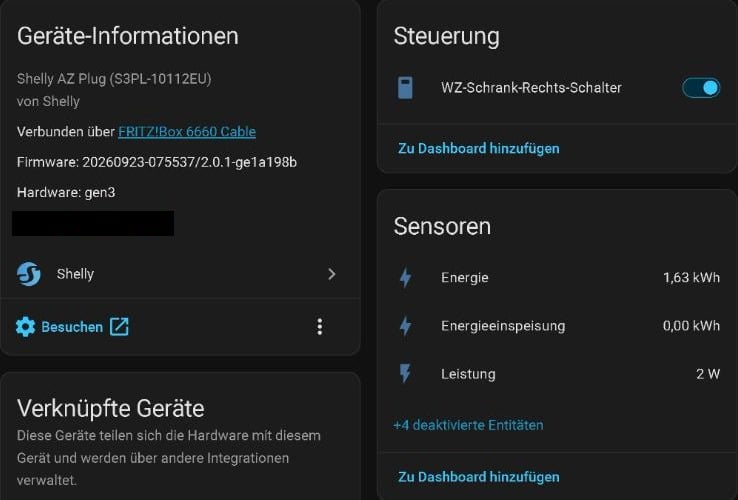
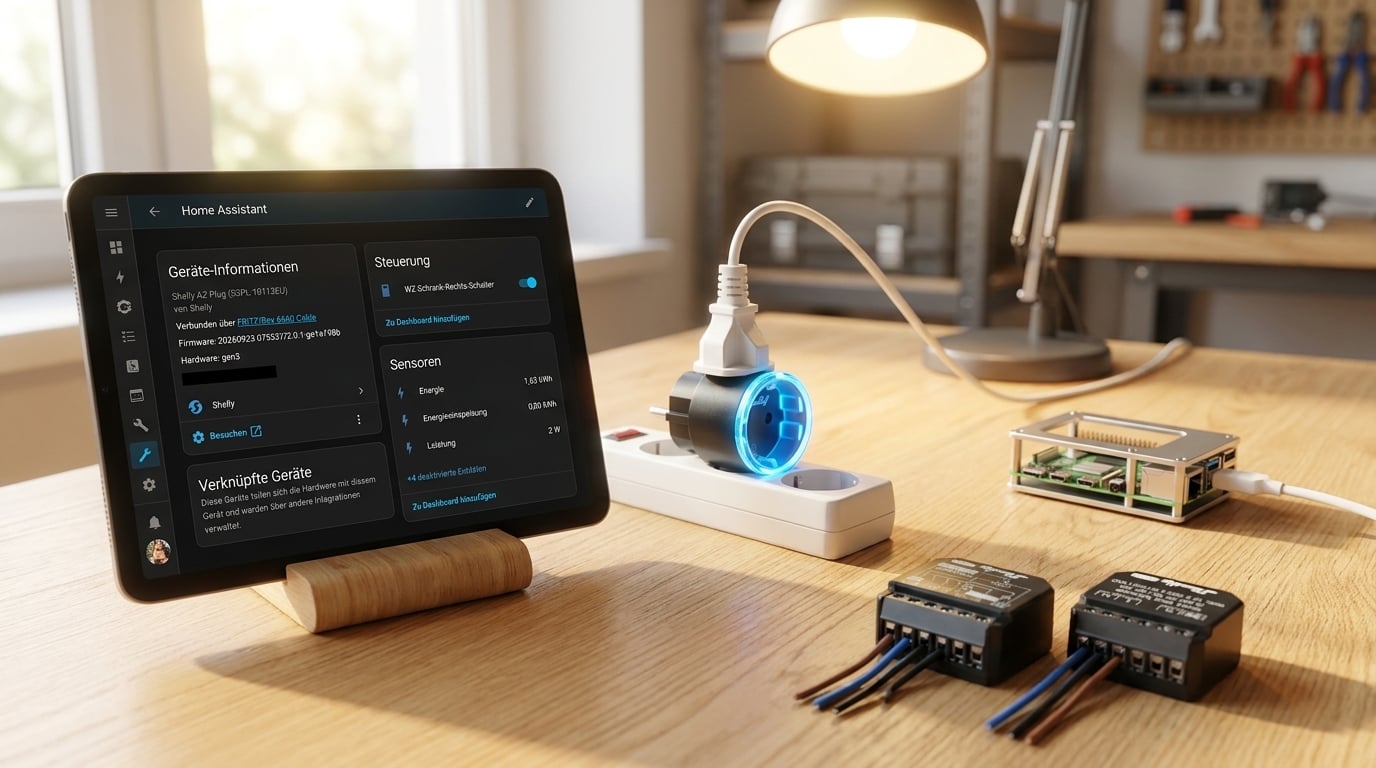
In Home Assistant an AZ Plug provides the switch plus the current power in watts, the accumulated energy in kWh and an entity for returned energy flowing in the opposite direction. On top come four protection alerts for overheating, overpower, overvoltage and overcurrent, a restart button and an update entity for the firmware. Voltage, current, frequency and temperature exist too, but are disabled by default; you enable them on the device page under the disabled entities. The energy entity can go straight into Home Assistant’s energy dashboard as an individual device.
Typical uses: monitor the washing machine or dishwasher and send a notification when it’s done (guide: Dishwasher done? Push notification with a Shelly plug), switch off standby consumers or measure the consumption of individual devices. For fan heaters and other continuous loads close to the maximum, a plug is the wrong choice; a hard-wired relay belongs there.
Roller shutters: Plus 2PM and 2PM Gen4
A roller shutter motor has two windings, one for up and one for down. The 2PM switches both directions, measures the current and uses it to detect the end positions. In our home a Shelly Plus 2PM (Gen2) has been controlling the shutter in the kids’ room for months. Buying new today we would choose the Shelly 2PM Gen4*, which does the same and adds Zigbee and Matter. On Amazon it comes as a two-pack, enough for two shutters.
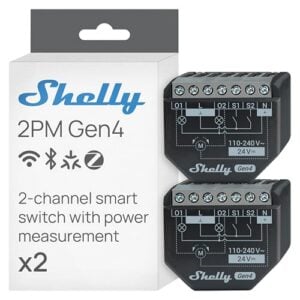
For Home Assistant to show the 2PM as a roller shutter instead of two switches, set the profile to Cover in the Shelly’s web interface and start the calibration there: the shutter moves fully up and down once and the Shelly learns the travel time. Only then can it move to intermediate positions.
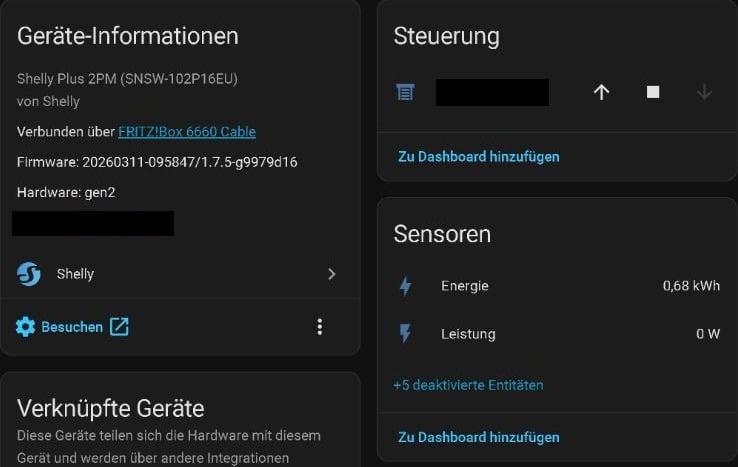
Home Assistant then shows an entity of type cover (device class shutter) with open, close, stop and a position from 0 to 100 percent. Energy and power are visible by default; voltage, current, frequency, the internal temperature and further diagnostic values are provided by our Plus 2PM as well, but Home Assistant creates them disabled. On top come the two switch inputs and the same four protection alerts as on the AZ Plug. With the position you can build automations such as “at sunset to 20 percent” or “close halfway above 28 °C in summer”. Several shutters can be combined in a cover group.
Lights behind the switch: 1 Mini, 1PM Mini and 1 Gen4
The Mini models fit into a deep wall box behind an existing light switch. The switch keeps working and becomes the Shelly’s input, and you can additionally switch the light from Home Assistant. The Shelly 1 Mini Gen3* switches up to 8 A without metering, the Shelly 1PM Mini Gen3* adds power metering. For 16 A and a dry contact, for example to signal a heating demand, there is the Shelly 1 Gen4*. The Shelly 1PM Gen4* also switches up to 16 A and adds power metering, but it has no dry contact.
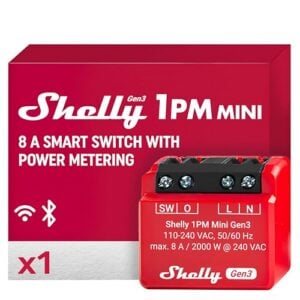
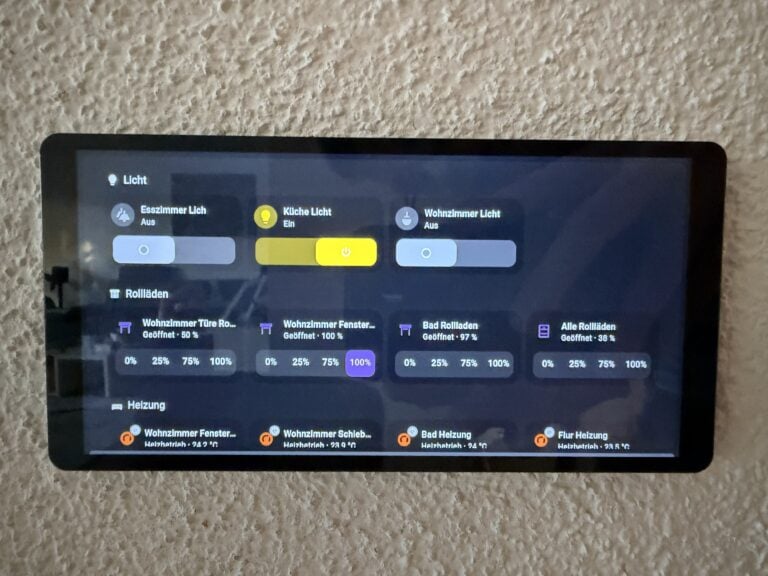
In our home a 1 Mini Gen3 switches the cabinet lighting in the living room and doubles as a Bluetooth proxy. In Home Assistant it provides a switch, a firmware update entity and the diagnostic values. If you want to replace your light switches altogether, look at the Wall Display: our review Shelly Wall Display X2i as a light switch covers the installation, Shelly Wall Display with a Home Assistant dashboard the integration.
Dimming: Dimmer Gen4
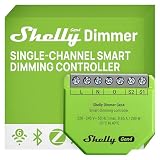
The Shelly Dimmer Gen4* is a trailing-edge dimmer for dimmable LED and halogen lamps. According to the manufacturer it works with and without a neutral wire; without neutral and with a small load it needs a bypass. On first use it calibrates itself to the connected lamp. Like the 2PM, Gen4 brings Wi-Fi, Bluetooth, Zigbee and Matter.
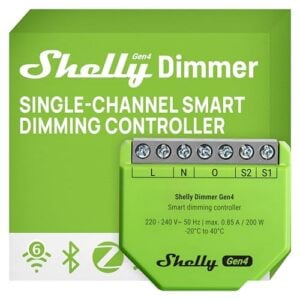
In Home Assistant the dimmer appears as a light with brightness. We don’t run a dimmer ourselves; what we say about load types and calibration comes from the manufacturer’s documentation. Its predecessor, the Dimmer 2, belongs to Gen1 and needs CoIoT in Home Assistant.
Garage doors, sensors and motion detectors
- The Shelly Plus Uni* is a small low-voltage module with two dry-contact outputs and inputs. Typical uses are garage door openers that expect a button pulse, or an old doorbell. For a doorbell via Zigbee, our article Make a classic doorbell smart shows another approach.
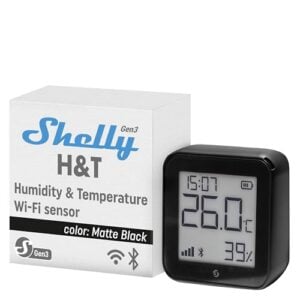
- The Shelly H&T Gen3* measures temperature and humidity, runs on batteries and shows the values on an e-ink display. In Home Assistant you get temperature, humidity and battery level.
- The Shelly BLU Motion* is a Bluetooth motion sensor with a light sensor. It runs via BTHome and a Bluetooth receiver, i.e. a Shelly from Gen2 as a proxy or Home Assistant’s own Bluetooth adapter. For presence at a desk an mmWave sensor works better, see Presence sensor in Home Assistant.
Shelly also makes radiator thermostats (Shelly TRV and BLU TRV). Home Assistant supports the BLU TRV through the Shelly BLU Gateway Gen3 or other Shelly devices with built-in BLU TRV support. If you want to control radiators in Home Assistant, our article Automate Homematic heating shows a proven route with Better Thermostat.
Common problems and fixes
| Problem | Cause | Fix |
|---|---|---|
| Shelly occasionally “unavailable” | IP address changed or weak Wi-Fi | DHCP reservation in the router, check the signal strength entity, use a Shelly as range extender if needed |
| States arrive late (Gen1) | CoIoT not enabled | enable CoIoT in the web interface, enter the Home Assistant IP with port 5683 as peer, save and restart the Shelly |
| H&T reports no values | outbound WebSocket missing | enter ws://<IP>:8123/api/shelly/ws on the device |
| 2PM shows two switches instead of a shutter | profile set to switch | set the profile to Cover and calibrate |
| Shelly unreachable after switching to HTTPS | device now uses HTTPS (port 443) | the integration detects HTTPS itself; if that doesn’t help, reload the entry under Devices & services |
| New device does not show up | different network or VLAN | add the Shelly integration manually and enter the IP |
Our picks: Shelly for Home Assistant
Live Amazon prices for your marketplace, timestamp in every tile. AZ Plug to get started, 2PM two-pack for roller shutters, 1PM Mini for lights, Dimmer Gen4 for dimming.

Shelly and Home Assistant FAQ
It depends on the job. To get started without electrical work, a plug with power metering such as the AZ Plug; for roller shutters the 2PM Gen4; for lights behind a switch the 1PM Mini Gen3; for dimming the Dimmer Gen4. Buy Gen3 or Gen4, Gen1 devices are outdated.
No. Home Assistant’s Shelly integration talks to the devices directly on your local network. You only need the cloud if you also want to use the Shelly app remotely.
Connect the Shelly to your Wi-Fi; Home Assistant then usually discovers it automatically under Settings → Devices & services. Click Add there. If it doesn’t show up, add the Shelly integration manually and enter the IP address.
For Home Assistant the Shelly integration. It provides all measurements, protection alerts and firmware updates as entities. With Matter, you only get what the model and its firmware expose there. Matter makes sense if the same devices should also appear in Apple Home or Google Home.
Some models, yes, for example the Dimmer Gen4, with a bypass for small loads. Most relays such as the 1 Mini or 2PM need a neutral wire. In any case, installation belongs in the hands of a qualified electrician.
With a 2PM in the Cover profile. After calibration in the Shelly’s web interface, Home Assistant shows a cover entity with open, close, stop and a position from 0 to 100 percent that you can use in automations.
Conclusion
For Home Assistant, Shellys are the most convenient way to make existing wiring smart: they show up on their own, run locally and usually deliver measurements on top of switching. A plug with power metering is enough to get started, the 2PM is the obvious choice for roller shutters and the 1PM Mini for lights behind a switch. Buy Gen3 or Gen4, not Gen1 any more, and give every device a fixed IP address. And leave the installation of the in-wall models to a qualified electrician.