The UNO Q’s Debian System: SSH, Terminal & More
For us Raspberry Pi tinkerers, the most exciting part of the Arduino UNO Q is not the microcontroller – it is what sits next to it: a full-blown Debian Linux running on the Qualcomm processor. In this article we dive into exactly that system. I will show you every way into the shell (SSH, ADB over USB and the built-in terminal in App Lab), how to get files onto the board, what you need to know about system maintenance, and the special command-line tools Arduino ships that you will not find on any other Linux board.
This article is part of our UNO Q series: We covered the initial setup with App Lab in the setup guide, and how the board performs overall is in our big review against the Raspberry Pi 5. All parts of the series are collected in the Arduino category.
Arduino provided the UNO Q free of charge as a test unit; this has no influence on the content.
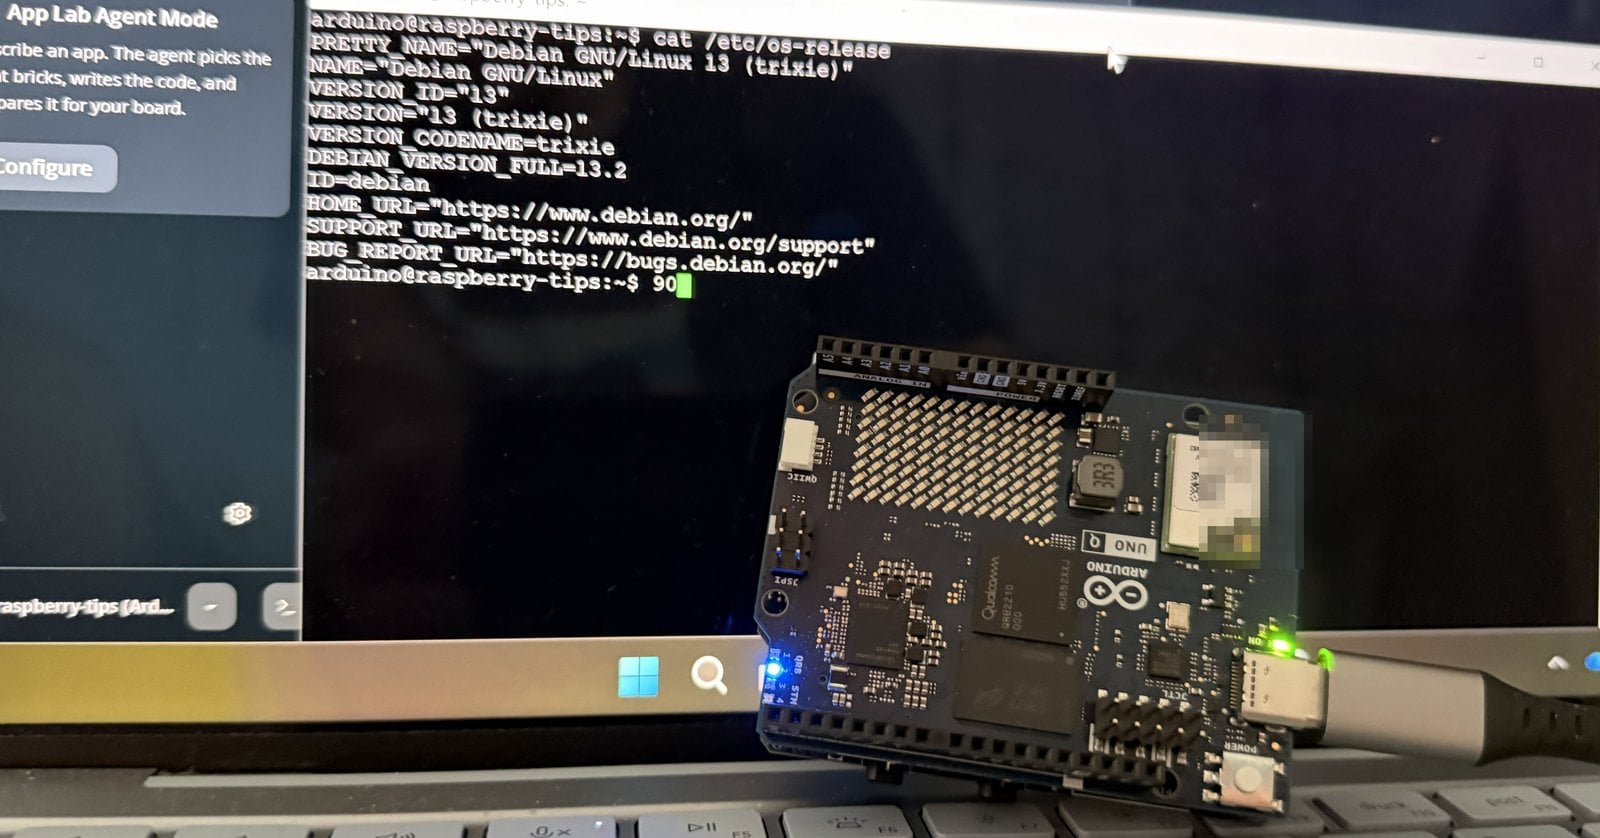
The Arduino UNO Q runs a complete Debian 13 (“Trixie”, arm64). There are three ways into the shell: the built-in terminal in Arduino App Lab, ADB over the USB-C cable (
adb shell, no network required) and classic SSH over Wi-Fi with ssh arduino@<boardname>.local. The user is always arduino; SSH is enabled automatically during the first setup.
What actually runs on the UNO Q
The Linux side of the UNO Q runs a genuine Debian 13 (“Trixie”) for the arm64 architecture – not a stripped-down embedded build, but the same distribution with the same package repositories you know from servers and desktops. Arduino even maintains upstream support in the Linux kernel. In parallel, the STM32 microcontroller keeps running your sketches – the two worlds are connected through an internal bridge without getting in each other’s way.
If you are coming from the Raspberry Pi you will feel at home immediately – but a few conventions are different, and you should know them before porting Pi tutorials one to one:
| Raspberry Pi | Arduino UNO Q | |
|---|---|---|
| Operating system | Raspberry Pi OS (Debian derivative) | Debian 13 “Trixie” (pure, arm64) |
| Default user | your choice (formerly pi) | always arduino |
| System configuration | raspi-config | arduino-linux-config + App Lab |
| Boot medium | microSD / NVMe / USB | soldered eMMC (16/32 GB) |
| Installing the OS | Raspberry Pi Imager | flash function in App Lab |
| GPIO access | directly from Linux | primarily owned by the microcontroller |
The last point is the most important one: On the Pi you drive GPIO pins directly from Linux, on the UNO Q the pins belong to the STM32 – Linux talks to it through the internal RPC bridge. Why that is actually an advantage for time-critical tasks is something we measured in our review.
What you need
- an Arduino UNO Q that has been through the initial setup with App Lab (that is where Wi-Fi, the board name and the Linux password are configured)
- a USB-C data cable* for the ADB route (charge-only cables will not work)
- for SSH: computer and board on the same Wi-Fi network
If you do not have a board yet: The bare boards are often out of stock, but Amazon carries the official Arduino bundles – the UNO Q 4GB with a 45 W power supply* or the UNO Q 2GB with a USB-C hub*.
Option 0: The terminal built into App Lab
The quickest way for a command in between: Arduino App Lab includes direct terminal access for connected boards – you simply click your way into the shell from the familiar interface without installing anything. That is perfect for short commands; but as soon as you work in the system seriously, copy files around or run the board headless on a shelf somewhere, you will want one of the two “real” routes.
Connected via USB, a click on the terminal icon in the bottom left is all it takes – you land directly in the shell as user arduino, no login required:

It even works without a USB cable: If the board is on your Wi-Fi, App Lab finds it automatically in Network Mode. On the first terminal access over the network, App Lab asks once for the Linux credentials – and if you look closely, the terminal window reveals what is happening under the hood: a perfectly normal SSH login to the board’s IP address. So App Lab merely automates what we are about to do ourselves.


A hands-on tip from my testing: Right after the Wi-Fi setup the board did not show up in Network Mode at all. The fix was unspectacular – wait a few minutes and restart App Lab once, and the board card appeared complete with its Wi-Fi icon. The mDNS discovery on the network sometimes simply needs a moment; only after that is it worth digging deeper.
Option 1: ADB over USB-C – into the shell without a network
ADB stands for Android Debug Bridge – a legacy of the Qualcomm chip, whose tooling comes from the smartphone world. Do not worry: The UNO Q does not run Android, ADB is simply a very convenient way to open a shell over the USB cable. The big advantage: It works entirely without a network – ideal when the Wi-Fi is acting up or you have just unboxed the board.
On your computer you need the Google Platform Tools. On Windows a single command in the terminal is enough:
winget install Google.PlatformToolsOn macOS it is brew install android-platform-tools, on Debian/Ubuntu sudo apt install android-sdk-platform-tools. Then connect the board via USB-C and check whether it is detected:
adb devices
adb shell
adb devices lists the board with its serial number, adb shell then opens the shell – you land directly in the system as user arduino. exit takes you back to your own machine. There are three pitfalls you should know:
- Patience after plugging in: It can take up to a minute for the board to appear in
adb devices. - Password prompt: Only as long as the initial setup has not been completed does
adb shellask for a password – the factory default isarduino. After the setup your own Linux password applies. - Linux computers: These need the udev rules from the App Lab package once (
sudo ./post_install.sh), otherwise the system blocks USB access – you know this from the setup guide.
Option 2: SSH over Wi-Fi – the classic
Once the board is on your Wi-Fi, you can skip the cable entirely – using the same SSH you know from the Raspberry Pi. The nice part: Unlike on the Pi, you do not have to enable SSH first. The initial setup in App Lab enables SSH automatically, together with Network Mode, which is how App Lab discovers the board on your network. The SSH client is built into Windows 10/11, macOS and Linux anyway.
To connect, all you need is the board name from the initial setup and your Linux password:
ssh arduino@<boardname>.localOn the very first connection you confirm the host key with yes, then enter the password – done, you are in. So if your board is called unoq, the command is ssh arduino@unoq.local.

When .local does not work (mDNS issues)
The .local address relies on mDNS – and some networks or router settings block it. If the connection fails with “Connection refused” or a timeout, connect directly via the IP address instead. You can find it in three ways:
- Via ADB: Open
adb shellover the USB cable and runhostname -Ion the board – the first address is yours. - Via your router: The board shows up with its name in the router’s device list (on a FRITZ!Box under Home Network → Network), with the IP right next to it. While you are there, assign it a permanent IP – then the address stays valid.
- Via App Lab: The board appears there in Network Mode along with its network details.
With the IP the command becomes something like ssh arduino@192.168.178.42. And one more classic: If you have re-flashed the board at some point, SSH will refuse to connect with a host key warning (“REMOTE HOST IDENTIFICATION HAS CHANGED”). Simply remove the old key once:
ssh-keygen -R <boardname>.localTransferring files with scp
For file transfers you use scp – it runs over the same SSH connection and ships with every SSH client. Important: You run these commands on your computer, not inside the SSH session on the board. Pushing a file to the board and pulling it back looks like this:
scp measurements.py arduino@<boardname>.local:/home/arduino/
scp arduino@<boardname>.local:/home/arduino/log.txt .
Whole folders travel with scp -rp (recursive, preserving timestamps and permissions). One destination is worth knowing: The home directory contains the folder ~/ArduinoApps/ – App Lab stores each of your projects there in its own subfolder. If you want to back up your apps or edit them by hand, this is the place.
Option 3: Attach a monitor – the UNO Q as a mini PC
For completeness: With a USB-C dock with Power Delivery – such as the official Arduino dock* (around €23) – the UNO Q becomes a standalone single-board computer with a Debian desktop: plug in monitor, keyboard and mouse and the terminal runs directly on the board. For day-to-day system work this is the most cumbersome route though, and Arduino recommends the 4 GB variant for it. For really tough cases there is also a debug UART interface on the board that shows you the boot messages before SSH is even available – you will not need it in everyday use, but it is good to know the back door exists.
Keeping Debian in shape
Since the UNO Q runs a normal Debian, the usual system maintenance applies – you fetch updates with apt just like on the Pi (the Arduino-specific components are additionally updated by App Lab through its update function):
sudo apt update && sudo apt full-upgradeThe usual on-board tools work the same way: htop shows you what the four A53 cores and the RAM are up to (interesting while an App Lab app is running in parallel), df -h keeps an eye on the eMMC storage – with 16 GB on the smaller variant it fills up faster than you would think. Wi-Fi is managed by NetworkManager; nmcli device shows the connection status.
And just like with the Pi and its SD card: do not simply pull the plug. The eMMC is forgiving, but shut the system down with sudo halt first and wait 10–15 seconds before you cut the power. The green power LED stays on, which is normal. A sudo shutdown -h now, as you’d use on the Pi, does shut Debian down cleanly too, but the UNO Q then boots right back up.
The Arduino-specific tools: app-cli and linux-config
Now for the part that only exists on the UNO Q. Arduino ships two command-line tools that set the board apart from an ordinary Debian machine. The first is arduino-app-cli – it lets you control your App Lab apps entirely without the desktop application, including headless via SSH:
arduino-app-cli app list
arduino-app-cli app start examples:blink
arduino-app-cli app stop examples:blink
arduino-app-cli system network-mode status
This turns the board into a self-sufficient project machine: start the app via SSH, log out, it keeps running. With system network-mode enable you can also switch on Network Mode (and with it SSH) after the fact, in case you skipped the initial setup. The second tool is sudo arduino-linux-config – Arduino’s answer to raspi-config, though without a menu interface. Right now its main job is configuring expansion boards such as the Media Carrier with cameras and displays; more on that soon in a dedicated article of this series.
When tidying up the system, keep two exceptions in mind: The system service
arduino-router is the bridge between Linux and the microcontroller – switch it off and you cut the connection to your sketches. And the Docker containers that docker ps may show you belong to App Lab (the Bricks run inside them) – do not delete them, even if they take up storage.
A minimum of security
Two quick wins are worth it on any board that stays on the network permanently: If the Linux password from your initial setup was chosen rather pragmatically, change it with passwd. And if you want to skip typing passwords, deposit your SSH key – on Windows copy the contents of your id_ed25519.pub into the file ~/.ssh/authorized_keys on the board, on macOS/Linux ssh-copy-id arduino@<boardname>.local does it in one go. If you want to go deeper: Arduino has published a dedicated security hardening guide for the UNO Q.
What comes next
With that you have the foundation for everything still to come on the Linux side of the UNO Q: shell access three ways, file transfer, system maintenance and the Arduino-specific tools. In the next parts of the series we will take a close look at App Lab and the Bricks and explore the Media Carrier with camera and display – and projects like a small home server on the UNO Q build on exactly what you learned in this article. You can find all articles in the Arduino category. Have fun experimenting!
Frequently asked questions about the Arduino UNO Q’s Linux
A complete Debian 13 (“Trixie”) for the arm64 architecture – not a stripped-down custom distribution. Arduino maintains upstream support in the Linux kernel, and the package sources are the regular Debian repositories. The system can be re-flashed through Arduino App Lab’s flash function.
You don’t have to – the initial setup in Arduino App Lab enables SSH automatically. Afterwards you connect with ssh arduino@<boardname>.local and the Linux password from the setup. If you skipped the setup, you can enable network mode over USB: open adb shell and run arduino-app-cli system network-mode enable.
The Linux user is always arduino. From the factory – that is, only as long as the initial setup has not been completed – the password is arduino as well. During the setup you choose your own password, which you can change at any time with the passwd command.
Yes. Via SSH or ADB you work directly in the Debian system, and the bundled arduino-app-cli tool lets you start and stop your apps headless from the command line (for example arduino-app-cli app start examples:blink). You mainly need App Lab for the initial setup, updates and flashing the system.
Yes, in single-board computer mode: Connect monitor, keyboard and mouse through a USB-C dock with Power Delivery and you work directly on the board’s Debian desktop. Arduino recommends the 4 GB RAM variant for this – with 2 GB the desktop gets sluggish.