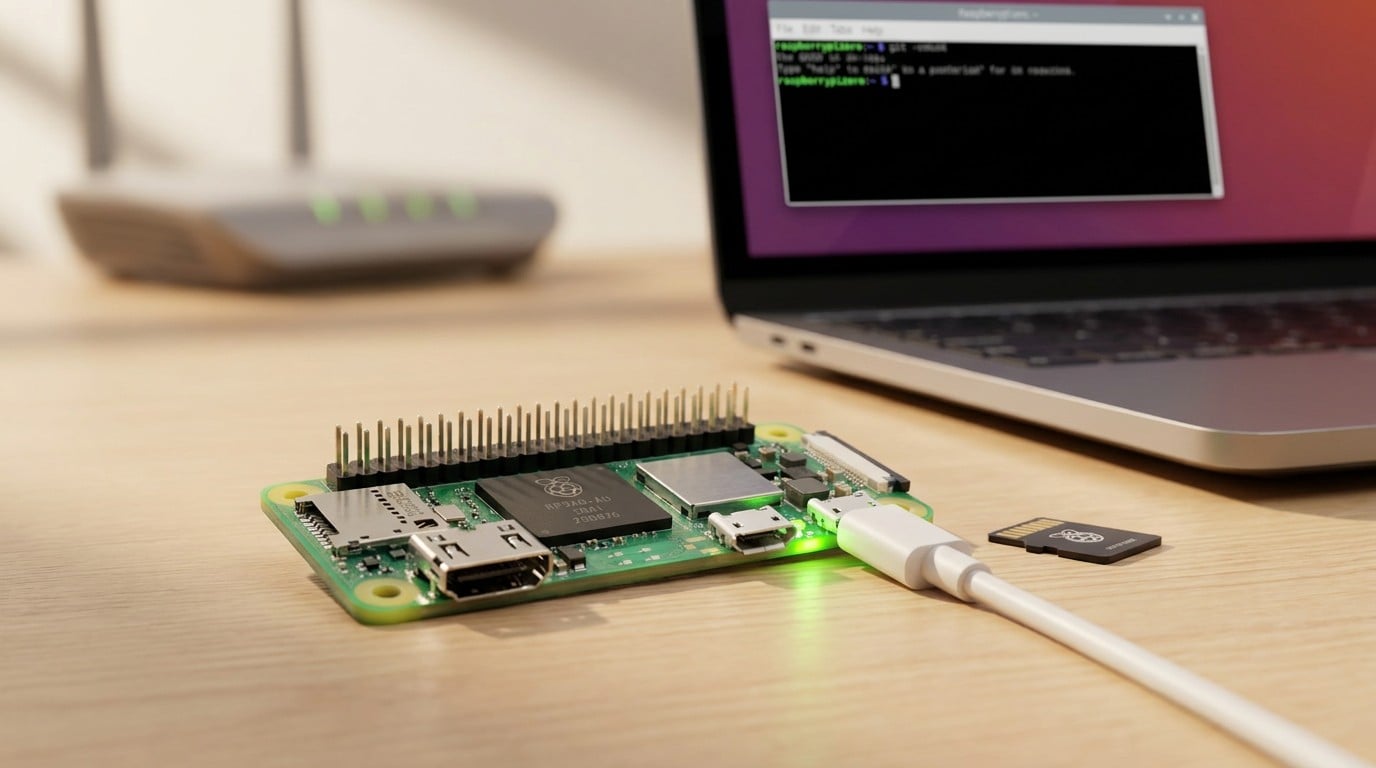
Raspberry Pi Zero Wi-Fi Setup: Headless Configuration Guide
Set up Wi-Fi on the Raspberry Pi Zero
Many guides online still explain how to connect a USB Wi-Fi dongle to the Raspberry Pi Zero. With current models, that’s no longer necessary: the Pi Zero W (since 2017) and the Pi Zero 2W (since 2021) have Wi-Fi and Bluetooth built right in. No adapter, no hub, no hassle – just power it on and connect.
In this guide, I’ll show you the fastest way to get your Pi Zero W or Pi Zero 2W onto Wi-Fi – headless (without a monitor or keyboard), directly when flashing with the Raspberry Pi Imager. You’ll also find the commands to change or manage Wi-Fi later on.
Which Pi Zero do I have?
A quick overview of the Pi Zero family – so you know what your board can do:
| Model | Year | Wi-Fi | Bluetooth | SoC |
|---|---|---|---|---|
| Raspberry Pi Zero | 2015 | No | No | BCM2835 (ARM1176JZF-S, single core) |
| Raspberry Pi Zero W | 2017 | Yes (2.4 GHz 802.11n) | Yes (BT 4.0 + BLE) | BCM2835 (ARM1176JZF-S, single core) |
| Raspberry Pi Zero 2W | 2021 | Yes (2.4 GHz 802.11n) | Yes (BT 4.2 LE) | RP3A0 (Cortex-A53, quad core) |
The original Pi Zero without the “W” has no Wi-Fi – if that’s what you have, you do need a USB Wi-Fi dongle (more on that below). For everyone else: Wi-Fi is built in, let’s get started.
Recommendation: Buy the Pi Zero 2W
If you’re still deciding which Pi Zero to get: go for the Pi Zero 2W. The RP3A0 chip with four Cortex-A53 cores is significantly faster than the old single-core in the Pi Zero W – you’ll notice it from the very first boot and with any mildly demanding task.
Availability (as of October 23, 2026): the Pi Zero 2W is currently sold out on Amazon and at most retailers, and third-party starter kits cost well above what the board itself should. For boards you can use instead, see Pi Zero 2 W sold out: the alternatives. You’ll need these accessories either way:
- microSD card (A1, 32 GB) on Amazon* – A1 class for smooth operation
- power supply for Pi Zero on Amazon*
- Case for Pi Zero 2W on Amazon*
Method 1 (recommended): Headless setup with Raspberry Pi Imager
This is the easiest and fastest way – no monitor, no keyboard, no manual editing of config files. The Raspberry Pi Imager handles everything in one step: flash the OS, configure Wi-Fi, enable SSH, create a user account.
Important note: Modern Raspberry Pi OS no longer has a default pi user. You must set your own username and password in the Imager during flashing – otherwise you won’t be able to log in after boot.
Step 1: Download and launch Raspberry Pi Imager
Download the Raspberry Pi Imager from the official Raspberry Pi website and install it on your PC or Mac.
Step 2: Select OS and SD card
Launch the Imager and choose:
- Device: Raspberry Pi Zero 2W (or Zero W)
- Operating System: Raspberry Pi OS Lite (64-bit for Zero 2W, 32-bit for Zero W) – Lite is perfectly sufficient for headless use
- Storage: your microSD card
Step 3: Configure OS settings
As soon as you have selected the storage device, Imager opens the Customisation step. Enter everything your Pi needs on first boot:
- Hostname: e.g.
raspberrypizero - Username and password – remember these!
- Localisation: choose your capital city, which also sets the Wi-Fi country
- Configure Wi-Fi: enter your network SSID and password
- Enable SSH: under Remote access, turn on the “Enable SSH” toggle and choose “Use password authentication”
Confirm everything, then write. Once flashing is complete, insert the microSD into the Pi Zero and power it on.
Connect via SSH after first boot
Give the Pi about two minutes to boot and connect after powering on – the first boot takes longer than later ones. Then log in from your PC or Mac via SSH:
ssh USERNAME@raspberrypizero.local
Replace USERNAME with the name you set in the Imager, and raspberrypizero with your chosen hostname.
If the .local address doesn’t work (this sometimes happens on certain networks), look up the Pi’s IP address in your router and connect directly:
ssh USERNAME@192.168.1.XXX
On first connection, SSH will ask about the host fingerprint – confirm with yes, then enter your password. You’re in.

Change Wi-Fi later (nmcli / nmtui)
From Raspberry Pi OS (Debian 12) onwards, Wi-Fi is managed by NetworkManager – directly editing wpa_supplicant.conf is a thing of the past. You have two handy options:
Graphical TUI: nmtui
The easiest option for anyone who prefers not to use the command line. Simply run:
sudo nmtui
In the menu, select “Activate a connection” or “Edit a connection”. The interface is self-explanatory – navigate with arrow keys, press Enter to select, and you can add, edit or remove networks.
Command line: nmcli
Connect to a new Wi-Fi network with a single command:
sudo nmcli device wifi connect "YOUR_SSID" password "YOUR_PASSWORD"
Over SSH, nmcli needs sudo for any change, otherwise NetworkManager refuses it. If you’re connected over Wi-Fi, your SSH session drops when the Pi switches networks – from then on it’s only reachable on the new one.
List all available Wi-Fi networks:
nmcli device wifi list
Show current connections:
nmcli connection show
Delete a saved connection (e.g. remove an old network) – just not the one you’re currently connected through:
sudo nmcli connection delete "CONNECTION_NAME"
Older Raspberry Pi OS versions: wpa_supplicant
If you’re still running a Raspberry Pi OS release from before October 2023, Wi-Fi is still managed via wpa_supplicant. To add a new network, edit the configuration file:
sudo nano /etc/wpa_supplicant/wpa_supplicant.conf
Add a new network block:
network={
    ssid="YOUR_SSID"
    psk="YOUR_PASSWORD"
}
Then either reboot or reload the Wi-Fi service:
sudo wpa_cli -i wlan0 reconfigure
For new projects, I’d always go with a current Raspberry Pi OS release – NetworkManager is considerably more convenient and stable.
Tips and common issues
Set the Wi-Fi country code
Without the correct country code, Wi-Fi may stay silent. Check and set it if needed:
sudo raspi-config
Go to “Localisation Options” → “WLAN Country” → select your country. That setting survives a reboot. The direct command only lasts until the next reboot:
sudo iw reg set DE
Pi Zero without Wi-Fi: use an OTG adapter
If you have the original Pi Zero (without W) or want to use a wired connection for any reason: the micro USB port labelled “USB” on the Pi Zero is an OTG port; the one labelled “PWR IN” is for power only. With a Micro-USB OTG adapter* and a USB hub, you can connect both a keyboard and a USB Ethernet adapter at the same time. For Wi-Fi, plug in a USB Wi-Fi dongle instead and connect it with the nmcli commands above. On current Raspberry Pi OS the dongle doesn’t show up as wlan0 but as wlx followed by its MAC address – nmcli device status tells you the name. It’s more cumbersome than the headless method above, though.
Check Wi-Fi status
Is Wi-Fi connected and does it have an IP address? Quick check:
ip addr show wlan0
Or with NetworkManager:
nmcli device status
SSH fails on first boot
Be patient – the first boot takes longer because the system expands the filesystem and sets up services. Give it a few more minutes, then try again. If that doesn’t help, reflash the microSD with the Imager and make sure SSH is switched on under Remote access before writing. Don’t bother looking for a file called ssh on the boot partition: Imager now stores its settings in a file called user-data.
Raspberry Pi Zero Wi-Fi: FAQ
Yes. The Pi Zero 2W (2021) has 802.11b/g/n Wi-Fi (2.4 GHz) and Bluetooth 4.2 on board. The original Pi Zero (2015) has no wireless at all – only the Pi Zero W (2017) and the Pi Zero 2W do.
Use Raspberry Pi Imager: in the customisation step, enter your Wi-Fi name and password and enable SSH under remote access. Flash the card, put it in the Pi, power it up and connect over SSH after about two minutes: ssh username@raspberrypizero.local (or whatever hostname you set in Imager)
No. The Pi Zero W and Pi Zero 2W only support 2.4 GHz Wi-Fi (802.11b/g/n). 5 GHz starts with the Raspberry Pi 3 B+ and 3 A+, and the Pi 4 and Pi 5 are dual-band as well.
Over SSH with NetworkManager: sudo nmcli device wifi connect 'NETWORK_NAME' password 'PASSWORD'. nmcli connection show lists all saved connections, and sudo nmcli connection delete 'CONNECTION_NAME' removes the ones you no longer need.
Conclusion
Getting a Pi Zero onto Wi-Fi takes about three minutes these days: Raspberry Pi Imager sets it up while flashing, no monitor or keyboard needed. With 2.4 GHz Wi-Fi, 512 MB of RAM and a quad-core CPU, the Pi Zero 2W is a great fit for small always-on jobs like Pi-hole, monitoring scripts, an MQTT broker or IoT sensors. For heavier workloads or 5 GHz Wi-Fi, step up to a Raspberry Pi 4 or Pi 5.