Smart Heating & Ventilation – Homematic IP in Home Assistant: Set Up Access Point 2, Thermostat & Window/Door Sensor
Want to control individual radiators automatically without retrofitting your whole house? Homematic IP is built exactly for that: you start with an Access Point, one or two radiator thermostats, and a window/door contact – a manageable, affordable entry-level system that works entirely on its own through the app. The real payoff comes later: whenever you want, you connect the system to Home Assistant through the official integration and bring Homematic IP into the wider smart-home world – with your own dashboards, automations, and interplay with devices from completely different manufacturers. In this article we’ll show you step by step how the initial setup works in the Homematic IP app, and how you then integrate the system into Home Assistant – with real screenshots from our own setup.
Homematic IP is a German smart-home system by eQ-3 that connects radiator thermostats, window/door contacts, shutter controls, and other devices over radio (868 MHz) through a central Access Point. Everything is controlled through the free Homematic IP app or the cloud connection – the latter can also be integrated directly into Home Assistant. The Access Point 2 currently costs around €60, individual thermostats about €40–50.
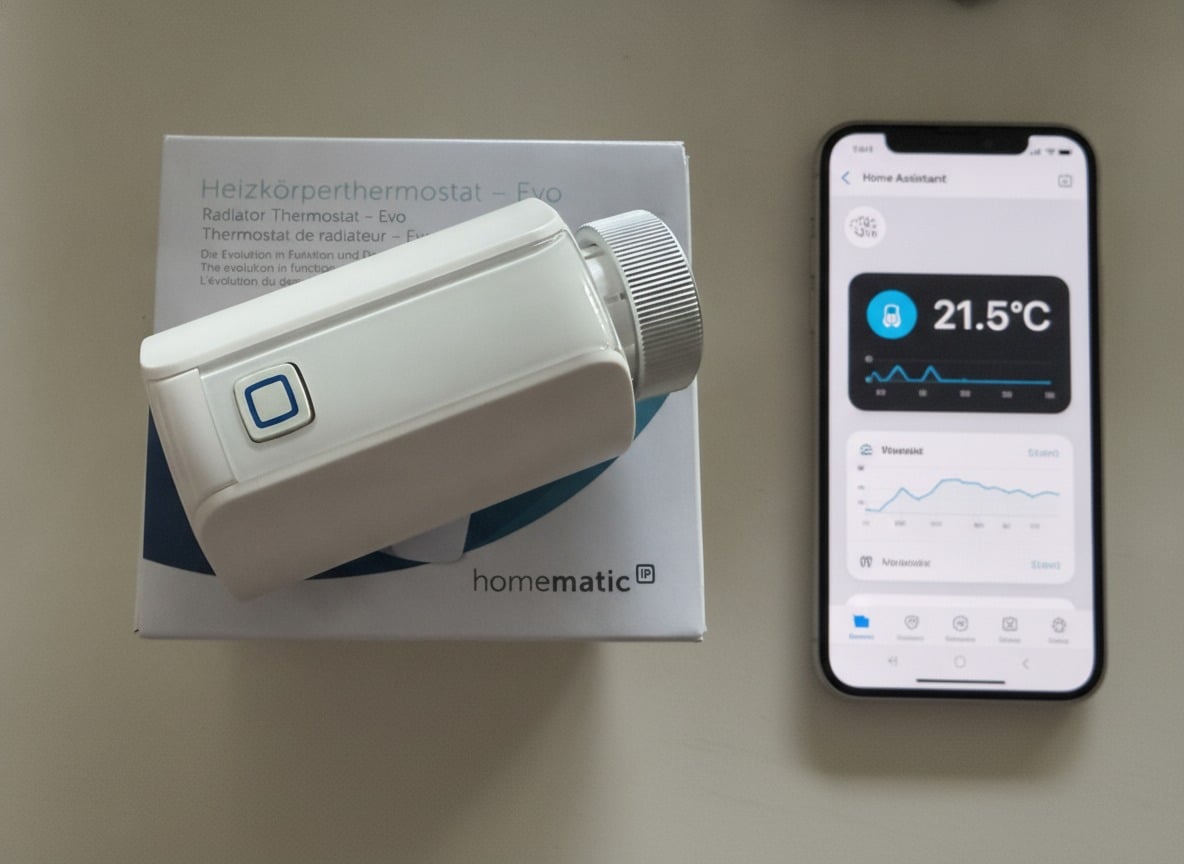
Access Point 2, radiator thermostats Evo, and window/door contact kindly provided by Homematic IP.
The system at a glance
We built our setup with the following Homematic IP devices – a typical combination for a room with one or two radiators and a window or door that’s used for ventilation.
| Device | Model | Qty | Function |
|---|---|---|---|
| Access Point 2 | HmIP-HAP2 | 1× | Radio hub, connected to the router via LAN cable |
| Radiator Thermostat – Evo | HmIP-eTRV-E | 2× | Automatic radiator temperature control |
| Window and Door Contact | HmIP-SWDO-2 (optical) | 1× | Detects open windows/doors, lowers the target temperature while airing out |
You can get the Access Point 2 here: View Homematic IP Access Point 2* (official product page, user manual)


You’ll find the Radiator Thermostat Evo here: View Homematic IP Radiator Thermostat Evo* (official product page, user manual)
You can get the window and door contact (optical) here: View Homematic IP Window/Door Contact* (official product page, user manual)
If you’d rather start with a complete set, it’s usually cheaper than buying everything separately: View Homematic IP Access Point 2 + 2× Radiator Thermostat Evo (Set)
Where it fits in the Homematic ecosystem
The Homematic IP Access Point 2 we used is the simplest way to control and network smart-home devices in eQ-3’s lineup, and it’s aimed at regular households that don’t need complex controls or deep system access. An Access Point only connects and manages Homematic IP devices, requires internet access and an eQ-3 cloud account, and is operated through the app. It’s designed for all common smart-home scenarios (e.g. lighting, heating, shutters) and supports up to 120 devices per Access Point.

There’s also the Homematic Home Control Unit (HCU), which is built for larger installations (up to 350 devices) where you want complex automations, expandability, and cross-system control, plus local data storage without the cloud. The HCU supports complex programming and can be extended with all sorts of plugins. It can be operated and configured through the app as well as through a browser. An HCU is roughly comparable to Home Assistant and makes sense when complex programming and local data handling are your priority. Through an existing classic Homematic Central Control Unit (CCU), the HCU can also integrate older Homematic devices (without “IP”) – Homematic IP devices, by contrast, work directly, with no detour needed.

Besides the Access Point 2 we tested here, there are two more hubs in the Homematic IP ecosystem: the compact Access Point – basic for small apartments with up to 20 devices, which connects entirely over WLAN instead of a LAN cable – handy if there’s no network socket where you want to place it. At the other end of the lineup sits the Smart Home Central CCU3 (product page in German only), the pro-level hub for smart-home enthusiasts: it runs entirely locally and cloud-independently, is operated exclusively through the browser-based WebUI (no app control), and – on top of Homematic IP – also integrates classic, non-IP Homematic devices.
| Hub | Model | Devices | Connection | Operation | Control | Price (approx.) |
|---|---|---|---|---|---|---|
| Access Point 2 | HmIP-HAP2 | up to 120 | LAN cable | Cloud (online) | App, voice control | €60 |
| Access Point – basic | HmIP-WLAN-HAP-B | up to 20 | WLAN | Cloud (online) | App, voice control | €34 |
| Home Control Unit | HmIP-HCU1 | up to 350 (120 radio) | LAN/WLAN | Online & offline mode | App, HCUweb (browser) | €300 |
| CCU3 | HmIP-CCU3 | no fixed limit | LAN | fully local, no cloud | WebUI only (browser) | €180 |
For our setup with three devices and the goal of controlling everything through Home Assistant, the Access Point 2 is the right choice: the HomematicIP Cloud integration in Home Assistant requires a cloud-capable hub anyway – Access Point 2, Access Point – basic, and HCU all work with it. If you use a CCU3 instead, you’d access it in Home Assistant through the classic, fully local Homematic integration – which is also why you’ll see both variants show up later when you search for the integration.
Requirements for the Homematic IP Access Point 2
- A WLAN router or switch with a free LAN port for the Access Point 2 (the device connects to the router by cable, not over WLAN); internet access is required.
- A smartphone with the free Homematic IP app (iOS/Android)
- For the Home Assistant connection: a running Home Assistant instance – ideally on a Raspberry Pi, as described in our Home Assistant installation guide
- For the window/door contact: 2× AAA batteries (included), for the thermostat: 2× AA batteries (also included)
- A Homematic IP account (free, created during initial setup) – also needed for the cloud connection in Home Assistant
Step 1: Setting up the Access Point 2
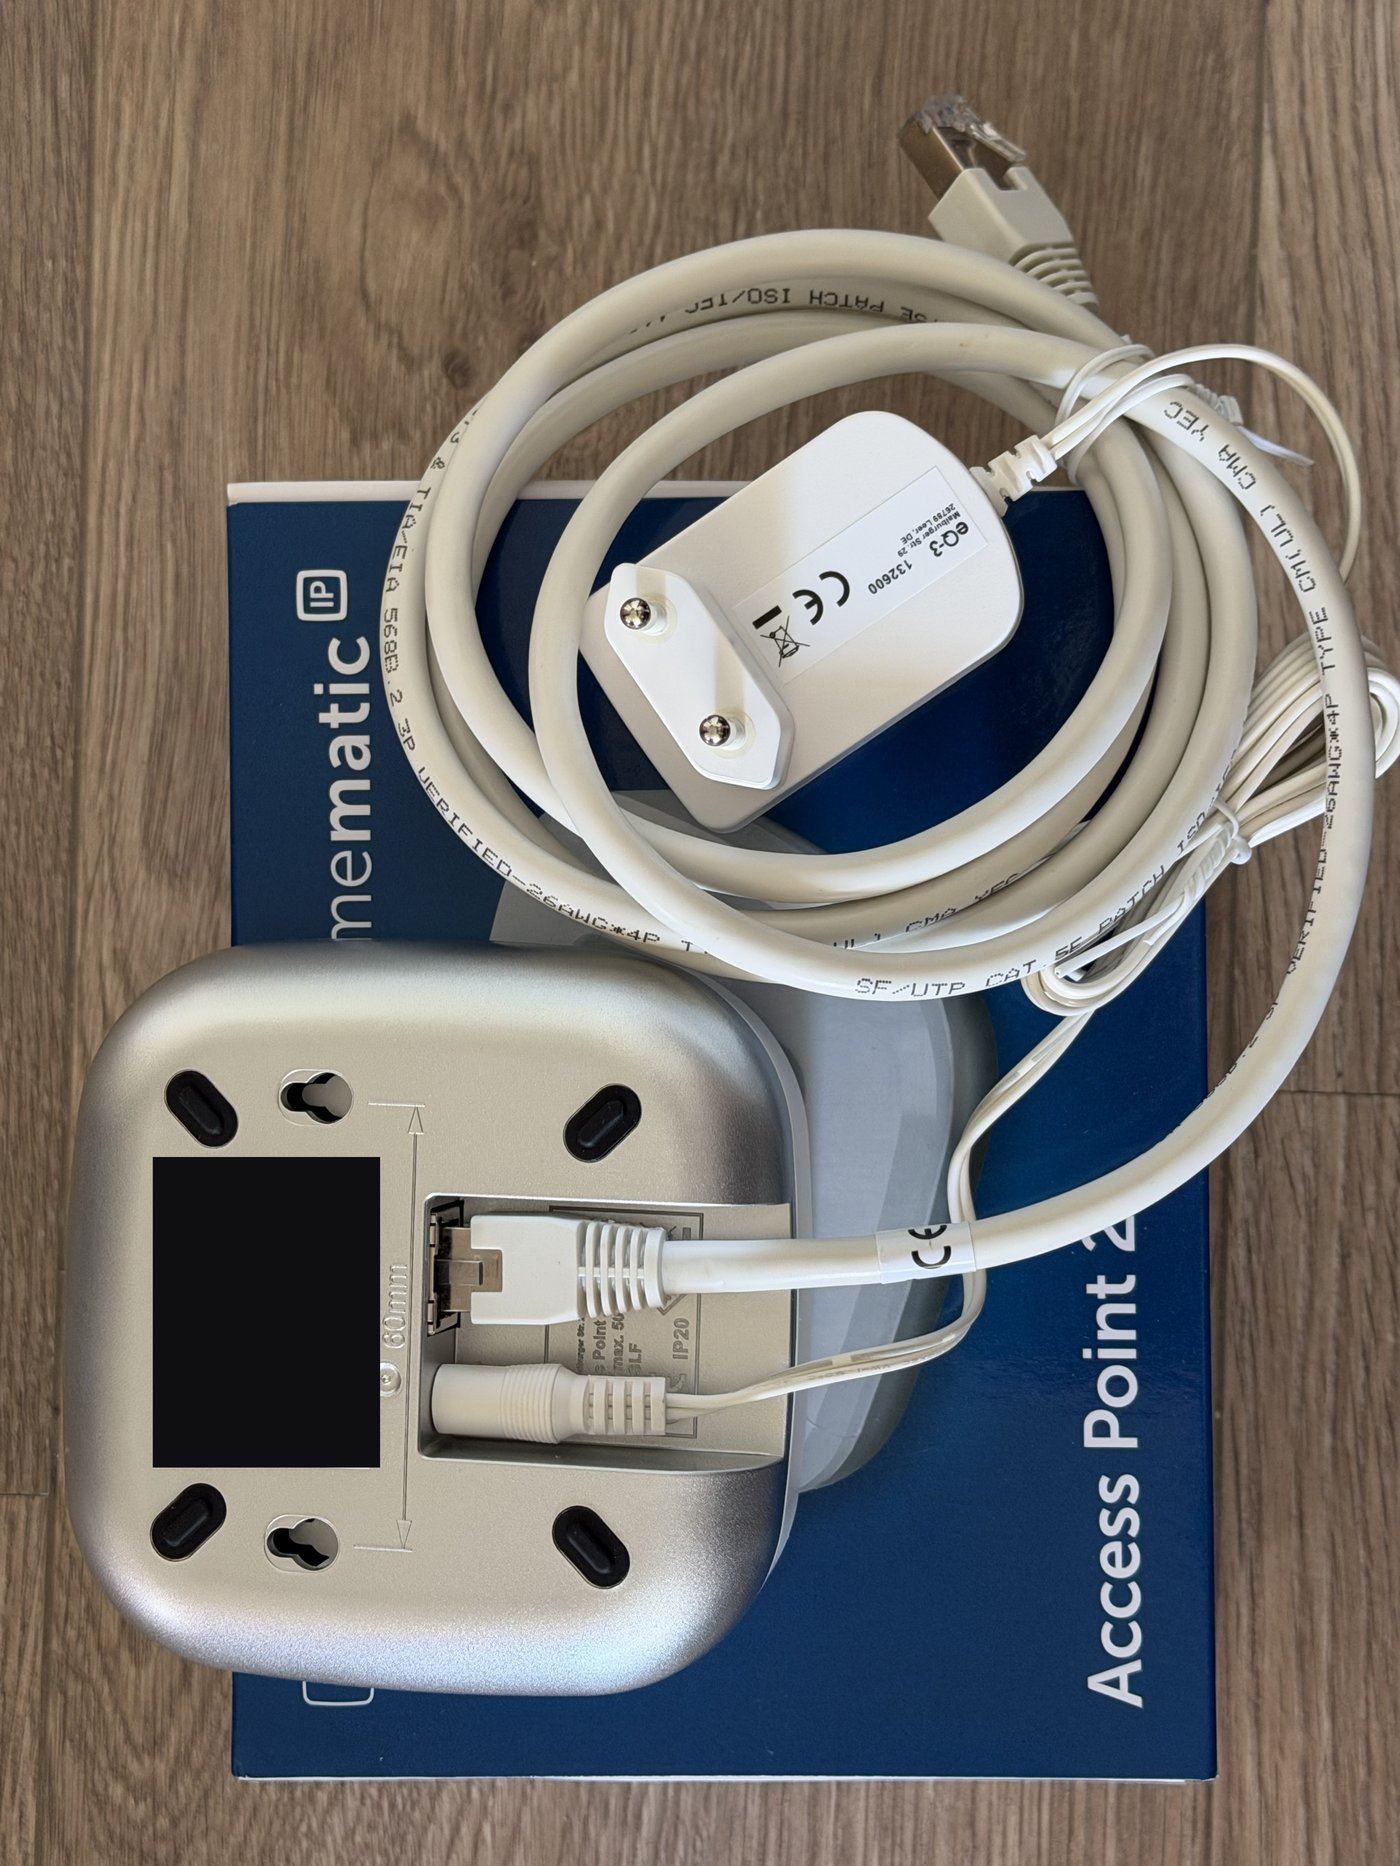
The initial setup runs entirely through the installation wizard in the Homematic IP app on your smartphone. First, the Access Point is linked to your account using its SGTIN (the device number on the back).
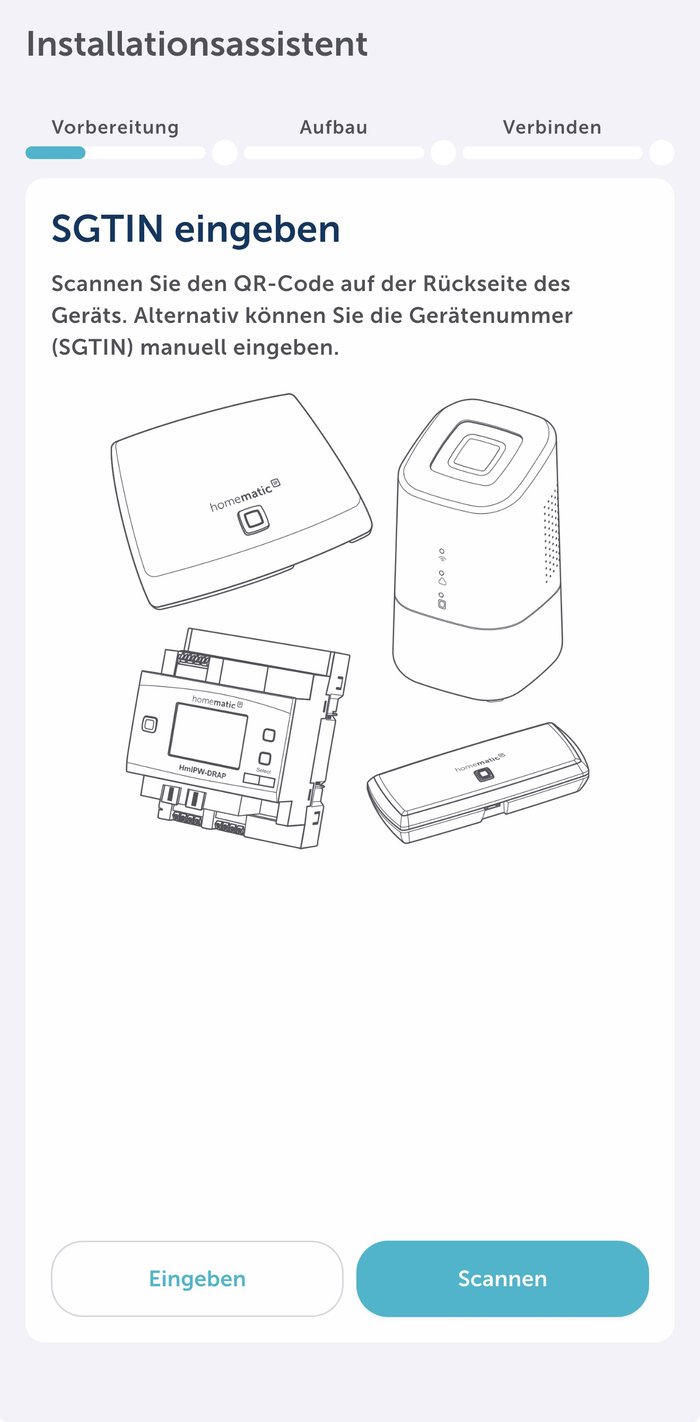
You’ll find the SGTIN together with the QR code on the back of the Access Point – it’s best to photograph the label before mounting the Access Point in its final spot.
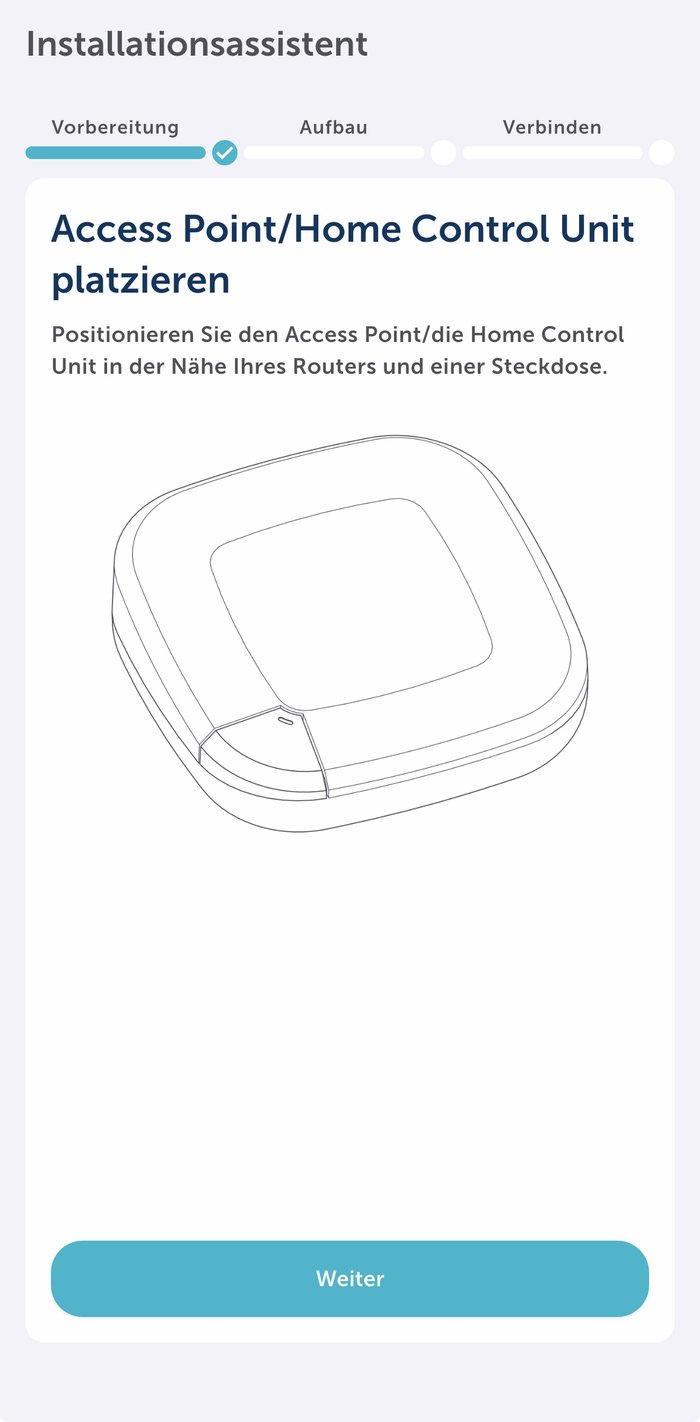
The app then walks you through three phases: preparation, setup, and connecting.
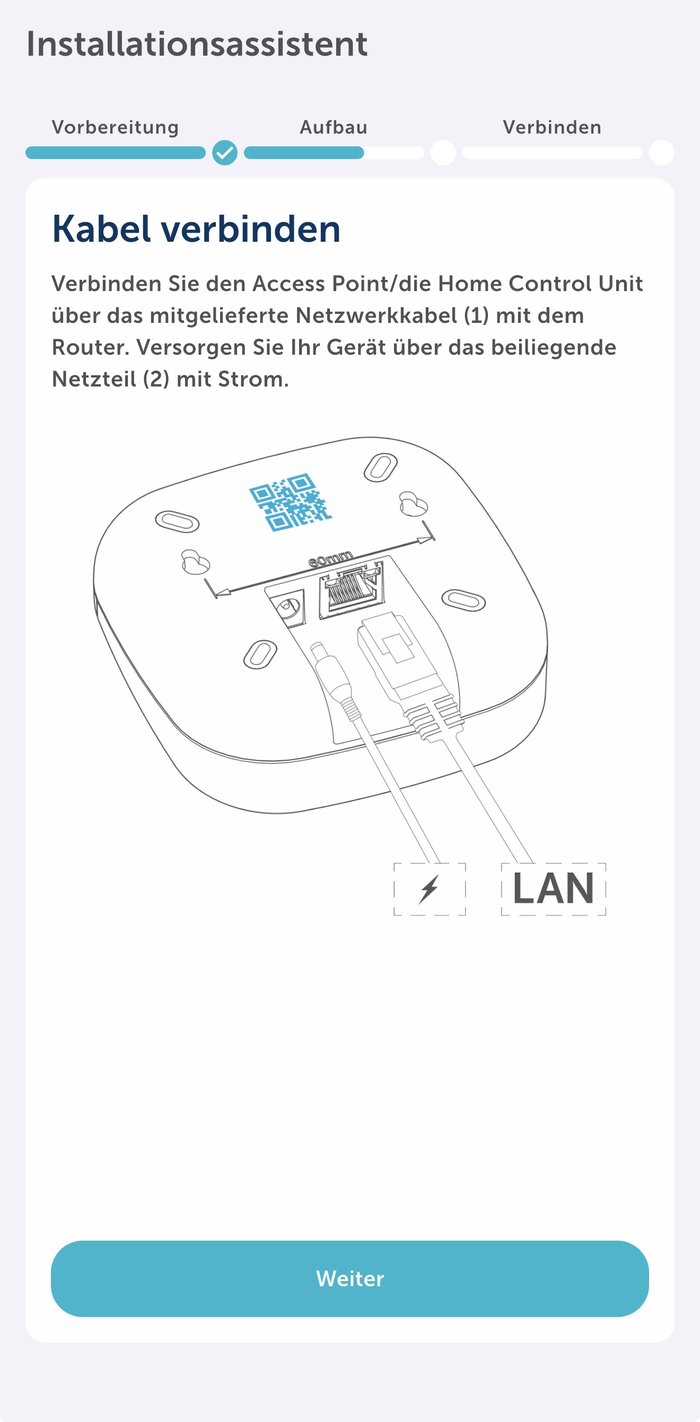
The Access Point 2 is connected to your router with the included network cable and powered via the included power adapter – it doesn’t use WLAN at all, it’s permanently wired into your LAN.
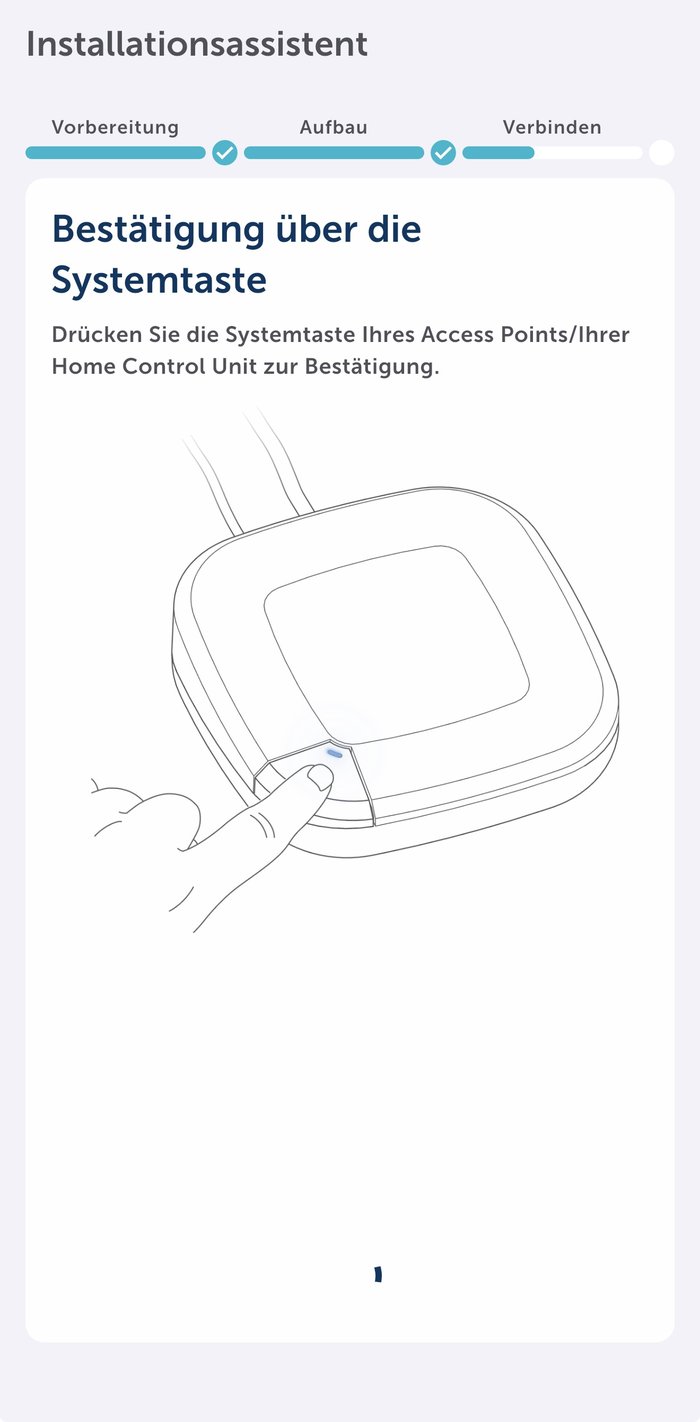
Finally, you confirm the connection once more directly on the device, via the system button on the front of the Access Point:
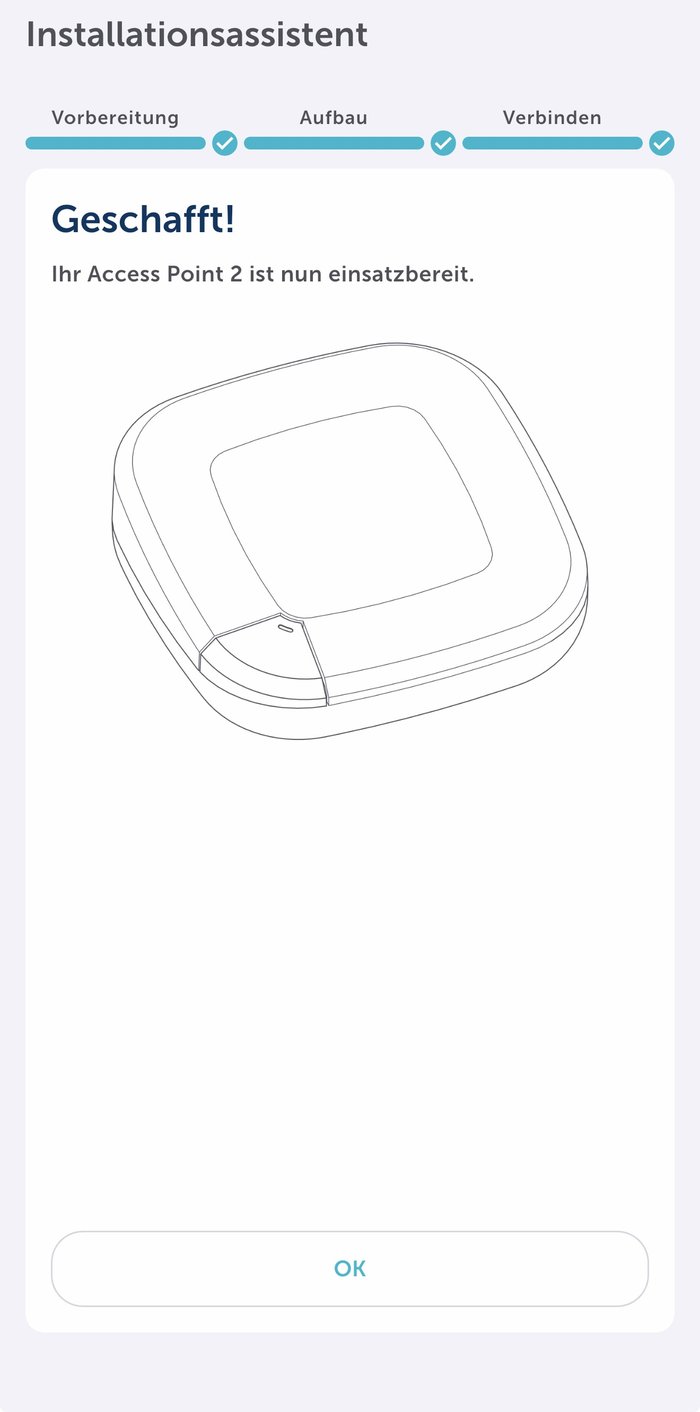
Within a few seconds the Access Point is ready to go – the app shows “Done!” and you can move on to pairing the individual devices.
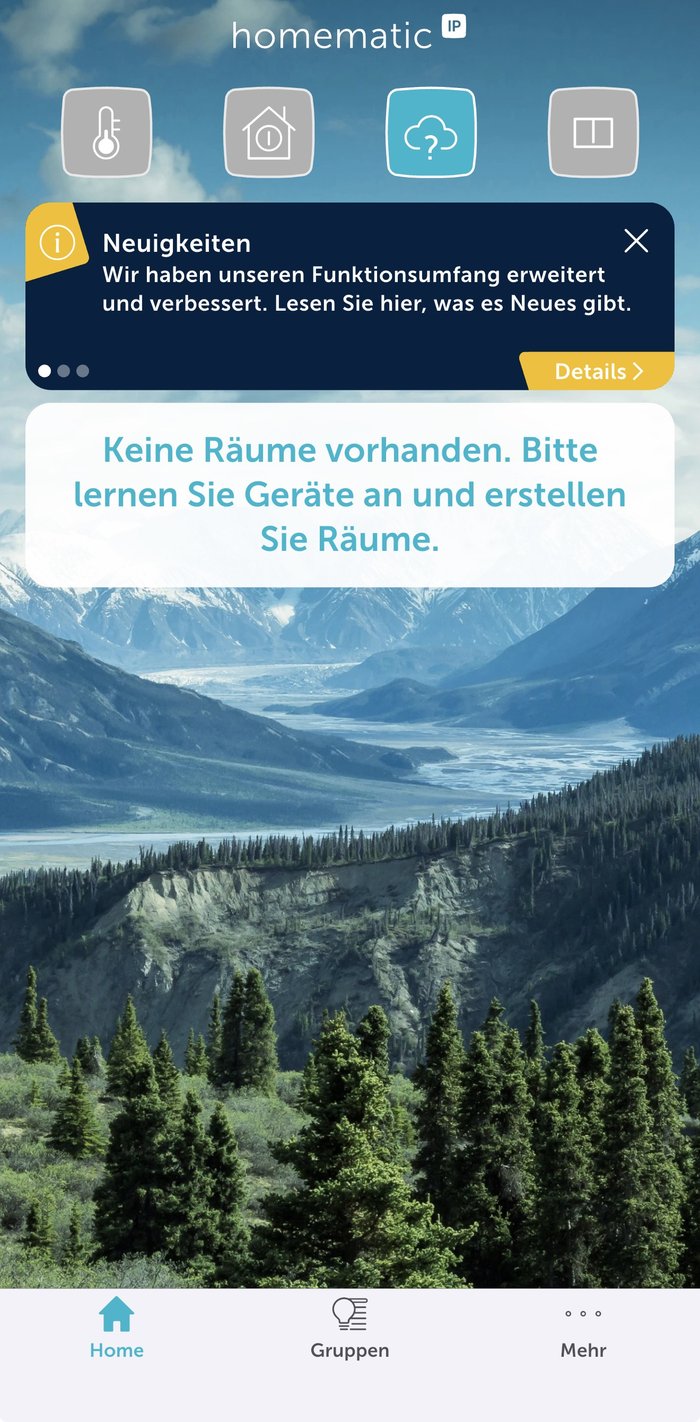
Right after that, the app’s home screen is still empty – makes sense, since no devices are paired yet and no rooms have been created:
Step 2: Pairing devices
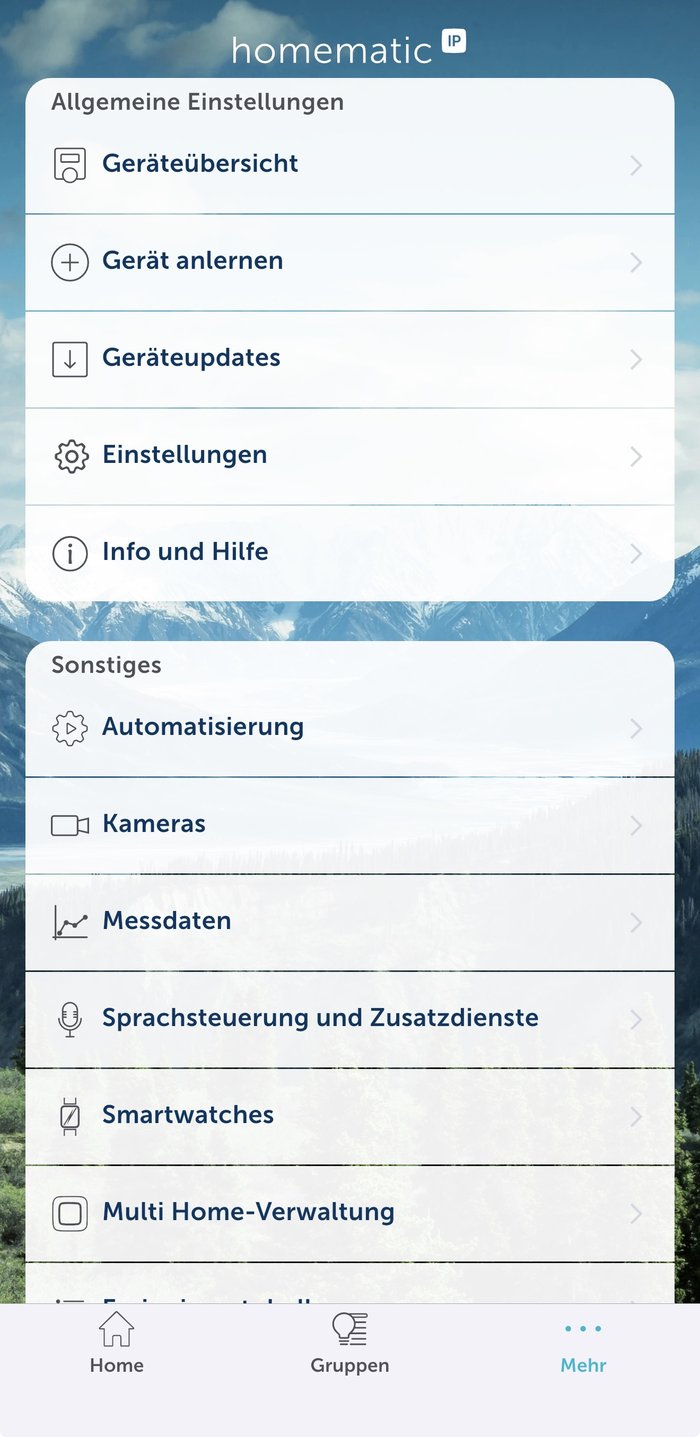
You pair devices via More → Pair device. From there you can also reach the device overview, device updates, and other settings:
We’ll walk through the process using the window and door contact as an example. Inserting the battery, or pulling the insulation strip, activates the device automatically, and it stays in this mode for a few minutes – the app then recognizes it by its SGTIN. Alternatively, pairing mode can usually be triggered by pressing and holding the device’s button (4–5 sec.) – the button blinks orange in pairing mode:

Tap the detected device, and all that’s left is to enter the last four digits of the SGTIN to confirm (also printed on the box) – ruling out typos in the long serial number:

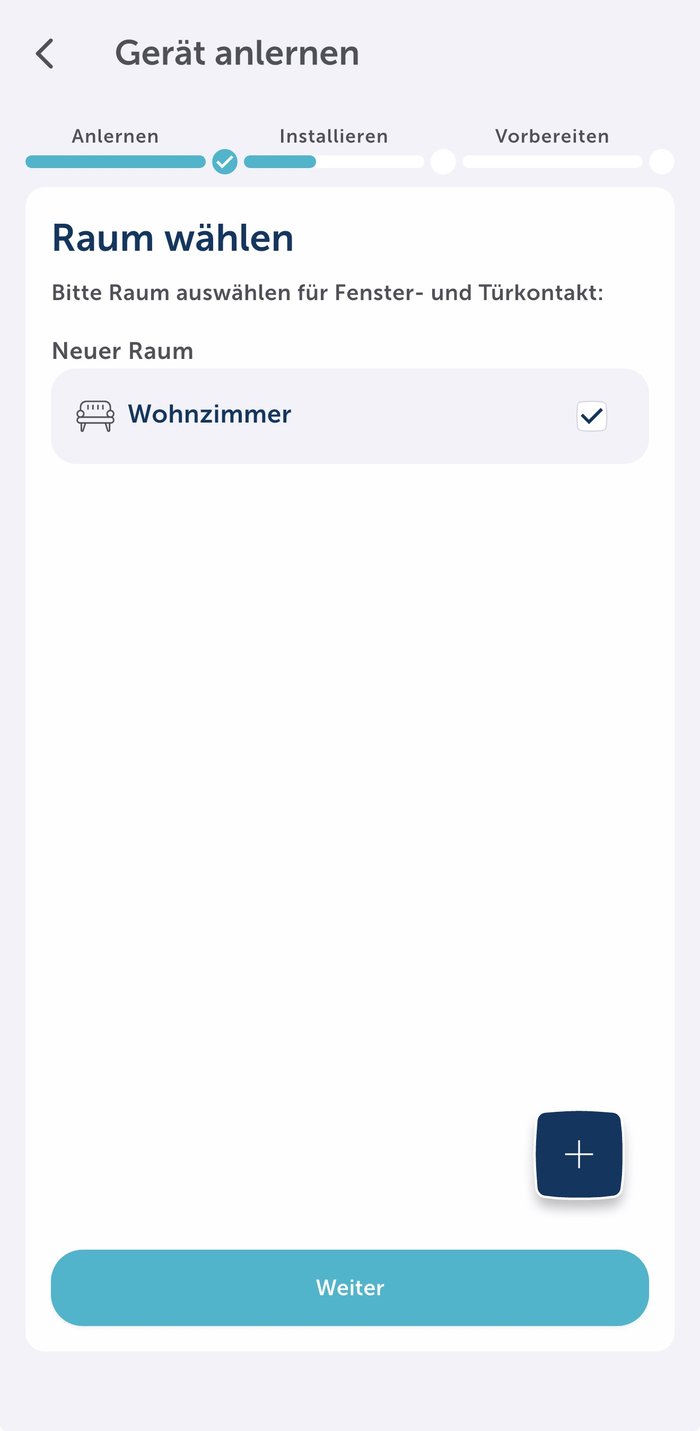
Next, you assign the device to a room – existing rooms are suggested, and new ones can be created on the spot:
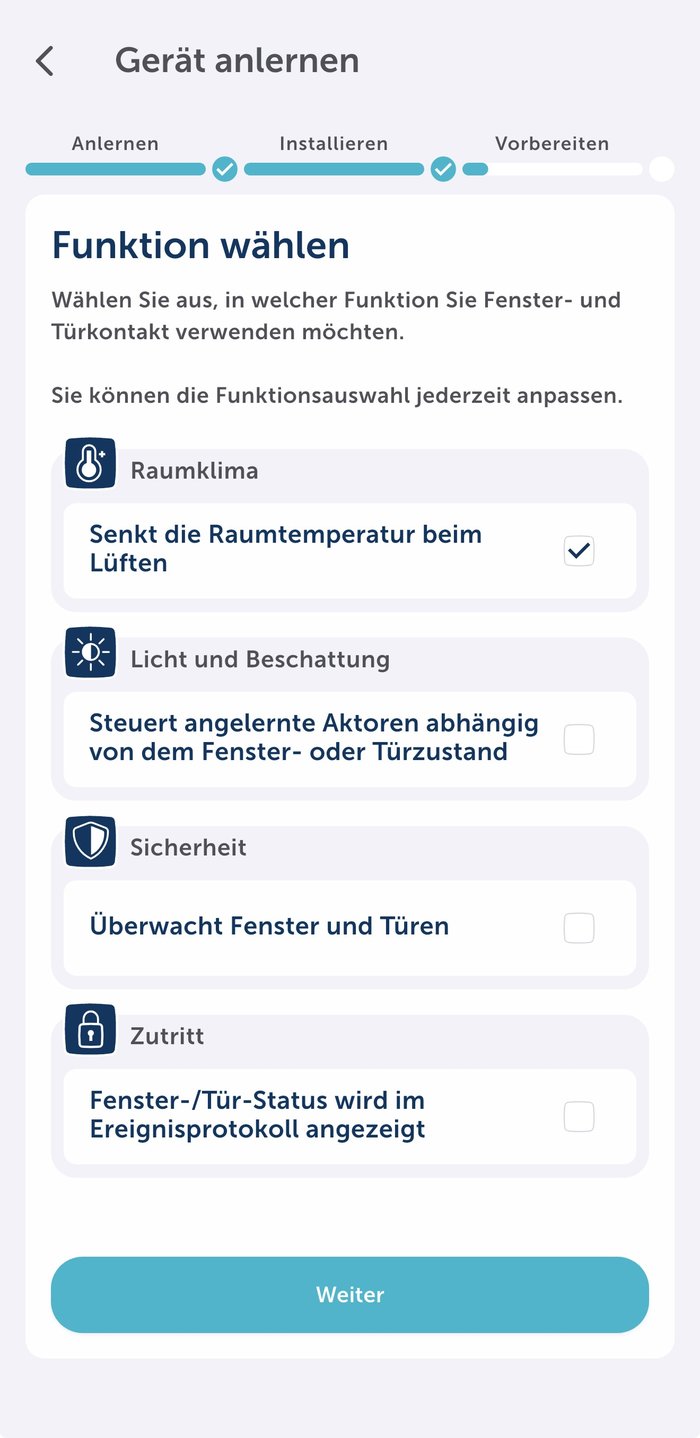
After that, you give it a descriptive device name so you can clearly identify it later in the overview and in Home Assistant.
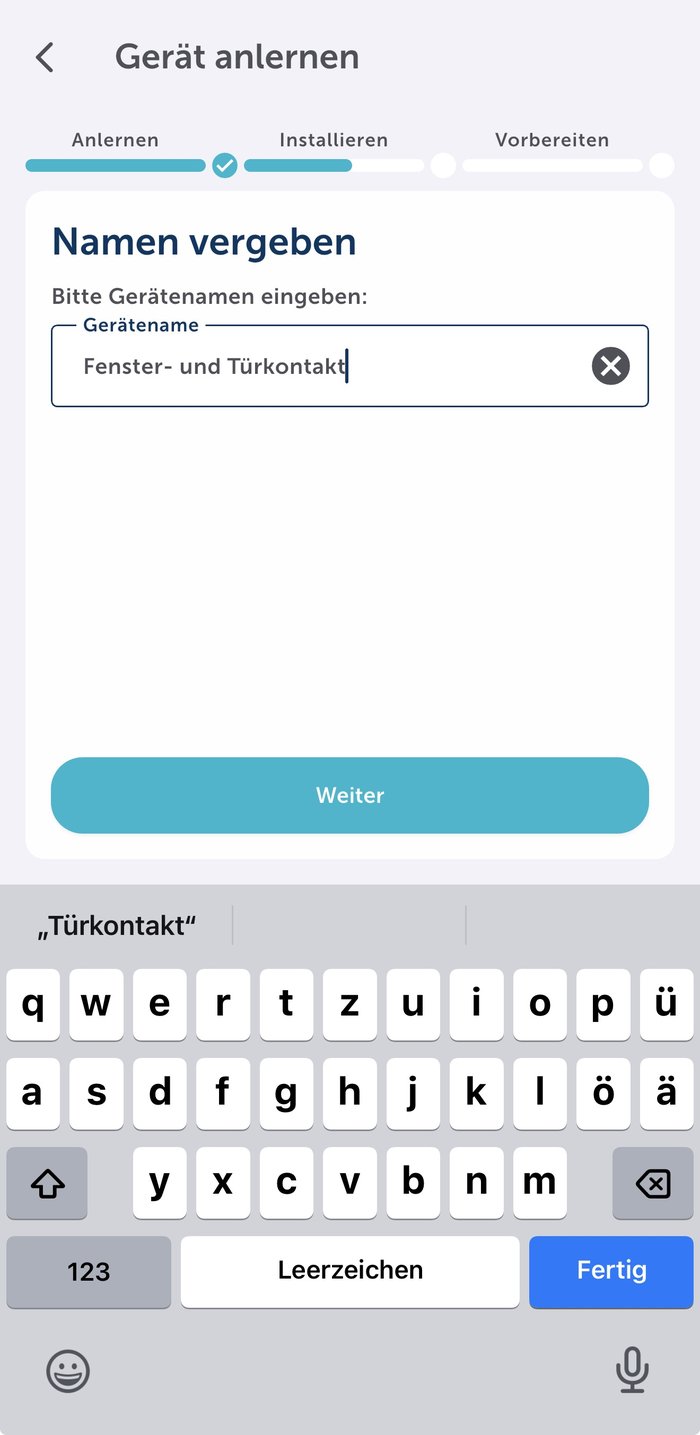
Finally, you decide which function the device should perform. For the window/door contact there are four profiles to choose from: Climate control (automatically lowers the target temperature on paired thermostats while airing out), Light and shading, Security (alarm system), and Access (logging only). For our setup we choose Climate control, so the contact later works together with the radiator thermostats:
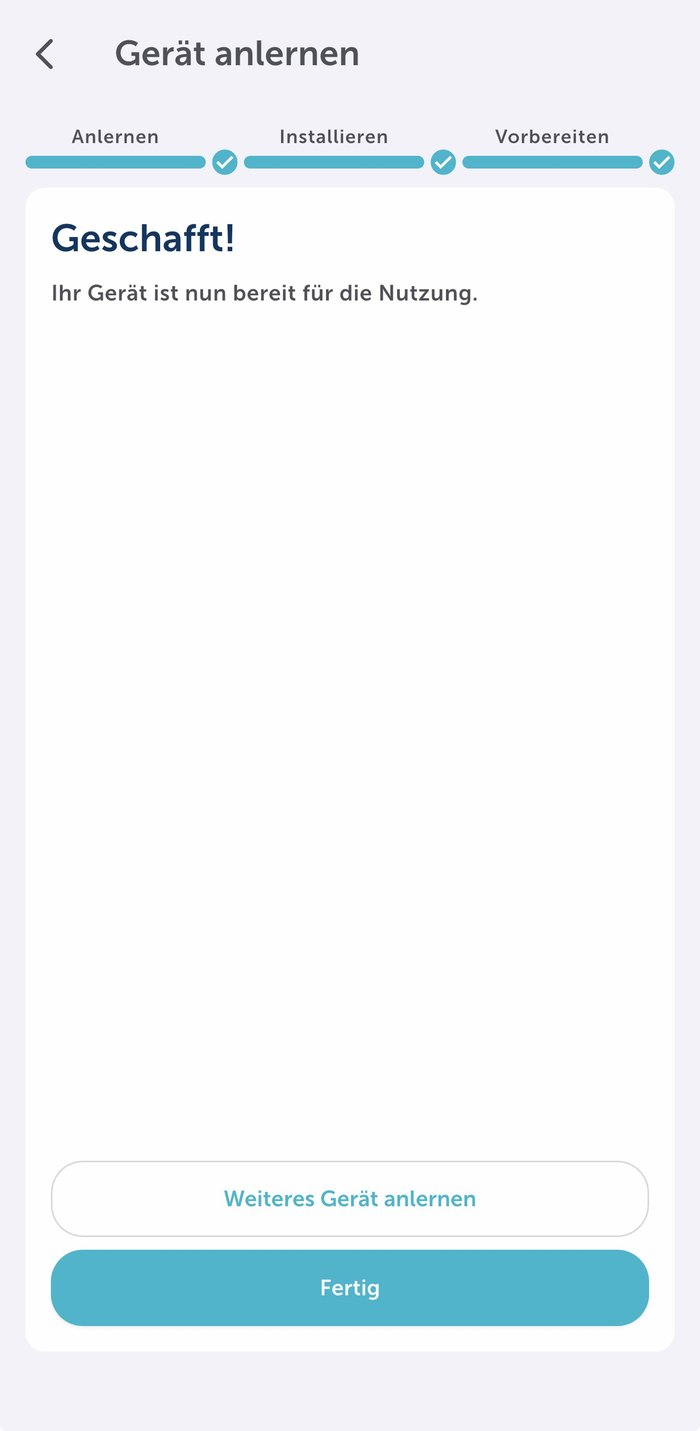
Done – after you press the button on the device once more to confirm (the app will prompt you to), it’s ready to use. Tap “Pair another device” to move straight on to the next one:
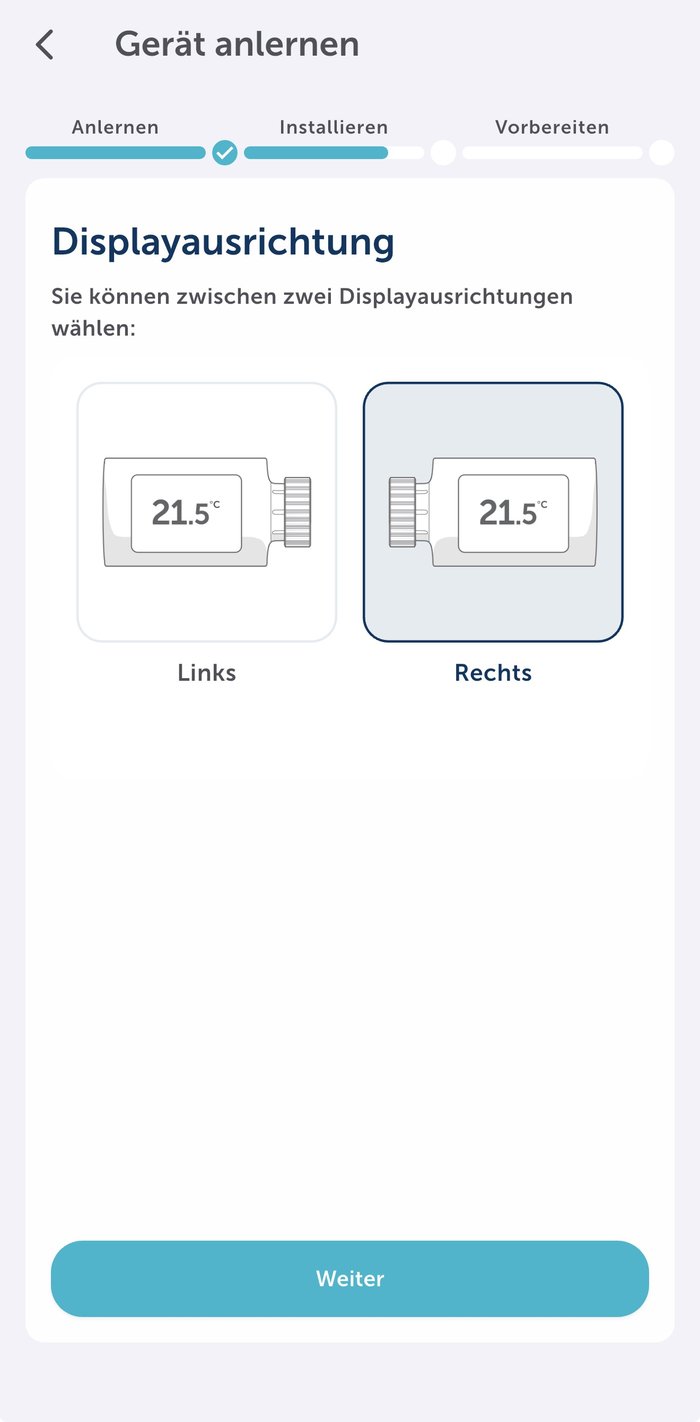
Pairing the radiator thermostats follows the same process: insert batteries, confirm the SGTIN, choose a room, give it a name. After confirming via the system button on the thermostat, the app also asks for the display orientation – handy if the valve sits to the side of the radiator, so you can align the display correctly:
Repeat this process for every other device. In the end, all three devices – the window/door contact and both thermostats – are set up in the app and assigned to a room.
Integrating Homematic IP into Home Assistant
Home Assistant comes with an official HomematicIP Cloud integration that pulls your devices in via your Homematic IP account – you don’t need an extra Access Point inside Home Assistant, communication runs through the Access Point 2’s cloud connection.
Adding the integration
In Home Assistant, open Settings → Devices & Services:

Click Add integration and search for “homematic”. The first result you’ll see is Homematic (the classic CCU integration):

After clicking “Homematic,” Home Assistant shows two variants. Choose HomematicIP Cloud – that’s the integration for Homematic IP with the Access Point 2:

Linking the Access Point
After installing it, Home Assistant asks for the Access Point ID (SGTIN) – the same number you already used when setting up the app. You can also set a name prefix that Home Assistant adds in front of every imported device name (the screenshot still shows our old prefix “HM-IP-AP2-Wohnzimmer”).

After entering it, Home Assistant asks you to press the blue button directly on the Access Point while clicking OK in the dialog at the same time. This physically confirms the pairing on the device itself – the same principle as the system button during app setup:

Naming and assigning devices
Once the link is established, Home Assistant automatically reads in every device you’ve paired in the Homematic IP app – for us that’s the HmIP Alarm Control Panel (an internal system device of the Access Point), the window/door contact (HmIP-SWDO-2), and both thermostats. For each device you can set a Home Assistant device name and an area (room) right away:
We assigned all the devices here to the “System” area for now.
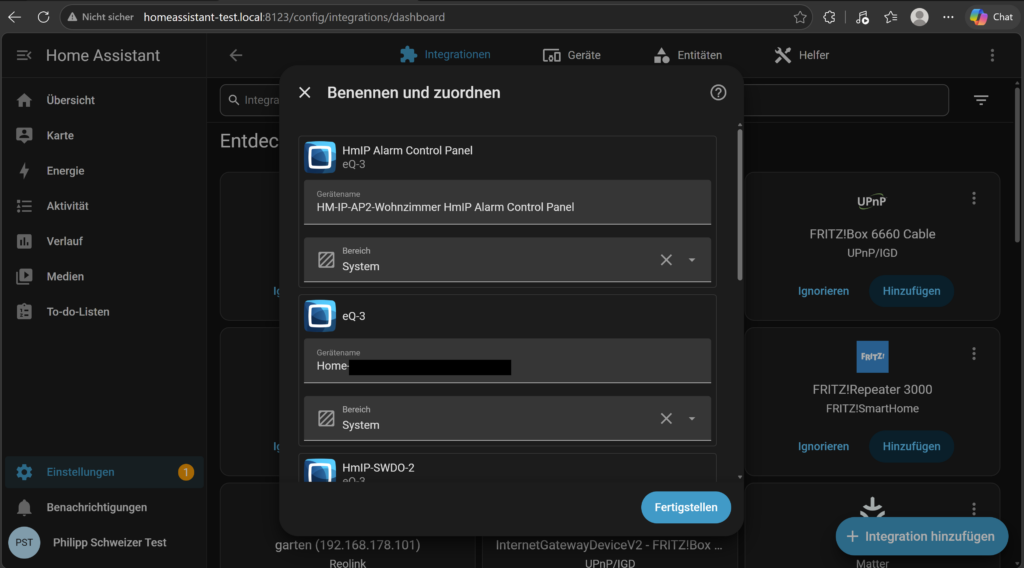
Click Finish and the setup is complete. On the integration page you’ll then see all the imported devices at a glance – for us, 5 devices with a total of 11 entities (sensors, switches, and climate units combined):

Each device brings along several entities – for the thermostat, that’s things like current temperature, target temperature, and valve position; for the window/door contact, it’s the open/closed status. From now on you can use these entities in automations, scripts, and dashboards just like with any other Home Assistant device.
Practical tips
Access Point over LAN cable, not WLAN
The Access Point 2 deliberately has no WLAN module – it only connects via network cable. That makes the connection more stable, but it also means: you need a free LAN port on your router or switch near where you want to place it, and the Access Point needs to be within radio range of your devices. The manufacturer quotes up to 400 m in open air, but walls and ceilings cut that down considerably indoors. eQ-3 also recommends keeping it at least 50 cm away from your WLAN router.
Save the SGTIN label before mounting the device
If you ever want to connect another system later (e.g. a second Home Assistant instance), you’ll need the SGTIN again. A photo of the label on the back – stored somewhere safe, not shared publicly – saves you from having to unscrew an already-mounted Access Point.
The HomematicIP Cloud integration requires the cloud
The Home Assistant integration is called “HomematicIP Cloud” for a reason – communication runs through eQ-3’s servers, not purely locally. The device itself still works offline through the app, but the Access Point needs an internet connection for the Home Assistant integration to work.
Don’t mix it up with the classic “Homematic” integration
When you search for “Homematic” in Home Assistant, the older Homematic integration (for the classic CCU/Homematic hub without “IP”) shows up first – for the Access Point 2 you specifically need HomematicIP Cloud, otherwise Home Assistant won’t find your devices.
What’s coming next
That wraps up the basic setup: Access Point connected, all three devices paired, and everything visible in Home Assistant. In a follow-up article we’ll cover the detailed setup – custom dashboards with heating cards for the thermostats, weekly schedules for automatic heating control, and useful automations built around the window/door contact. So check back soon.
Conclusion
The initial Homematic IP setup is well thought out: the installation wizard in the app reliably guides you through every step, and mistakes are practically ruled out thanks to the SGTIN confirmation and the physical confirmation via the system button. The Home Assistant connection through the HomematicIP Cloud integration is also done in a few minutes – once the Access Point is linked via its button, every device you’ve already paired shows up automatically.
If you’ve already set up other Home Assistant integrations like Zigbee2MQTT, the process will feel pleasantly familiar: pair the device, assign a name and area, done. The big difference from many other systems: with Homematic IP, nothing runs purely locally over MQTT – it goes through the Access Point’s cloud connection instead, which is also why the app works perfectly well entirely without Home Assistant.
The build quality also leaves a strong impression: the Radiator Thermostat – Evo units in particular feel well made, the motor runs pleasantly quiet, and the devices sit firmly and stably on the valve.