Raspberry Pi Pico 2: Switching to RISC-V – What the New RP2350 Means for Your Projects
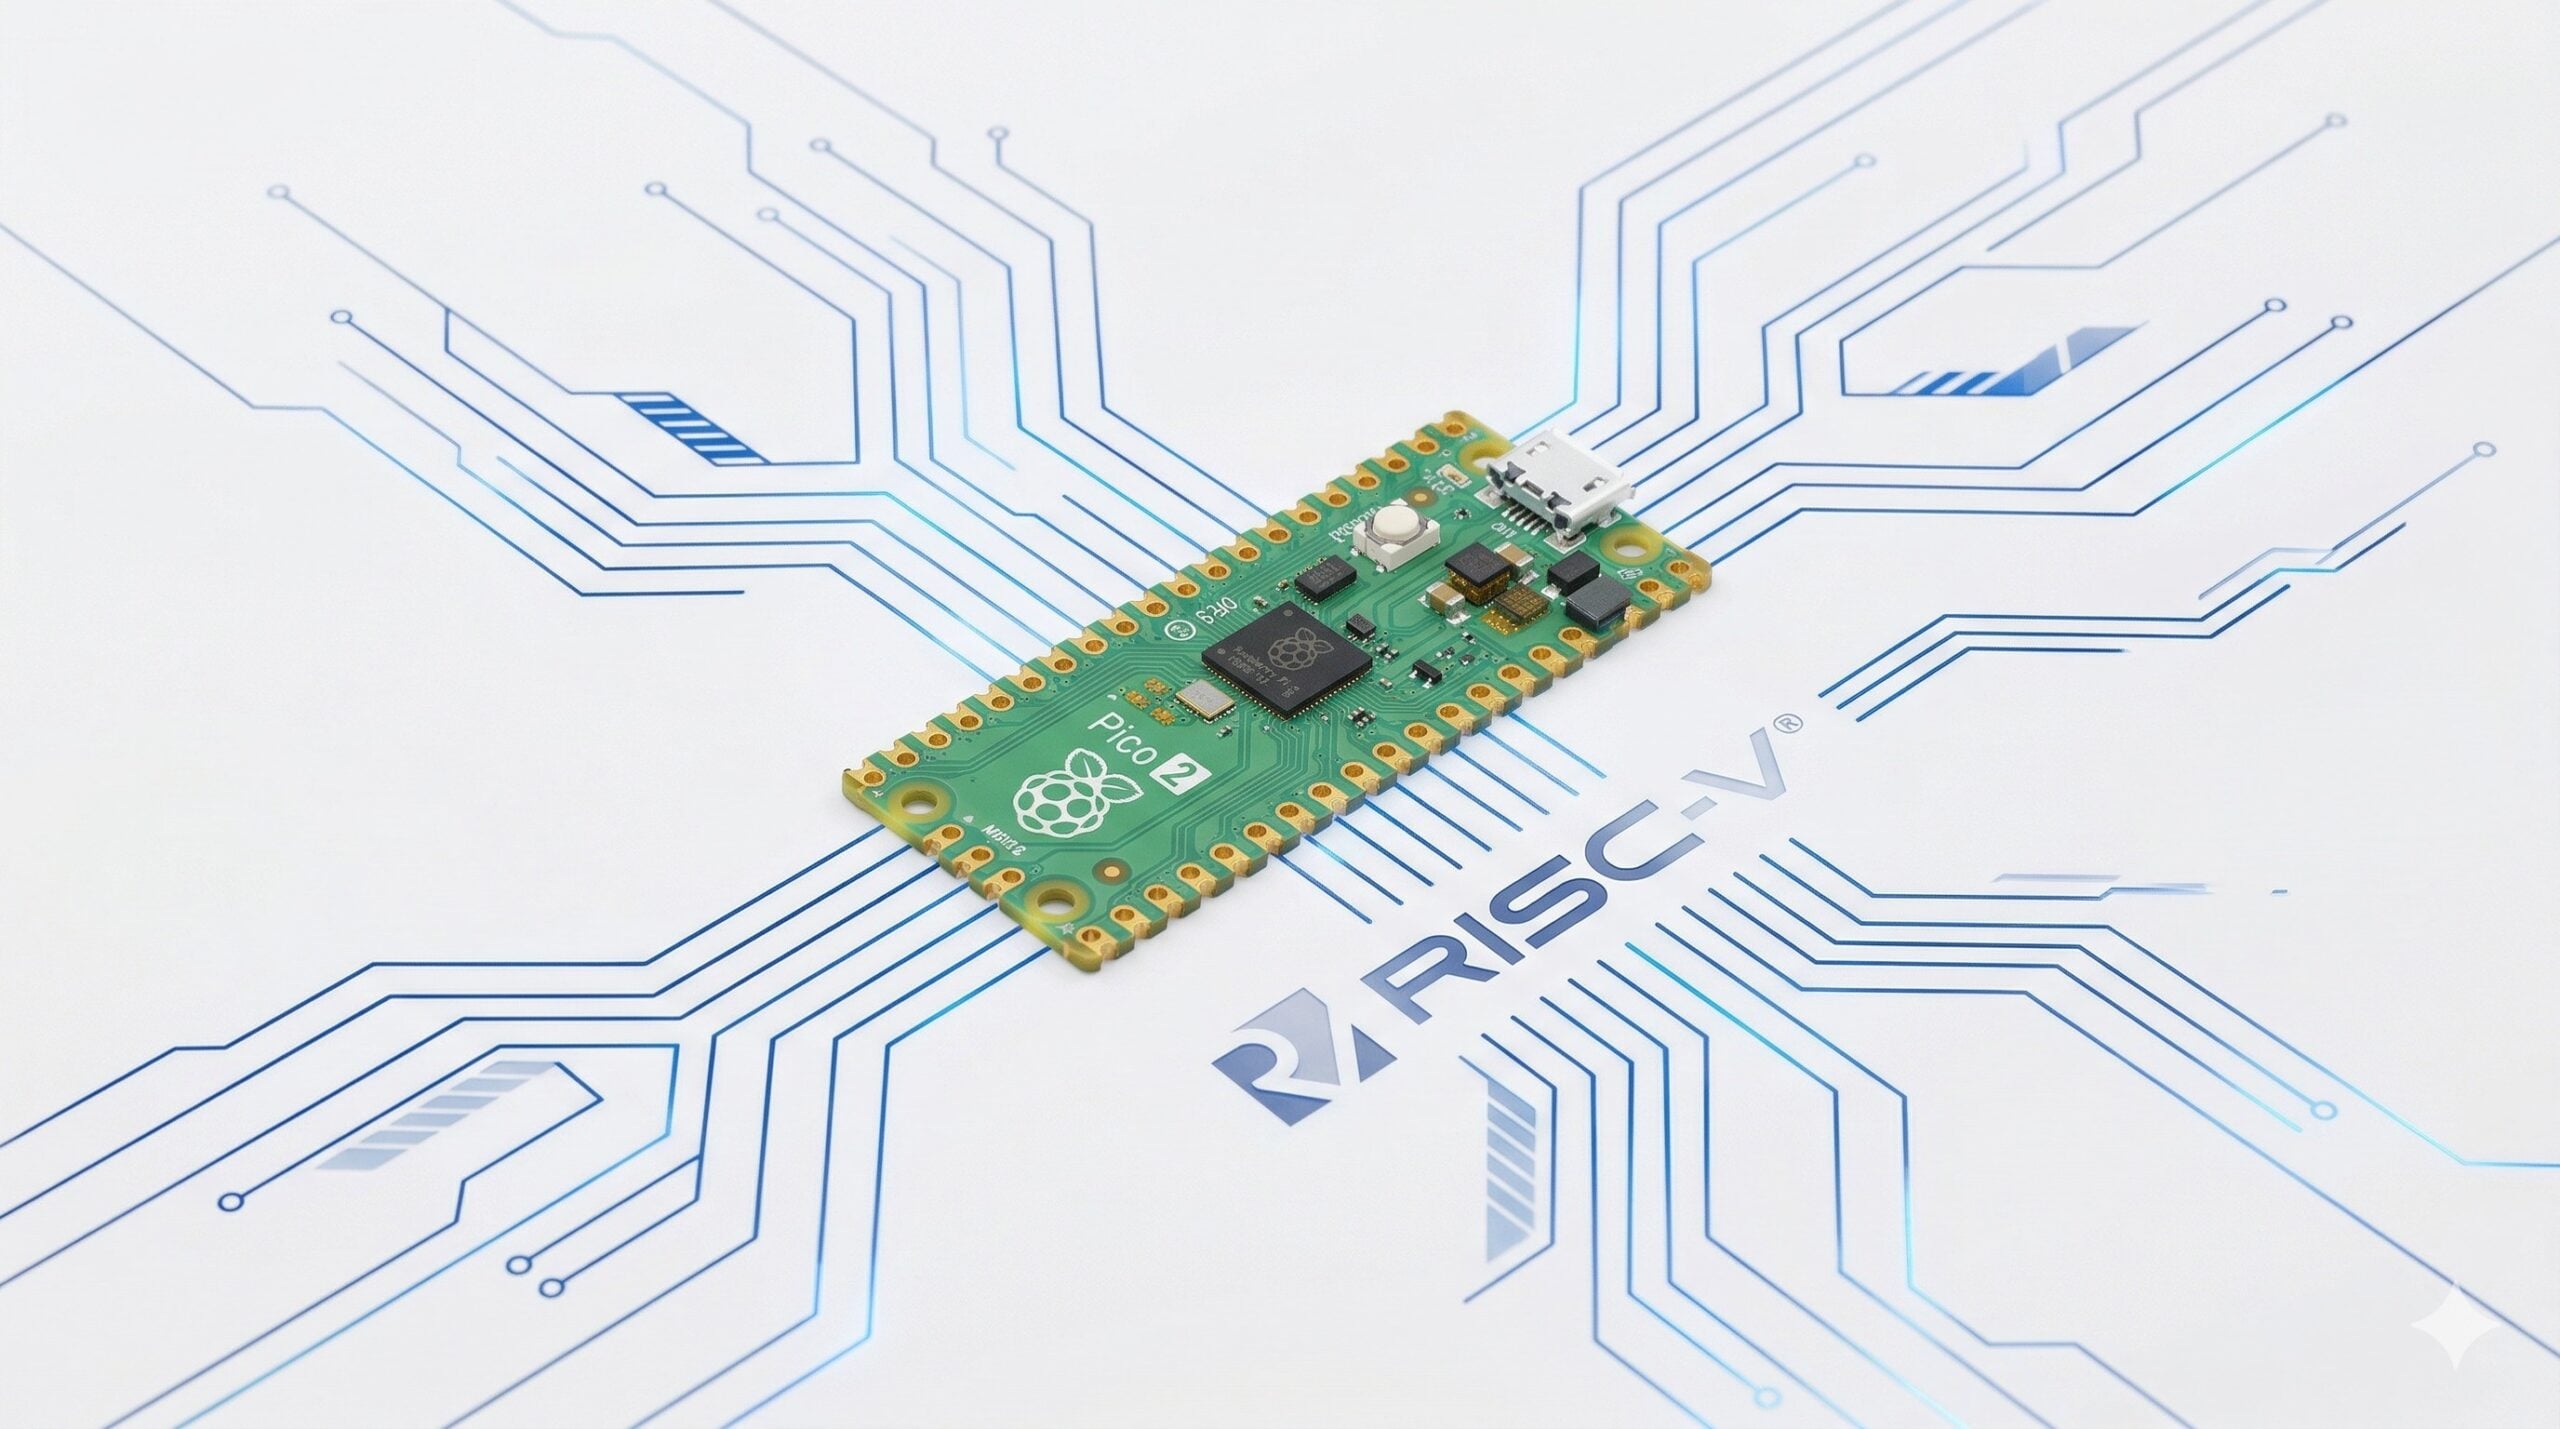
The Raspberry Pi Pico took the microcontroller world by storm. Its successor, the Raspberry Pi Pico 2 with the RP2350 chip, has been on sale since August 2024 and is a big leap forward. What makes it special: you now get to choose between the proven Arm architecture and the open RISC-V standard. In this guide, I’ll show you why the Pico 2 is a genuine powerhouse and how to take advantage of its new features.
Three years after the original Pico (RP2040), Raspberry Pi has seriously levelled up. The Pico 2 isn’t just faster – it’s grown up. With more memory, a clever dual-architecture design and professional security features, it closes the gap to far more expensive industrial controllers.
RP2350 vs. RP2040: The Hardware Upgrade in Detail
At first glance, the Pico 2 looks almost identical to its predecessor – and that’s very much intentional: it’s pin-compatible, so you can keep using your existing breadboards and add-on boards (the full pin assignment of all four Pico models is in our interactive Raspberry Pi Pico pinout). Under the hood, however, almost everything has improved:
| Feature | RP2040 (Old) | RP2350 (Pico 2) |
|---|---|---|
| CPU | 2x Cortex-M0+ | 2x Cortex-M33 OR 2x RISC-V Hazard3 |
| Clock speed | 133 MHz | 150 MHz |
| SRAM | 264 KB | 520 KB (nearly doubled!) |
| PIO (Programmable I/O) | 8 state machines | 12 state machines |
| Security | None | TrustZone, Secure Boot, SHA-256 |
| 5V-tolerant GPIOs | No | Yes, digital pins up to 5.5V while the Pico 2 is powered (not the ADC pins GP26–28) |
Particularly exciting for display projects: the RP2350 now includes an HSTX (High Speed Transmission) interface. This lets you output DVI signals (monitor output) directly via the GPIOs much more efficiently than before.
RISC-V Hazard3: The Open-Source Revolution
The absolute highlight for tech enthusiasts is the choice of CPU architecture. The RP2350 contains both two Arm Cortex-M33 cores and two Hazard3 RISC-V cores developed in-house by Raspberry Pi.
Why should you care about RISC-V?
RISC-V is an open instruction set architecture. With the Pico 2, you can now experiment natively with RISC-V without buying expensive specialist hardware. For integer work, the Hazard3 cores come close to the Cortex-M33 cores. They have no floating-point unit, though: if your project does a lot of floating-point maths, such as sensor readings, control loops or audio, the Arm cores are much faster. You can decide at boot time which “world” you want to use – even a mixed setup (1x Arm + 1x RISC-V) is possible for advanced users!
Security: Secure Boot, OTP and Glitch Protection
The RP2040 in the original Pico had no security features to speak of. The RP2350 brings a whole set of them: signed and encrypted boot, OTP memory for keys, and protection against fault injection attacks. Most of them have to be switched on in OTP memory first, though.
1. Secure Boot & Encrypted Boot
The RP2350 uses a Boot ROM hardwired into the chip that acts as a “root of trust”. Once you enable secure boot in OTP memory, this ROM verifies the digital signature of your program code at startup (Signed Boot). Thanks to anti-rollback counters in OTP storage, you can also prevent attackers from flashing an older, vulnerable firmware version. Additionally, code in external flash can be stored encrypted (Encrypted Boot), with the key stored securely inside the chip.
This matters when you pick an architecture: the boot ROM only supports secure boot on the Arm cores. Turning it on locks out the RISC-V cores. The same goes for encrypted boot, since it relies on a signed decryption stage. On RISC-V, the only way to get a secure boot chain is to write your own boot code into OTP.
2. The 8 KB Antifuse OTP Memory
The heart of the security system is the OTP (One-Time Programmable) memory. This is where your private key hashes and security configurations are permanently “burned in”.
- Hard Lock: Permanently blocks access – ideal for finished products.
- Soft Lock: Hides sensitive keys from the application once the boot process is complete.
3. Hardware Protection Against Attacks (Glitch Detectors)
Real professional hardware must also be protected against physical attacks. The RP2350 has built-in glitch detectors that pick up tampering with the core voltage and system clock. If an attacker tries to bypass security checks using targeted power spikes (fault injection), they trigger a reset. They ship disabled, though: they only arm once you set the CRIT1.GLITCH_DETECTOR_ENABLE flag in OTP. They work the same on the Arm and RISC-V cores.
4. Redundancy Coprocessor (RCP) & RISC-V Crypto
The new RCP coprocessor protects your program flow through “control flow integrity”. It makes it harder for attackers to tamper with the code flow through fault injection. The RCP is only available to the Arm cores, though; the RISC-V cores cannot access it. What the RISC-V Hazard3 core has instead is the Zbkb extension: bit-manipulation instructions such as rotations and bit and byte shuffles that make crypto code shorter and faster. They are not dedicated AES instructions.
Parts List: What You Need to Get Started
If you’re ready to make the switch, here’s the recommended starter setup for 2026:
- 🚀 The core board: Raspberry Pi Pico 2 W Board*
- 🔌 Power & data: Quality Micro-USB Cable*
- 🛠️ Prototyping: Breadboard & Jumper Wire Set*
- 💾 More RAM: The Pico 2 has no PSRAM, and you can’t add it later. If you need more memory, pick a board with PSRAM on board, such as the Adafruit Feather RP2350 with 8 MB PSRAM*
Update: RP2350 A4 Stepping – the E9 GPIO Bug Is Fixed
Since the Pico 2 launched, a hardware flaw listed in the RP2350 datasheet as Erratum E9 caused headaches for makers: when a GPIO is configured as an input and its voltage sits in the undefined region between low and high, the pad sources an increased leakage current of typically around 120 µA. That holds the pin at roughly 2.2 V, and the internal pull-down is too weak to pull it low. Circuits that relied on the internal pull-down or on floating inputs were affected most. The workaround was an external pull-down of 8.2 kΩ or less, or using the internal pull-up with a button to ground.
The fault is fixed from chip revision A3 onwards. The datasheet lists A3 as the revision for samples and limited production and the RP2350 A4 Stepping as the regular production version, which also carries bootrom fixes. Only the first production revision, A2, is affected.
Which Chip Version Do I Have?
You can read the revision directly via the C SDK:
#include "hardware/structs/sysinfo.h"

uint8_t ver = (sysinfo_hw->chip_id >> 28) & 0xF;
// 2 = A2 (original, E9 bug present)
// 3 = A3 or A4 (both fixed; only the bootrom version byte tells A4 apart)
Alternatively, check the chip markings directly: RP2350A2 is the original chip with the E9 bug; RP2350A4 is the corrected version. If you already own an A2 board, you can still use it – external pull-down resistors remain the clean solution for affected inputs.
A2 boards have not disappeared from the shelves, though: the Pico 2 W we bought in autumn 2026 still carried an A2 chip. How to check the revision directly in MicroPython without the C SDK, and how to wire buttons so the bug does not matter, is covered in our getting started guide for the Raspberry Pi Pico with MicroPython.
Verdict: Is the Upgrade Worth It?
Absolutely! The Pico 2 isn’t just an incremental update – the RP2350 makes it an entirely new platform. The doubled RAM and 12 PIO state machines alone justify the switch for complex projects. The fact that we now also have a fully functional RISC-V environment in our hands makes the Pico 2 one of the most exciting microcontrollers around right now.
Have you already planned your first RISC-V projects? Let me know in the comments!