Install Jellyfin on the Raspberry Pi – Free Media Server 2026
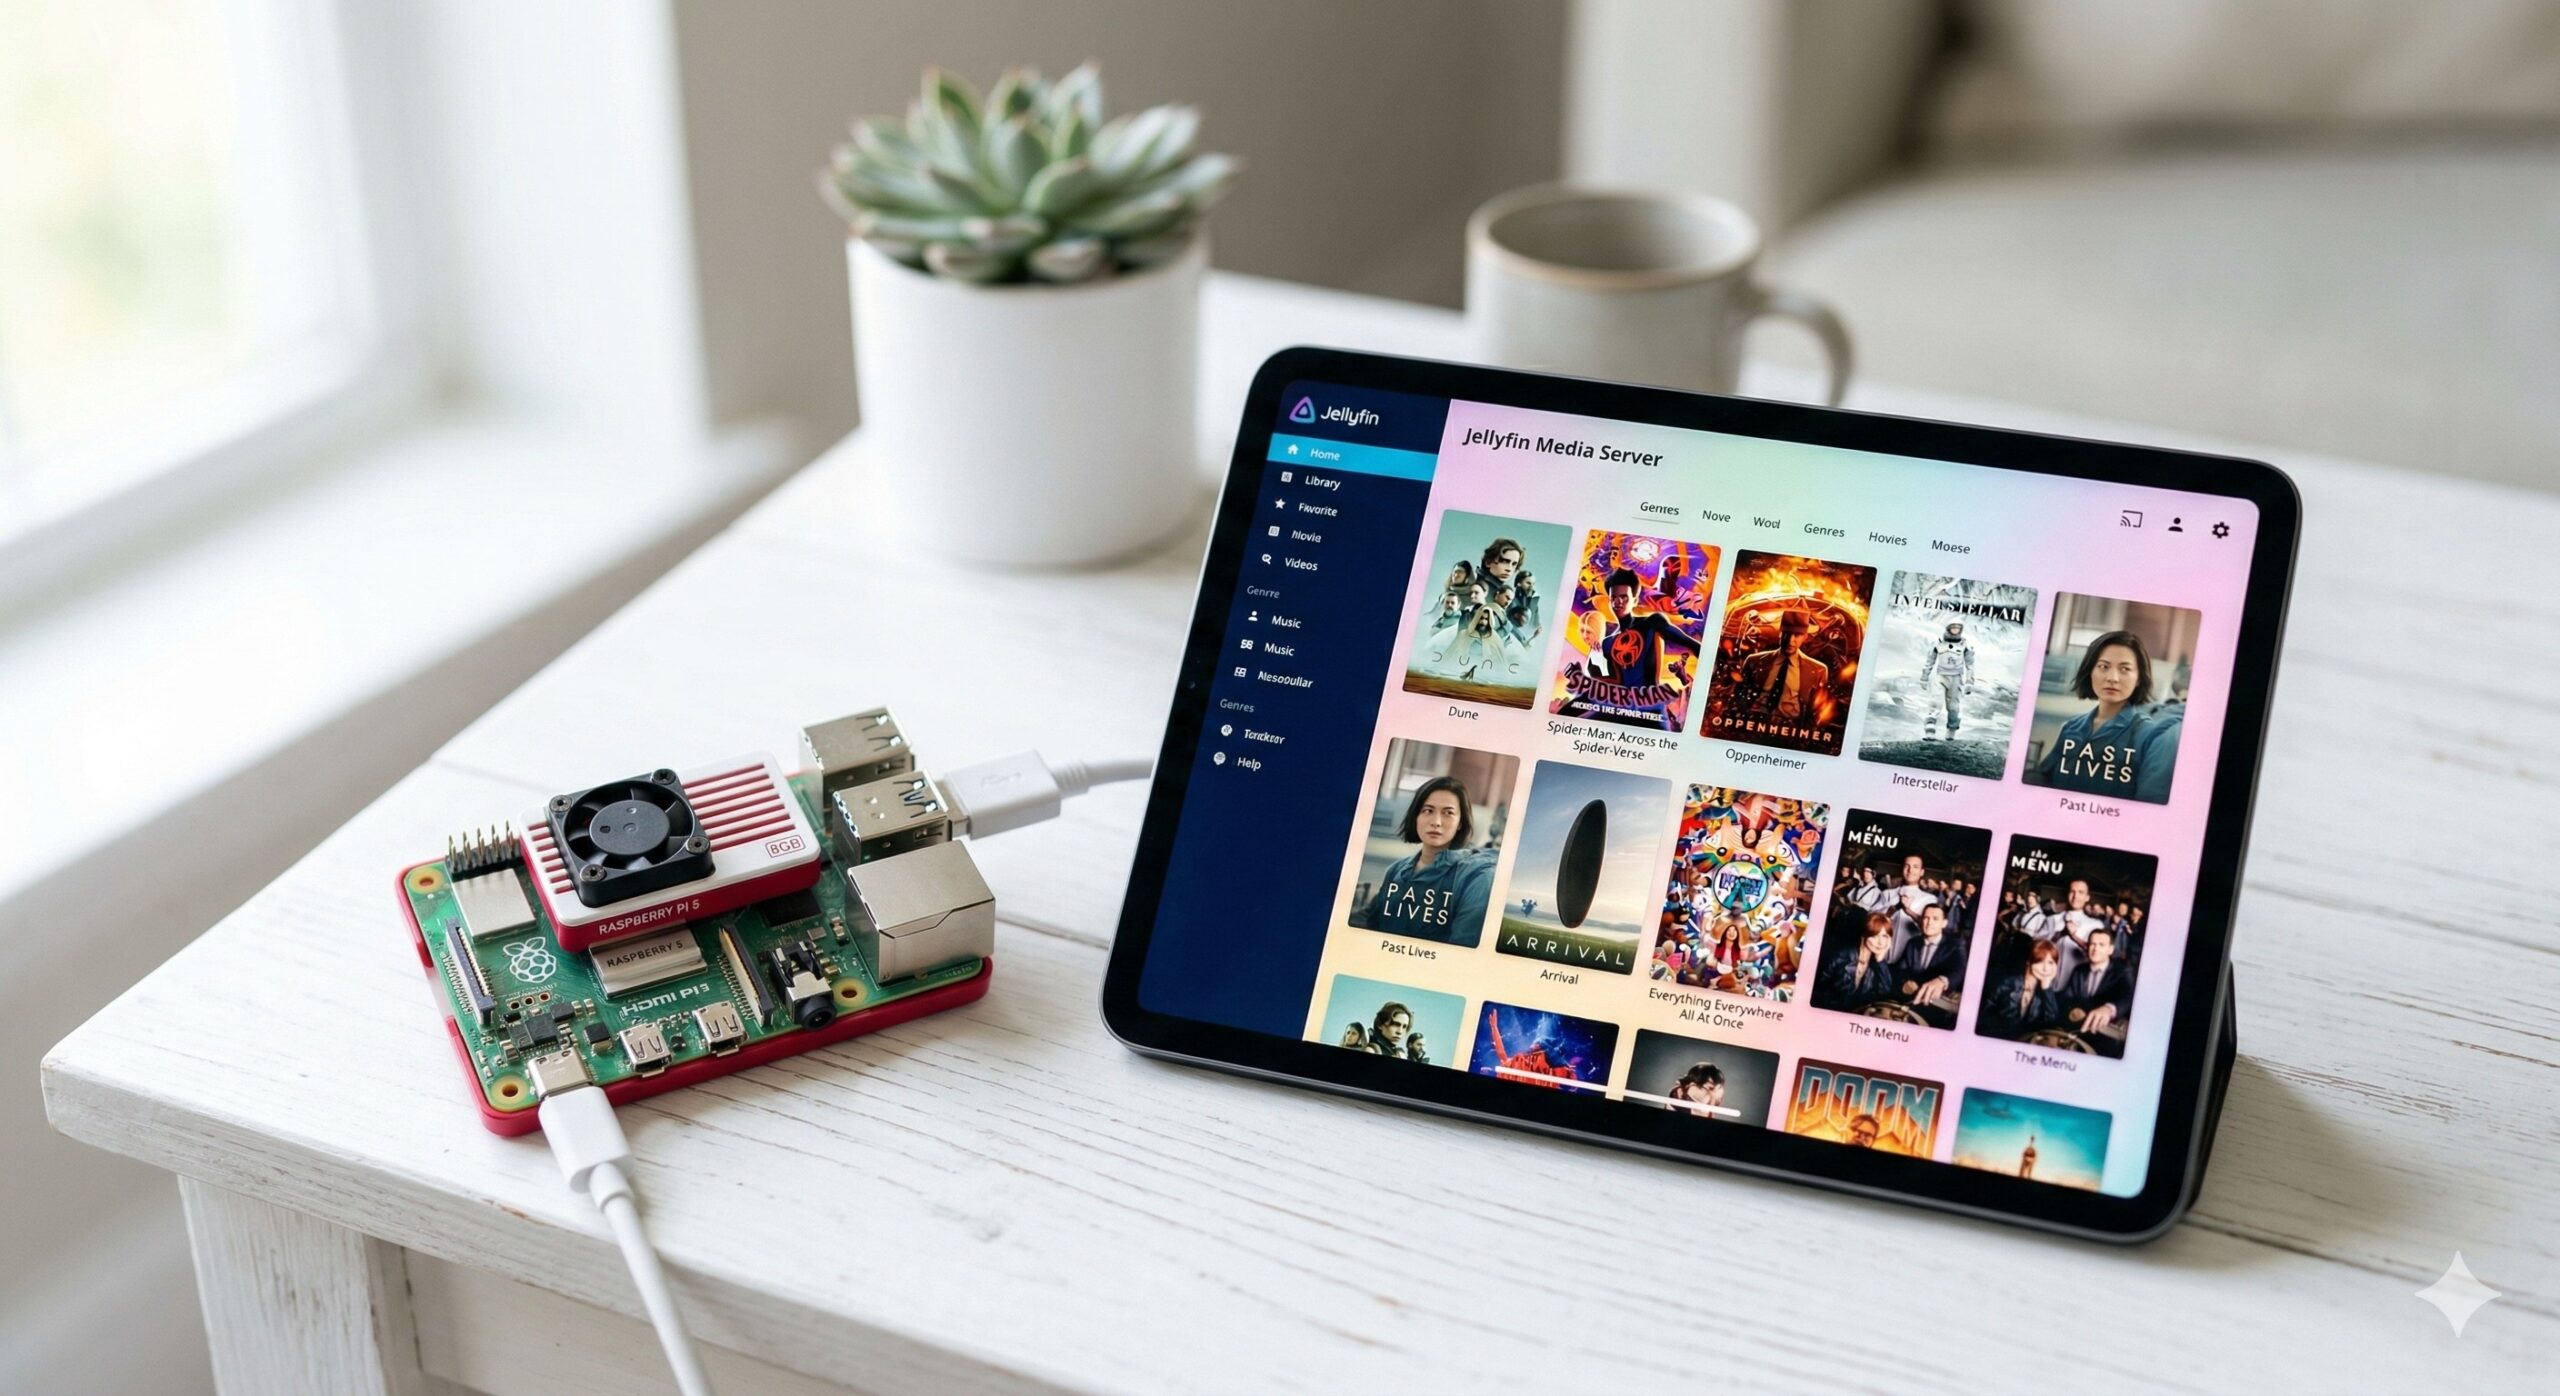
Got a large collection of movies, TV shows and music you want to stream anywhere on your home network – or even on the go? Then Jellyfin is exactly what you need. Jellyfin is a completely free, open-source media server you can run on your Raspberry Pi* – no monthly subscription, no cloud dependency, no hidden costs.
Since April 2025, Plex has required a subscription to stream videos away from home (a Plex Pass or the cheaper Remote Watch Pass). Emby lets you connect remotely for free, but its phone apps and many features need paid Emby Premiere. Jellyfin stays free forever and is actively developed by an open-source community. In this guide I’ll show you how to install Jellyfin on the Raspberry Pi, set up your media library, and make the server accessible from anywhere.
The short answer: Jellyfin turns your Raspberry Pi into a completely free media server – no subscription, no cloud account. Installation runs via the official install-debuntu.sh script, after which the web interface is available at http://YOUR-PI-IP:8096. Recommended hardware: Raspberry Pi 5 (8 GB) with an NVMe SSD for the system and a USB hard drive for your media. Set your clients to Direct Play and you won’t need transcoding at all.
- Update the system:
sudo apt update && sudo apt upgrade -y - Download and verify the script:
curl -s https://repo.jellyfin.org/install-debuntu.sh -O+ SHA256 check - Install:
sudo bash install-debuntu.sh - Open the web UI:
http://YOUR-PI-IP:8096and complete the setup wizard - Add your media library (folders with year in brackets, shows as S01E01)
1. Jellyfin vs. Plex vs. Emby
Anyone building a home media server has three big names to choose from. The difference these days is mostly about price:
| Software | Cost | Open Source | Remote Access |
|---|---|---|---|
| Jellyfin | Free | ✅ Yes | Free |
| Plex | Free on your home network | ❌ No | Subscription only |
| Emby | Free, extra features with Premiere (subscription or one-time purchase) | Partially | Free, but phone and desktop apps stop after one minute without Premiere |
Jellyfin is a fork of Emby that was created in 2018 after Emby moved behind a paywall. Since then, Jellyfin has been developed entirely by the community – no investors, no monetization pressure.
2. What Do You Need?
Hardware
- Raspberry Pi 5 (8GB)* – recommended for smooth playback and multiple simultaneous streams. The Pi 4 (8GB)* works well too.
- Official Raspberry Pi 27W Power Supply* – for stable power under load.
- NVMe SSD* – strongly recommended for the system installation. The Jellyfin database and metadata benefit enormously from fast storage (up to 18× faster than SD card).
- External storage for media: USB hard drive (2–4 TB)* or NAS for the media library.
Software
- Raspberry Pi OS (64-bit) – currently recommended
- Jellyfin 12.x (tested with 12.3, as of October 2026)
Note on SD cards: Jellyfin technically runs from an SD card, but scanning large libraries and starting the server will be noticeably slower. If you already have an NVMe SSD set up (see our NVMe guide), install Jellyfin there.
3. Installing Jellyfin
The easiest and recommended method for beginners is installing via the official Jellyfin APT repository. Updates then run automatically via apt upgrade.
1. Update your system:
sudo apt update && sudo apt upgrade -y
2. Download and verify the install script:
curl -s https://repo.jellyfin.org/install-debuntu.sh -O
curl -s https://repo.jellyfin.org/install-debuntu.sh.sha256sum -O
sha256sum -c install-debuntu.sh.sha256sum
The output should show install-debuntu.sh: OK. Only then run the script.
3. Install Jellyfin:
sudo bash install-debuntu.sh
The script sets up the APT repository and installs Jellyfin automatically. The service starts immediately afterwards.
4. Check the status:
sudo systemctl status jellyfin
You should see Active: active (running). Jellyfin is now accessible at http://YOUR-PI-IP:8096. Find your Pi’s IP address with:
hostname -I
Upgrading from Jellyfin 10.11 to 12
If you installed Jellyfin before September 2026, your next apt upgrade will move you to Jellyfin 12. With Docker, the same happens on your next docker compose pull, because the image is set to :latest. Version 12 restructures the database, and the only way back to 10.11 is a backup, so back up your data first:
sudo systemctl stop jellyfin
sudo cp -a /var/lib/jellyfin /var/lib/jellyfin.bak-10.11
sudo cp -a /etc/jellyfin /etc/jellyfin.bak-10.11
On Docker, stop the container with docker compose down and copy the /opt/jellyfin/config folder. Then:
- Remove any plugins you installed yourself before upgrading, and add them back afterwards. Built-in plugins can stay.
- Upgrade:
sudo apt update && sudo apt upgrade -yordocker compose pull && docker compose up -d - Go to Dashboard → Libraries and click Scan All Libraries. Skip this and alternate versions of your movies will be missing. The first scan takes a lot longer than usual.
Still on a version older than 10.10.7? Upgrade to 10.10.7 first. Very old apps that still talk to Jellyfin through Emby URLs won’t connect to version 12 any more. The full list of changes is in the Jellyfin 12.0 release notes.
4. Alternative: Installing with Docker
If you already run Docker on your Pi, you can start Jellyfin as a container. Advantage: easier backups and clean isolation. Create a docker-compose.yml file:
services:
  jellyfin:
    image: lscr.io/linuxserver/jellyfin:latest
    container_name: jellyfin
    environment:
      - PUID=1000
      - PGID=1000
      - TZ=Europe/London
    volumes:
      - /opt/jellyfin/config:/config
      - /mnt/media/movies:/data/movies
      - /mnt/media/tvshows:/data/tvshows
    ports:
      - 8096:8096
      - 8920:8920
    restart: unless-stopped
Start the container:
docker compose up -d
Adjust the paths: Change /mnt/media/movies and /mnt/media/tvshows to the actual paths of your media. The config folder /opt/jellyfin/config is created automatically.
5. Initial Setup in the Browser
Open a browser and navigate to:
http://YOUR-PI-IP:8096
On first launch, Jellyfin walks you through a setup wizard:
- Choose language: Select English.
- Create admin account: Set a username and a strong password.
- Add media library: Add your media folders here (more on this in the next section).
- Metadata language: Choose your preferred language for movie and series titles.
- Done: After completing setup, Jellyfin starts its first library scan.
6. Setting Up Your Media Library
Jellyfin reliably identifies movies and TV shows when files are named correctly. The recommended folder structure:
/mnt/media/
├── Movies/
│   ├── Inception (2010)/
│   │   └── Inception (2010).mkv
│   └── Interstellar (2014)/
│       └── Interstellar (2014).mkv
└── TV Shows/
    └── Breaking Bad/
        ├── Season 01/
        │   ├── Breaking Bad - S01E01.mkv
        │   └── Breaking Bad - S01E02.mkv
        └── Season 02/
Important: The release year in brackets for movies helps Jellyfin fetch the correct metadata from TMDB (The Movie Database). For TV shows, the S01E01 pattern is essential.
Adding a Library in Jellyfin
- Dashboard → Libraries → Add Media Library
- Choose content type: Movies or Shows
- Enter folder path: e.g.
/mnt/media/Movies - Under Metadata downloaders, leave TheMovieDb and The Open Movie Database enabled
- Save – Jellyfin starts scanning immediately
An initial scan of a few hundred movies takes around 2–5 minutes on a Pi 5 with NVMe SSD.
7. Accessing Jellyfin from Anywhere
By default, Jellyfin is only accessible on your local network. For remote access you have three options:
Option A: Port Forwarding (simple, but less secure)
Forward port 8096 to your Pi’s IP address in your router. Jellyfin is then accessible via your public IP. Fine for simple home use, but no HTTPS.
Option B: Reverse Proxy with nginx (recommended)
For HTTPS and your own domain name, a reverse proxy is the better solution. You’ll need a (sub)domain pointing to your public IP – use DynDNS if your IP changes – and ports 80 and 443 forwarded to the Pi in your router. Port 8096 stays closed.
First, install nginx and Certbot and get a free certificate from Let’s Encrypt:
sudo apt install nginx certbot python3-certbot-nginx
sudo certbot certonly --nginx -d jellyfin.yourdomain.com
Then create the file /etc/nginx/sites-available/jellyfin with the following content and change the domain. The location /socket block passes through the WebSocket connection Jellyfin uses for live updates and remote control between devices:
server {
    listen 80;
    server_name jellyfin.yourdomain.com;
    return 301 https://$host$request_uri;
}

server {
    listen 443 ssl;
    server_name jellyfin.yourdomain.com;

    ssl_certificate     /etc/letsencrypt/live/jellyfin.yourdomain.com/fullchain.pem;
    ssl_certificate_key /etc/letsencrypt/live/jellyfin.yourdomain.com/privkey.pem;

    client_max_body_size 20M;

    location / {
        proxy_pass http://127.0.0.1:8096;
        proxy_set_header Host $host;
        proxy_set_header X-Real-IP $remote_addr;
        proxy_set_header X-Forwarded-For $proxy_add_x_forwarded_for;
        proxy_set_header X-Forwarded-Proto $scheme;
        proxy_set_header X-Forwarded-Protocol $scheme;
        proxy_set_header X-Forwarded-Host $http_host;
        proxy_buffering off;
    }

    location /socket {
        proxy_pass http://127.0.0.1:8096;
        proxy_http_version 1.1;
        proxy_set_header Upgrade $http_upgrade;
        proxy_set_header Connection "upgrade";
        proxy_set_header Host $host;
        proxy_set_header X-Real-IP $remote_addr;
        proxy_set_header X-Forwarded-For $proxy_add_x_forwarded_for;
        proxy_set_header X-Forwarded-Proto $scheme;
        proxy_set_header X-Forwarded-Protocol $scheme;
        proxy_set_header X-Forwarded-Host $http_host;
    }
}
Enable the site, test the configuration and reload nginx:
sudo ln -s /etc/nginx/sites-available/jellyfin /etc/nginx/sites-enabled/
sudo nginx -t
sudo systemctl reload nginx
Certbot renews the certificate automatically from then on, as long as port 80 stays reachable.
Finally, in Jellyfin go to Dashboard → Networking → Known proxies, enter 127.0.0.1 (nginx runs on the same Pi) and restart Jellyfin with sudo systemctl restart jellyfin. With the Docker setup from section 4, the connection comes from the Docker network’s gateway instead. You can look up its address with docker inspect jellyfin --format '{{range .NetworkSettings.Networks}}{{.Gateway}}{{end}}' and restart with docker restart jellyfin.
Option C: WireGuard VPN (most secure)
For maximum security, set up a WireGuard VPN server on your Pi. Jellyfin stays completely inside your home network and is only reachable through the encrypted VPN tunnel.
8. Apps for iOS and Android
Jellyfin offers official apps for all major platforms:
- iOS/iPadOS: Jellyfin Mobile (App Store) – direct download, offline playback
- Android: Jellyfin Mobile (Google Play, F-Droid) – Chromecast support
- Apple TV / Fire TV / Android TV: Official Jellyfin apps available
- Browser: Just open
http://IP:8096– works on any device
Recommended third-party apps: Swiftfin (iOS, open-source, beautiful UI) and Findroid (Android, modern design).
To connect: open the app → add server → enter your Pi’s IP address → log in.
9. Hardware Transcoding: What the Pi 4 and Pi 5 Can Do
Transcoding means Jellyfin converts a video file in real time to a different format – for example when a client can’t play HEVC and Jellyfin converts it to H.264. This is computationally expensive.
| Model | Hardware acceleration in Jellyfin | Hardware encoder | Software Transcoding |
|---|---|---|---|
| Raspberry Pi 4 | ⚠️ V4L2, deprecated by Jellyfin | ⚠️ V4L2 (limited) | ~1 stream @1080p |
| Raspberry Pi 5 | ❌ None, Jellyfin transcodes in software | ❌ Removed | ~1–2 streams @1080p |
Important note on the Pi 5: The hardware video encoder was physically removed on the Raspberry Pi 5, and H.264 is no longer decoded in hardware either – only the HEVC decoder remains. On the Pi 5, Jellyfin therefore does all transcoding in software – which still performs better than the Pi 4 thanks to the faster CPU cores (Cortex-A76).
Pro tip: Best practice is to avoid transcoding entirely. To make sure your clients use Direct Play, leave Home network quality under Settings → Playback in Jellyfin set to Auto, or pick the highest bitrate – the file is then streamed directly without conversion. A low bitrate, on the other hand, forces Jellyfin to transcode. This works flawlessly on all modern devices with H.264 and HEVC/H.265.
Optional: V4L2 on the Pi 4 (deprecated)
Jellyfin has officially deprecated V4L2 support for the Raspberry Pi. It still works for now, but a kernel or FFmpeg update could break it, and the Jellyfin team doesn’t plan to fix issues like that. If you still want to try it on the Pi 4, go to Dashboard → Playback → Transcoding and set Hardware acceleration to Video4Linux2 (V4L2). For Docker, the video devices need to be mapped:
devices:
  - /dev/video10:/dev/video10
  - /dev/video11:/dev/video11
  - /dev/video12:/dev/video12
10. Verdict and Hardware Recommendations
Jellyfin is the best free alternative to Plex and Emby – and runs surprisingly well on the Raspberry Pi 5. For most home users who want to stream their collection over the network, the combination of Pi 5, NVMe SSD and Jellyfin is a complete solution with zero ongoing costs.
Key takeaways:
- Raspberry Pi 5 with 8GB RAM is the recommended hardware for smooth operation
- NVMe SSD for the system isn’t a luxury – you’ll notice the difference daily
- Enable Direct Play – then you don’t need transcoding at all
- WireGuard VPN for secure remote access
Recommended Hardware
- Raspberry Pi 5 (8GB RAM)*
- Official Raspberry Pi 27W Power Supply*
- Crucial P310 NVMe SSD (1TB)* – for system and Jellyfin database
- External USB Hard Drive (4TB)* – for the media library
Enjoy building your personal streaming server!
Frequently Asked Questions: Jellyfin on Raspberry Pi
Pi 5 (8 GB) + NVMe SSD is ideal. Fast storage massively speeds up metadata scans. For 1–2 streams without transcoding, Pi 4 (4 GB) is sufficient.
Jellyfin is completely free including remote access. Since April 2025, Plex has required a Plex Pass or the cheaper Remote Watch Pass to stream videos away from home. No account required for Jellyfin, full data control.
Two options: port forwarding (port 8096, requires HTTPS + Nginx) or Tailscale VPN (simpler, no open ports). Tailscale is the safer choice for most home users.
Hardware transcoding is limited on Pi. Direct play works excellently – most clients support H.264/H.265 natively. If you do need transcoding, the Pi 5 handles it in software. V4L2 on the Pi 4 still works for now, but Jellyfin has deprecated it.